15 Easy Paper Crafts for Adults, With No Printer Required
Explore the guide
- Choose paper that suits the movement
- 1. Make a layered geometric greeting card
- 2. Tear a small landscape from scraps
- 3. Fold a corner bookmark
- 4. Weave a little paper panel
- 5. Fold a concertina mini book
- 6. Give a place card a simple folded shape
- 7. Make a folded gift label
- 8. Build a mosaic from leftover shapes
- 9. Link a short paper chain
- 10. Arrange loop petals into a flower
- 11. Finish a little pleated fan
- 12. Fold a keepsake pocket
- 13. Roll a fringed paper tassel
- 14. Open a folded cutout panel
- 15. Layer cut leaves around a paper ring
- Keep the useful leftovers
Paper crafts become easier to choose when you match the material to the finished piece. Lighter paper suits repeated folds, fringes and loops. Cardstock provides a firmer base for cards, labels and small standing decorations.
Start with clean scraps and supplies you already have, then choose one project to try. The fifteen ideas below use simple shapes rather than purchased patterns. You won’t need a printer, cutting machine, craft knife or hot glue gun.
These are original design directions, with illustrative examples rather than photographs of tested projects. Try unfamiliar folds and glue joins on a scrap first. Adjust sizes and quantities to the paper available, rather than buying every color shown.
Choose paper that suits the movement
The selected Astrobrights Spectrum pack contains 150 letter-size sheets of 24-pound colored paper. It’s a lighter option for folds and loops, not a pack of precut origami squares. For firmer bases, the separate Astrobrights 65-pound cardstock selection serves a different purpose.
Use suitable existing scissors and a paper adhesive for the projects that need them. Elmer’s disappearing-purple school glue sticks are one option for light paper and card joins. Follow the actual product directions and allow joins to set before handling the piece.
Keep the first attempt small enough to finish and inspect. Paper that creases neatly in one project may feel awkward across several repeated folds. Change the material or simplify the shape before adding more layers to a difficult starting piece.
1. Make a layered geometric greeting card
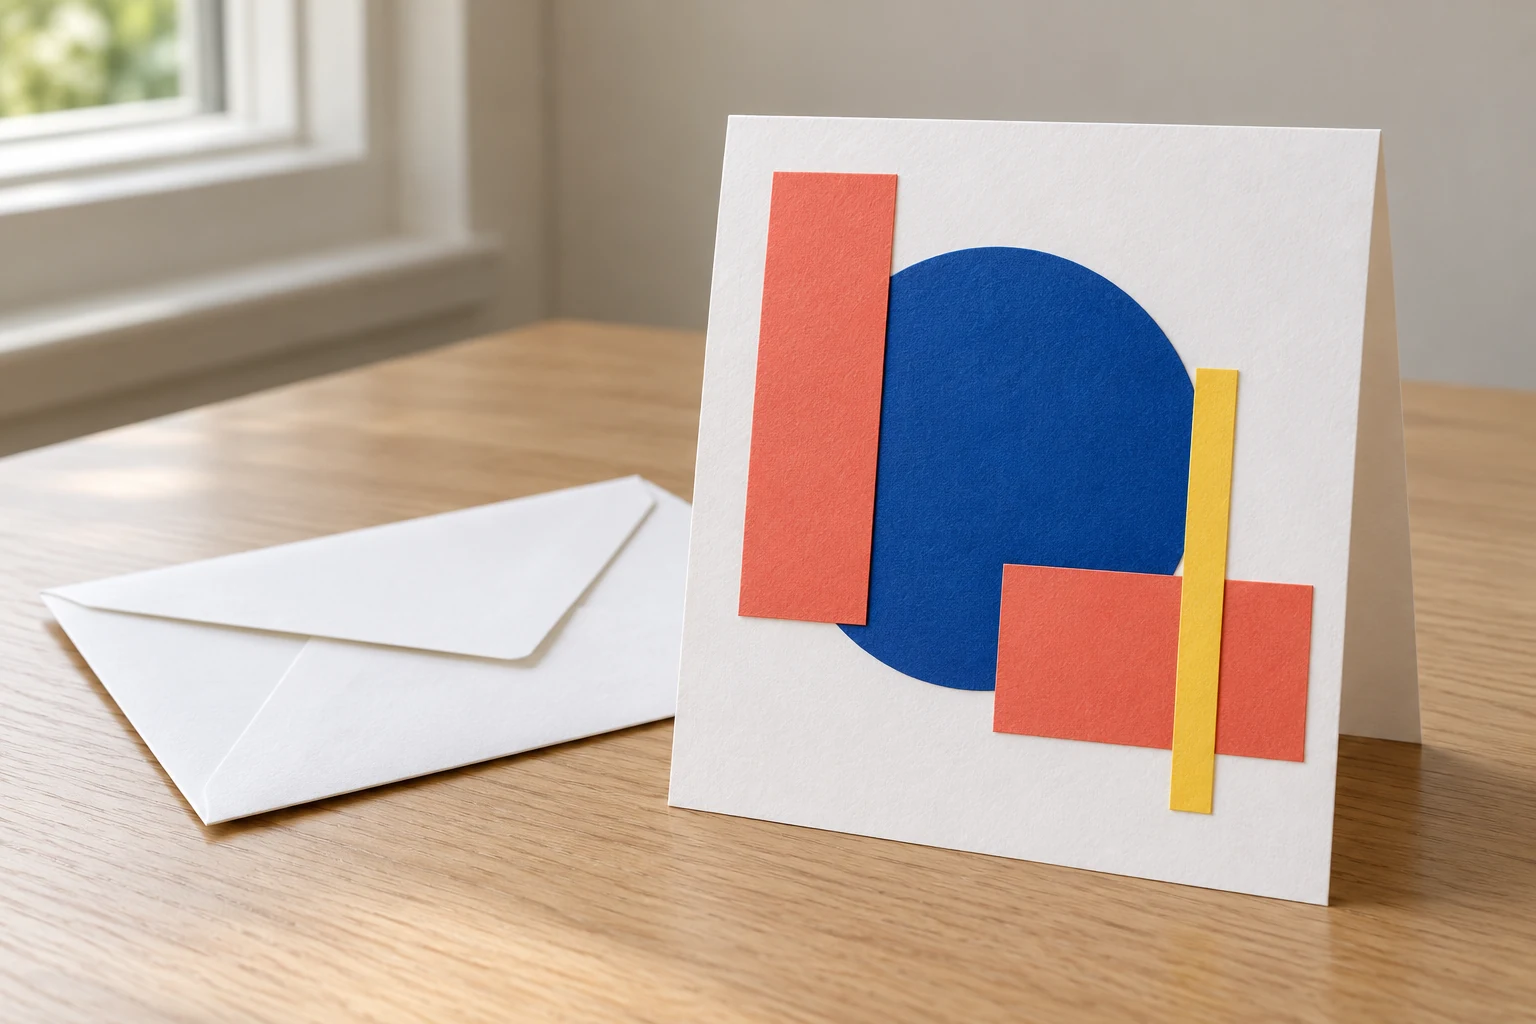
Choose a plain card blank and arrange a few contrasting paper shapes across its front. Try one large circle with smaller rectangles, leaving part of the card uncovered. Position everything before adding glue so you can change the balance without tearing the surface.
- Lighter colored paper for folds and layersView on Amazon
- Optional plain card and envelope blanksView on Amazon
- General craft scissorsView on Amazon
- Paper glue sticks, three 22g sticksView on Amazon
- Optional fine black writing pensView on Amazon
Comparable options, not the exact pictured items. Check the selected variant and current directions.
Fit and buying notes
- Astrobrights Spectrum colored paper, 150 sheets: Letter-size 24-pound paper, not cardstock or pre-cut origami squares. Lighter option for simple folds and loops; some buyers find the weight thinner than expected. Colors are assorted, not an exact match to every illustrative concept. No stock or delivery promise.
- White blank cards and envelopes: Blank cards and envelopes labeled four by six inches. Check the finished dimensions of both before planning layers or mailing.
- Fiskars original scissors: General eight-inch craft scissors. Use a safe cutting method appropriate to your project and ability.
- Elmer’s washable school glue sticks: Elmer’s disappearing-purple washable school glue sticks, three 22-gram sticks. Paper and card use; follow age labeling. Not a food adhesive or an instruction to glue items to furniture.
- Sakura Pigma Micron 05 pens: Black Micron 05 pen, approximately 0.45 mm. Test the actual paper first; not a universal no-bleed guarantee.
Keep the layers relatively flat if the card needs to fit an envelope. The selected card pack is labeled four by six inches, so check its finished dimensions. Write the message after the adhesive has set, using a pen you’ve tried on that paper.
2. Tear a small landscape from scraps

Tear uneven paper strips and arrange them as overlapping hills on a card base. Work from the distant layer toward the foreground. Leave enough of each earlier strip visible to show the different shapes.
- Lighter colored paper for folds and layersView on Amazon
- Firmer colored cardstock for basesView on Amazon
- Paper glue sticks, three 22g sticksView on Amazon
Comparable options, not the exact pictured items. Check the selected variant and current directions.
Fit and buying notes
- Astrobrights Spectrum colored paper, 150 sheets: Letter-size 24-pound paper, not cardstock or pre-cut origami squares. Lighter option for simple folds and loops; some buyers find the weight thinner than expected. Colors are assorted, not an exact match to every illustrative concept. No stock or delivery promise.
- Astrobrights assorted cardstock: Assorted 65-pound colored cardstock. Compare thickness with folds and card blanks; a bulk pack is optional.
- Elmer’s washable school glue sticks: Elmer’s disappearing-purple washable school glue sticks, three 22-gram sticks. Paper and card use; follow age labeling. Not a food adhesive or an instruction to glue items to furniture.
Use three or four colors rather than trying to describe every detail in a landscape. A small paper sun can supply a focal point. Choose printed scraps for their texture, avoiding lettering that distracts from the scene.
3. Fold a corner bookmark
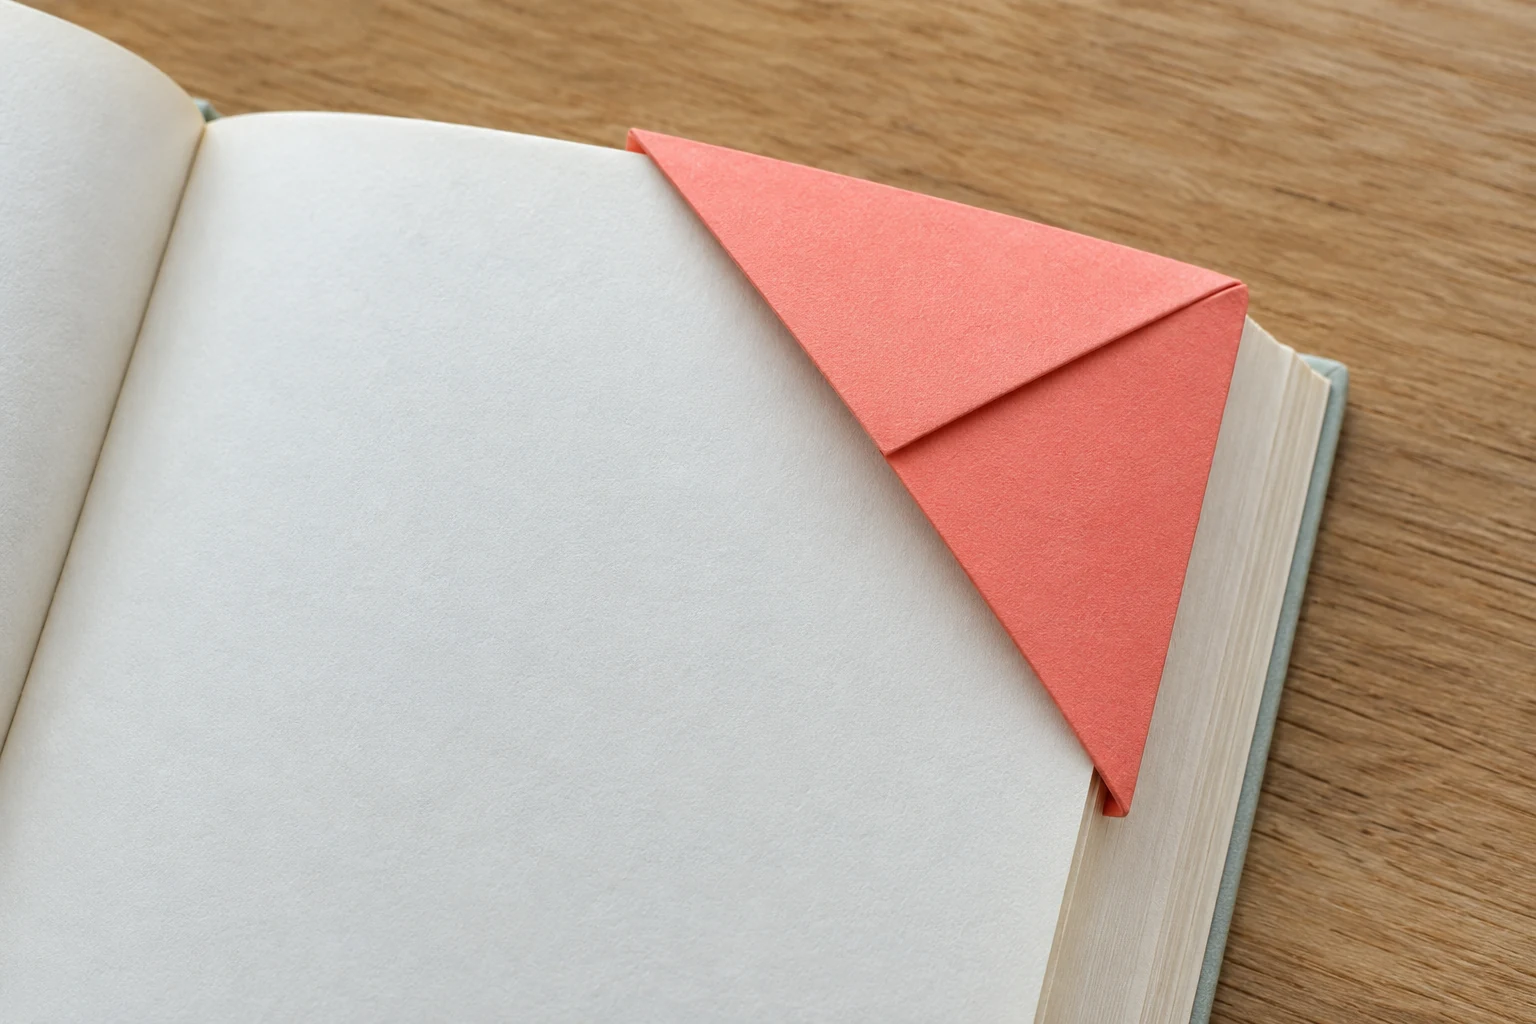
Begin with a square of lighter paper and fold it diagonally into a triangle, point upward. Fold both lower corners up to that point, then unfold those two folds. Bring the top point’s front layer down to the middle of the triangle’s bottom edge.
Comparable options, not the exact pictured items. Check the selected variant and current directions.
Fit and buying notes
- Astrobrights Spectrum colored paper, 150 sheets: Letter-size 24-pound paper, not cardstock or pre-cut origami squares. Lighter option for simple folds and loops; some buyers find the weight thinner than expected. Colors are assorted, not an exact match to every illustrative concept. No stock or delivery promise.
- Fiskars original scissors: General eight-inch craft scissors. Use a safe cutting method appropriate to your project and ability.
Lift the lower corners again and tuck them into the pocket behind that folded layer. Flatten gently and try the bookmark on an ordinary book page. Skip bulky decorations, which can make the corner awkward when the book closes.
4. Weave a little paper panel
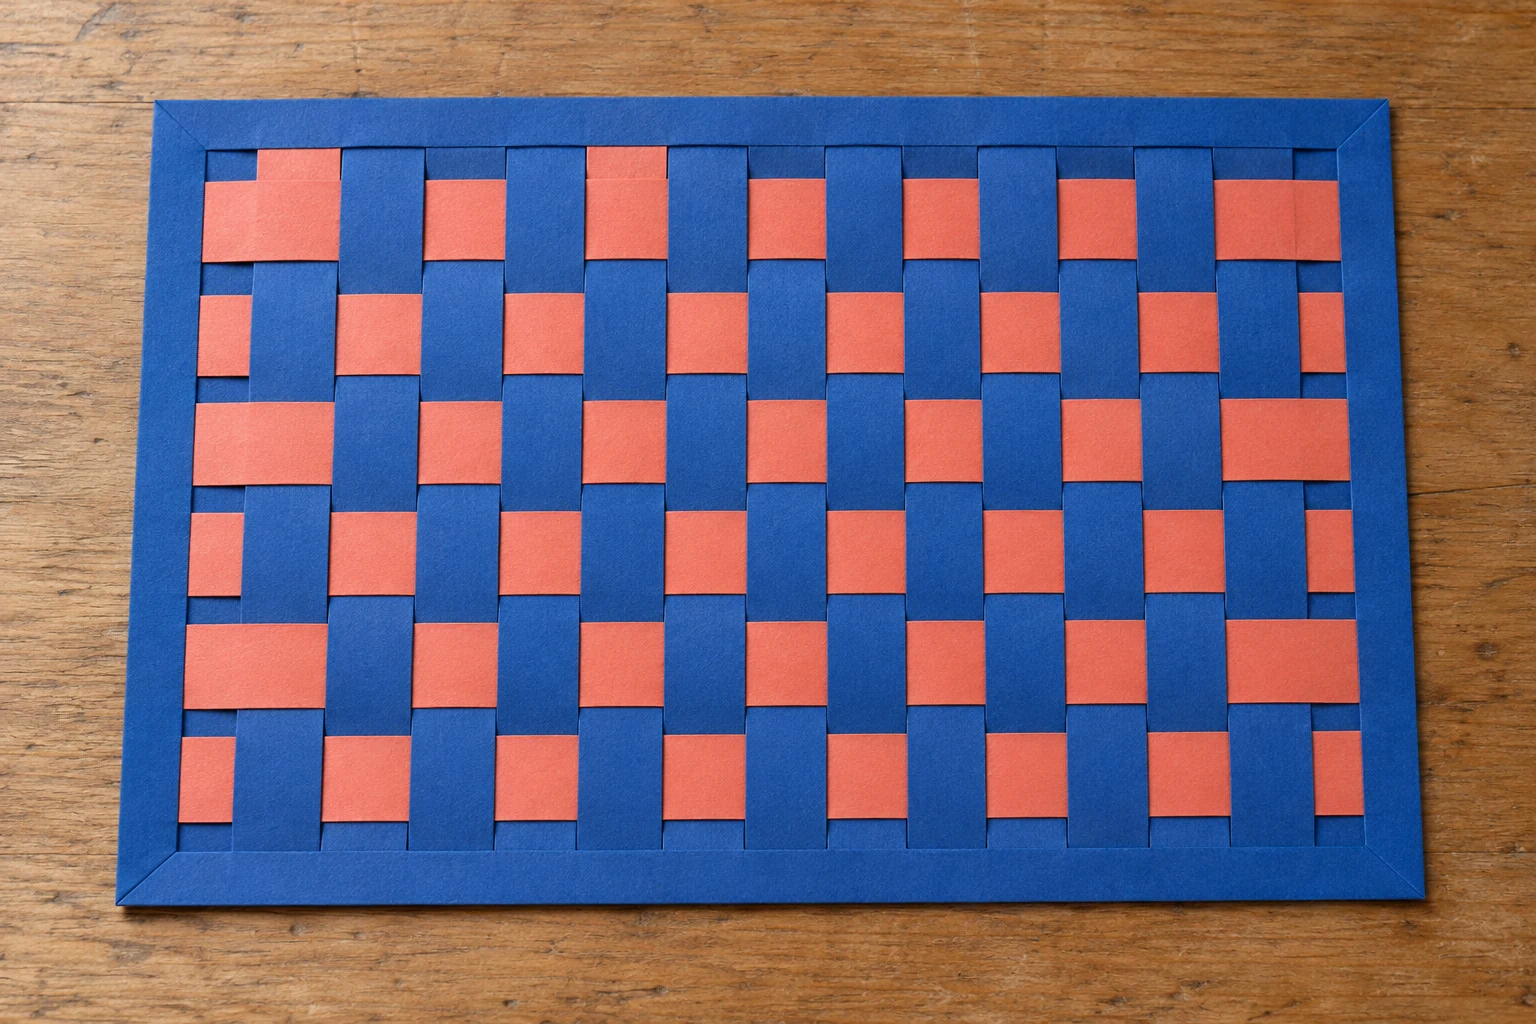
Fold a rectangle in half and cut parallel slits inward from its folded edge. Leave an uncut border at the opposite edge, then open the sheet. Weave separate paper strips through the slits, alternating over and under each section.
- Lighter colored paper for folds and layersView on Amazon
- General craft scissorsView on Amazon
- Paper glue sticks, three 22g sticksView on Amazon
Comparable options, not the exact pictured items. Check the selected variant and current directions.
Fit and buying notes
- Astrobrights Spectrum colored paper, 150 sheets: Letter-size 24-pound paper, not cardstock or pre-cut origami squares. Lighter option for simple folds and loops; some buyers find the weight thinner than expected. Colors are assorted, not an exact match to every illustrative concept. No stock or delivery promise.
- Fiskars original scissors: General eight-inch craft scissors. Use a safe cutting method appropriate to your project and ability.
- Elmer’s washable school glue sticks: Elmer’s disappearing-purple washable school glue sticks, three 22-gram sticks. Paper and card use; follow age labeling. Not a food adhesive or an instruction to glue items to furniture.
Reverse that order for the next strip so the woven pattern develops. Adjust the spacing before gluing the loose ends at the back. A small panel can decorate a card without becoming a complicated wall-hanging project.
5. Fold a concertina mini book
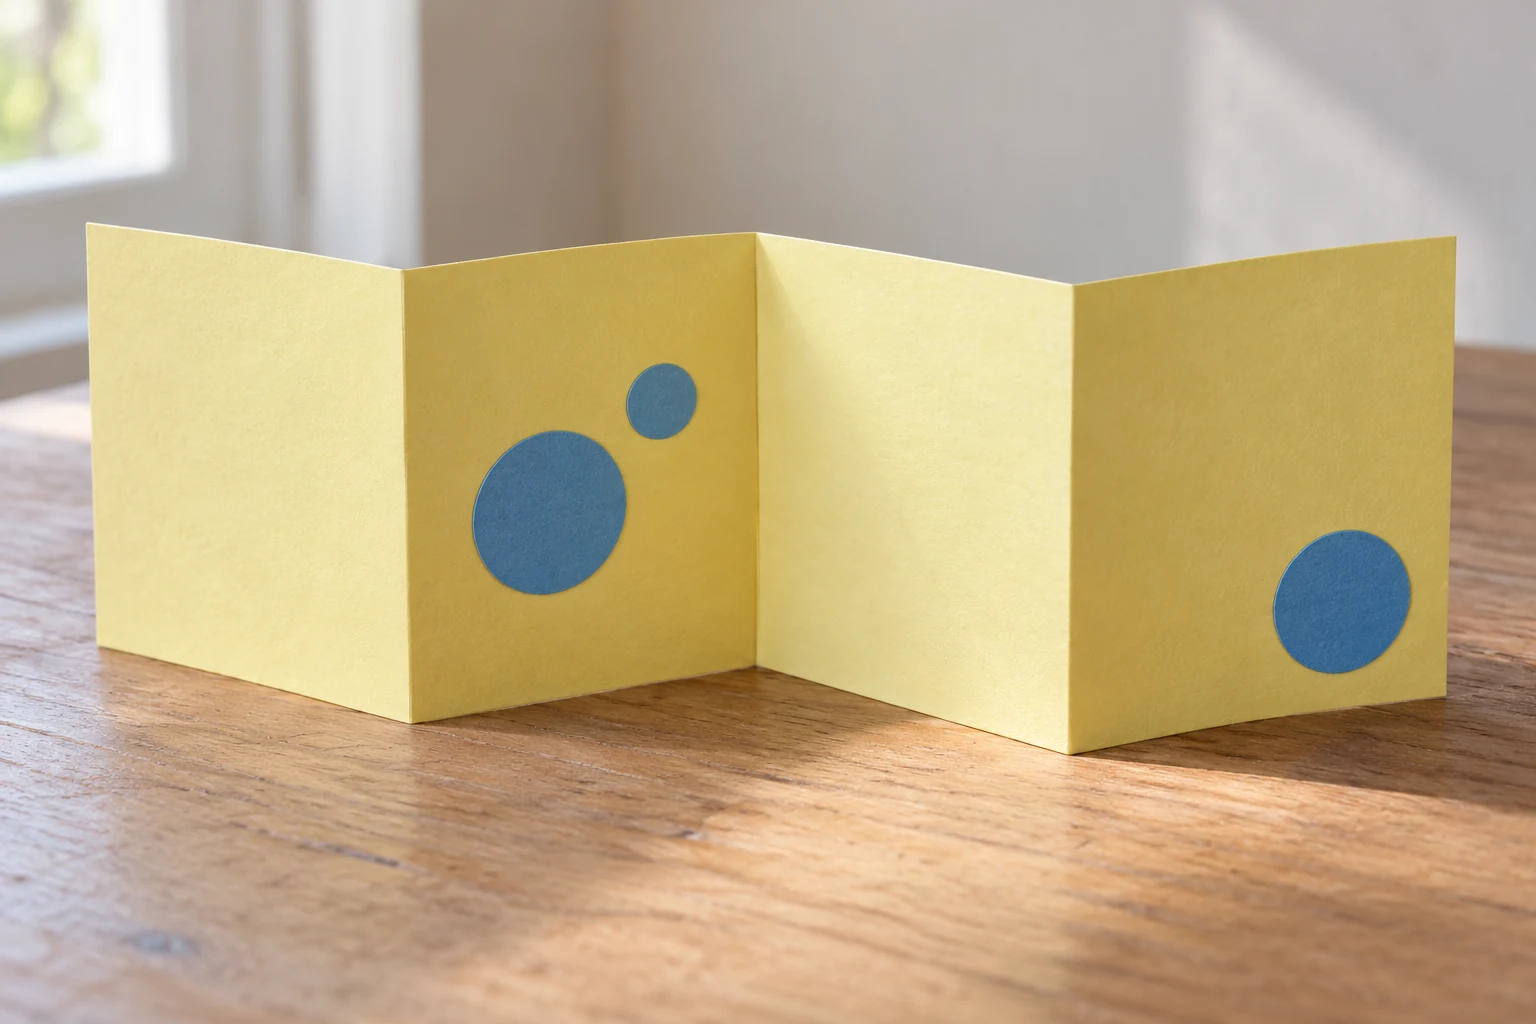
Fold a long paper strip back and forth into an accordion with roughly even panels. Open it across the table to check that neighboring folds alternate direction. Start with fewer panels if the strip becomes difficult to handle.
- Lighter colored paper for folds and layersView on Amazon
- Optional fine black writing pensView on Amazon
Comparable options, not the exact pictured items. Check the selected variant and current directions.
Fit and buying notes
- Astrobrights Spectrum colored paper, 150 sheets: Letter-size 24-pound paper, not cardstock or pre-cut origami squares. Lighter option for simple folds and loops; some buyers find the weight thinner than expected. Colors are assorted, not an exact match to every illustrative concept. No stock or delivery promise.
- Sakura Pigma Micron 05 pens: Black Micron 05 pen, approximately 0.45 mm. Test the actual paper first; not a universal no-bleed guarantee.
Use the little pages for a short message, tiny drawings or a sequence of color blocks. You don’t need thread or a special binding tool. Keep additions light so the booklet still folds together without forcing the paper.
6. Give a place card a simple folded shape
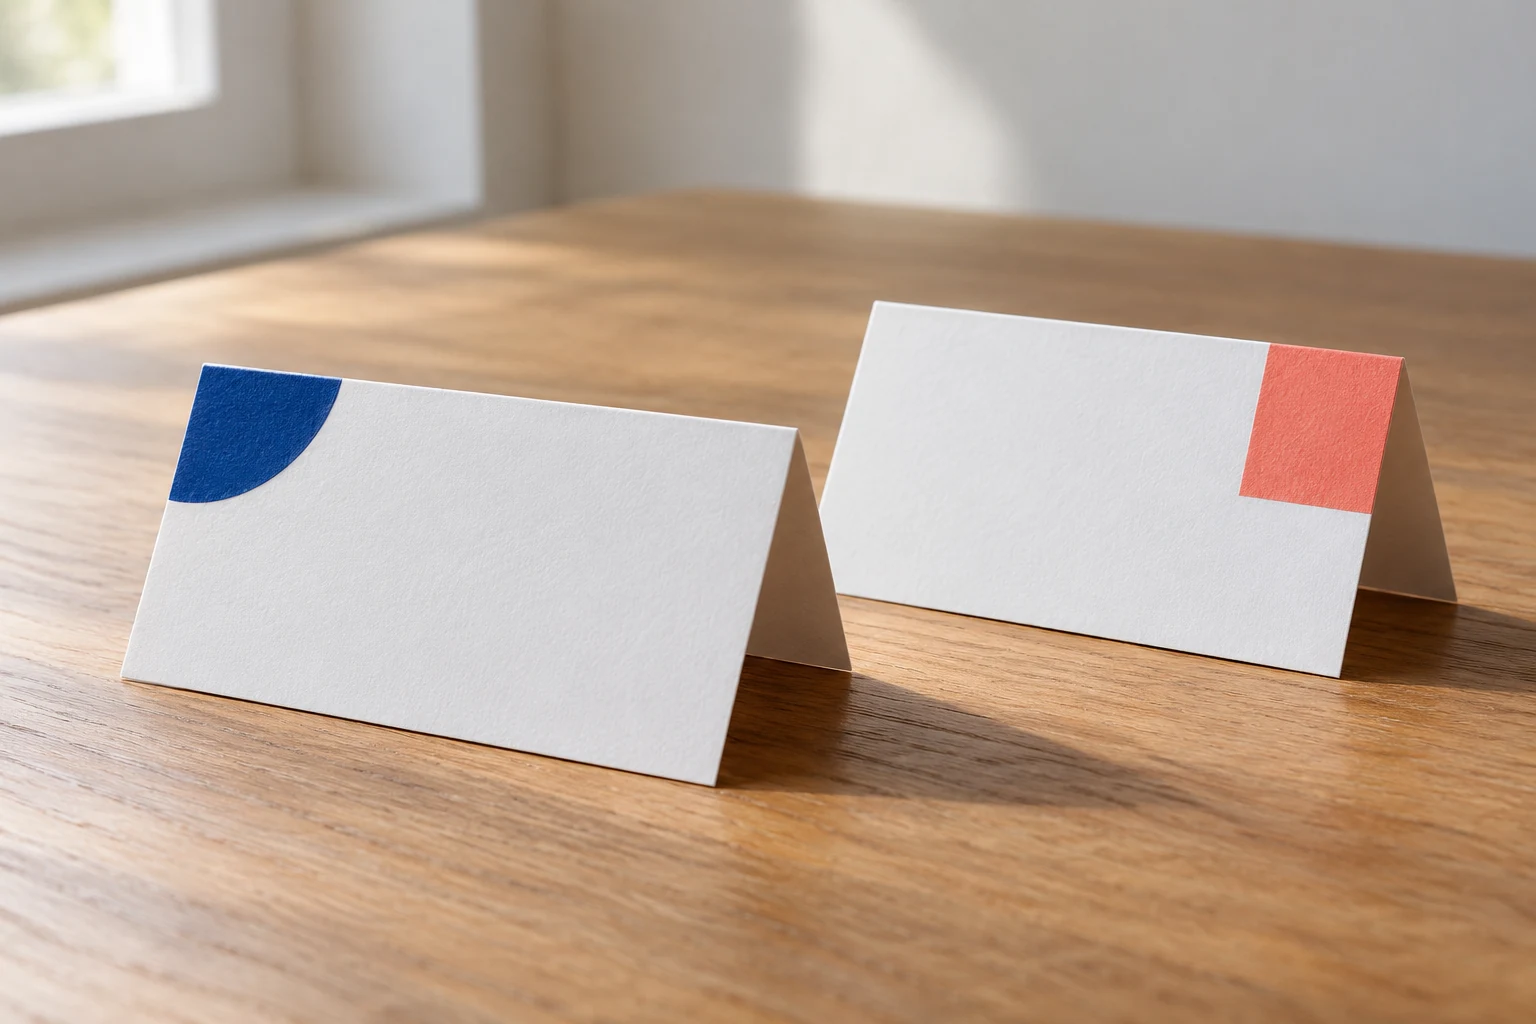
Fold a small cardstock rectangle across its middle to make a standing tent. Test whether the two sides sit evenly before adding a name. Trim a modest decorative shape from a separate scrap instead of complicating the support fold.
- Firmer colored cardstock for basesView on Amazon
- General craft scissorsView on Amazon
- Optional fine black writing pensView on Amazon
Comparable options, not the exact pictured items. Check the selected variant and current directions.
Fit and buying notes
- Astrobrights assorted cardstock: Assorted 65-pound colored cardstock. Compare thickness with folds and card blanks; a bulk pack is optional.
- Fiskars original scissors: General eight-inch craft scissors. Use a safe cutting method appropriate to your project and ability.
- Sakura Pigma Micron 05 pens: Black Micron 05 pen, approximately 0.45 mm. Test the actual paper first; not a universal no-bleed guarantee.
Leave a clear writing area so the name remains the useful part. If the card rocks, check the fold and lower edges before adding more decoration. You can also leave it blank until you know where the finished piece will be used.
7. Make a folded gift label
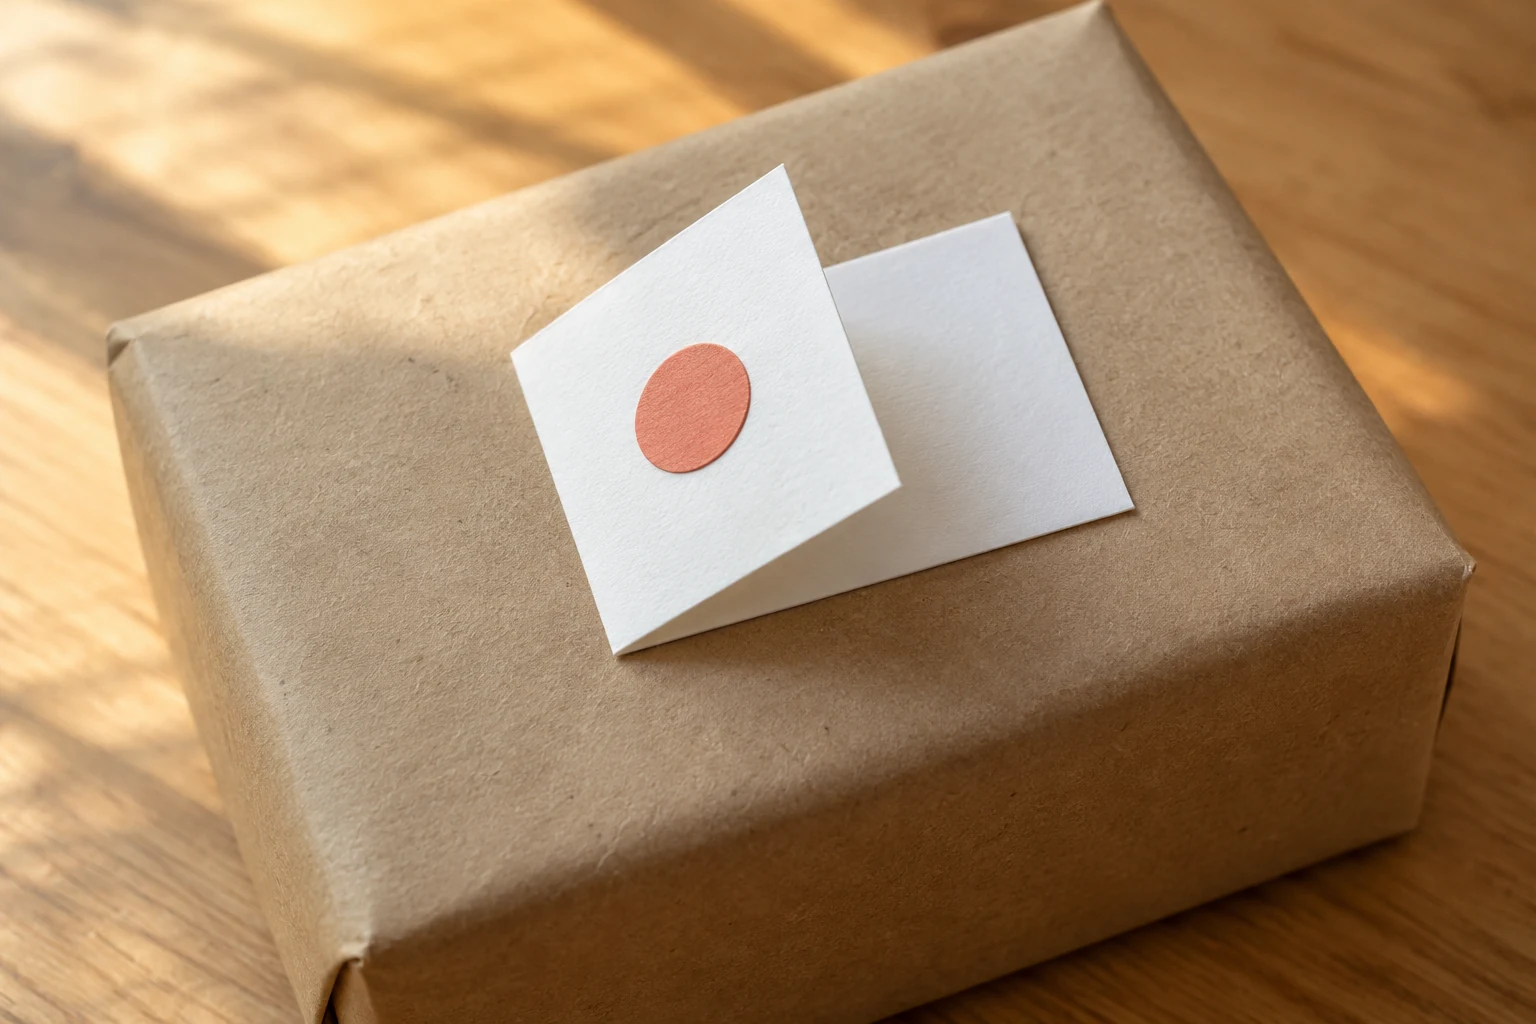
Cut a small cardstock rectangle and fold it into a little card. Add a contrasting paper shape on the front, then write inside. This gives a short message more room without covering the gift with a large decorative tag.
- Firmer colored cardstock for basesView on Amazon
- General craft scissorsView on Amazon
- Optional fine black writing pensView on Amazon
- Paper glue sticks, three 22g sticksView on Amazon
Comparable options, not the exact pictured items. Check the selected variant and current directions.
Fit and buying notes
- Astrobrights assorted cardstock: Assorted 65-pound colored cardstock. Compare thickness with folds and card blanks; a bulk pack is optional.
- Fiskars original scissors: General eight-inch craft scissors. Use a safe cutting method appropriate to your project and ability.
- Sakura Pigma Micron 05 pens: Black Micron 05 pen, approximately 0.45 mm. Test the actual paper first; not a universal no-bleed guarantee.
- Elmer’s washable school glue sticks: Elmer’s disappearing-purple washable school glue sticks, three 22-gram sticks. Paper and card use; follow age labeling. Not a food adhesive or an instruction to glue items to furniture.
Glue the back onto ordinary existing paper wrapping if that suits the package. You don’t need a hole punch, ribbon or purchased cord for this version. Keep the decoration flat where the wrapping needs to bend.
8. Build a mosaic from leftover shapes
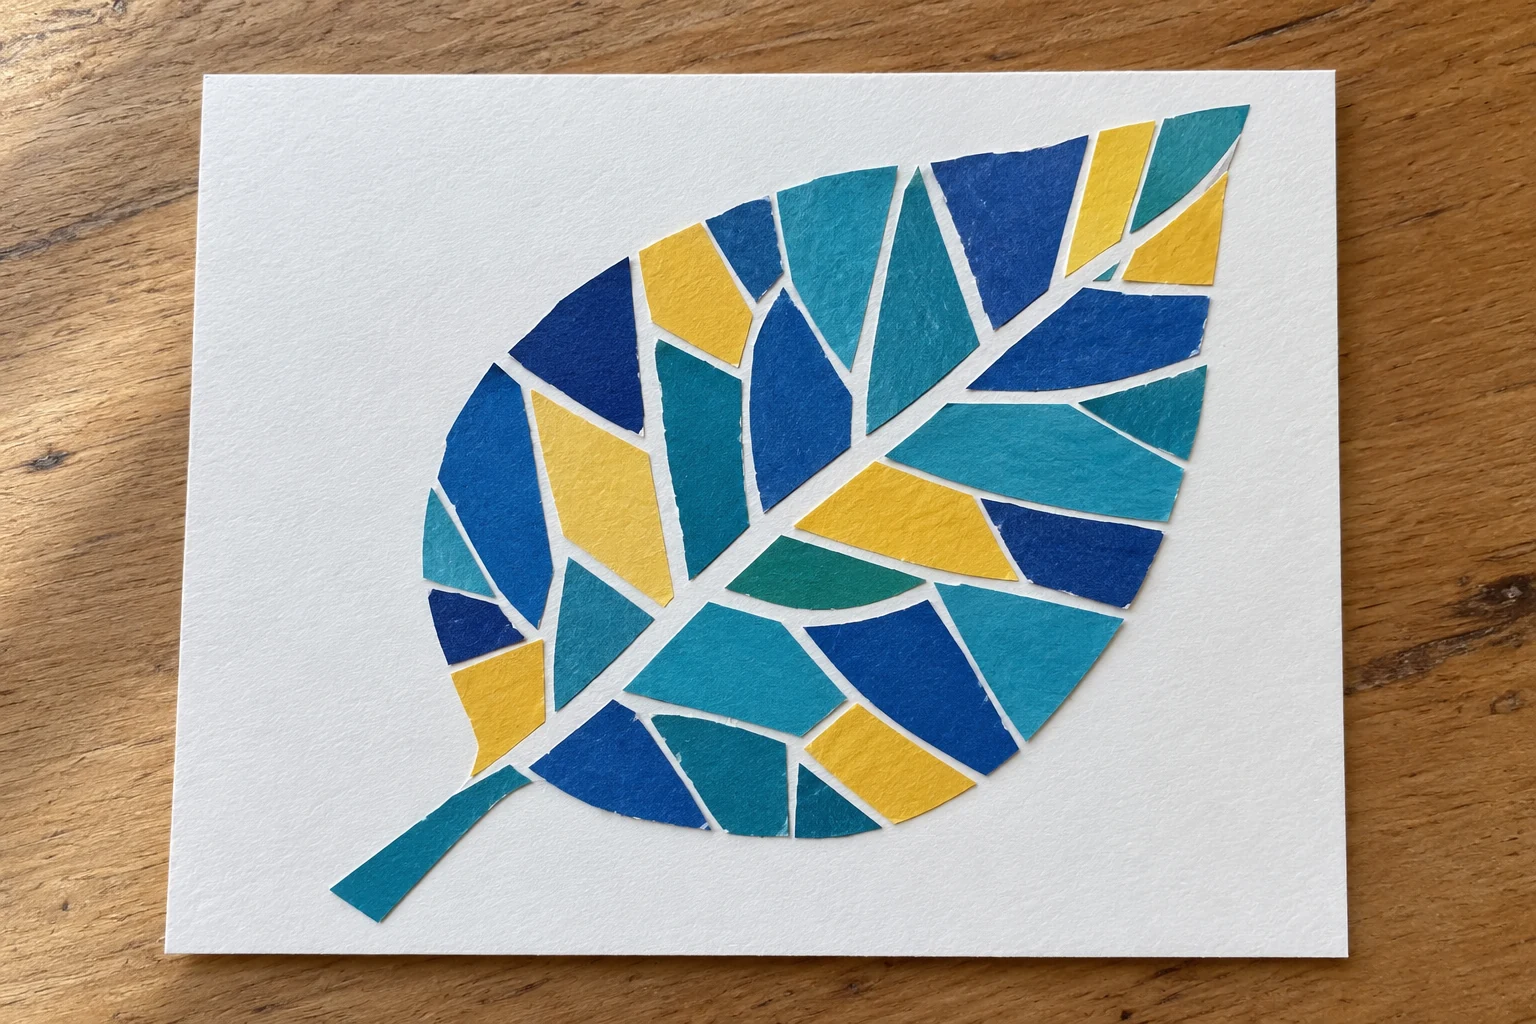
Choose a simple outline on a card base, such as a broad leaf or an initial. Fill it with small paper pieces, leaving narrow spaces between them. Arrange the larger pieces first, then use smaller scraps to finish awkward gaps.
- Lighter colored paper for folds and layersView on Amazon
- Firmer colored cardstock for basesView on Amazon
- General craft scissorsView on Amazon
- Paper glue sticks, three 22g sticksView on Amazon
Comparable options, not the exact pictured items. Check the selected variant and current directions.
Fit and buying notes
- Astrobrights Spectrum colored paper, 150 sheets: Letter-size 24-pound paper, not cardstock or pre-cut origami squares. Lighter option for simple folds and loops; some buyers find the weight thinner than expected. Colors are assorted, not an exact match to every illustrative concept. No stock or delivery promise.
- Astrobrights assorted cardstock: Assorted 65-pound colored cardstock. Compare thickness with folds and card blanks; a bulk pack is optional.
- Fiskars original scissors: General eight-inch craft scissors. Use a safe cutting method appropriate to your project and ability.
- Elmer’s washable school glue sticks: Elmer’s disappearing-purple washable school glue sticks, three 22-gram sticks. Paper and card use; follow age labeling. Not a food adhesive or an instruction to glue items to furniture.
Vary the shapes while keeping a limited color group. The spaces between pieces help the design remain readable. Our beginner scrapbook ideas explore another way to arrange paper, photographs and short notes.
9. Link a short paper chain
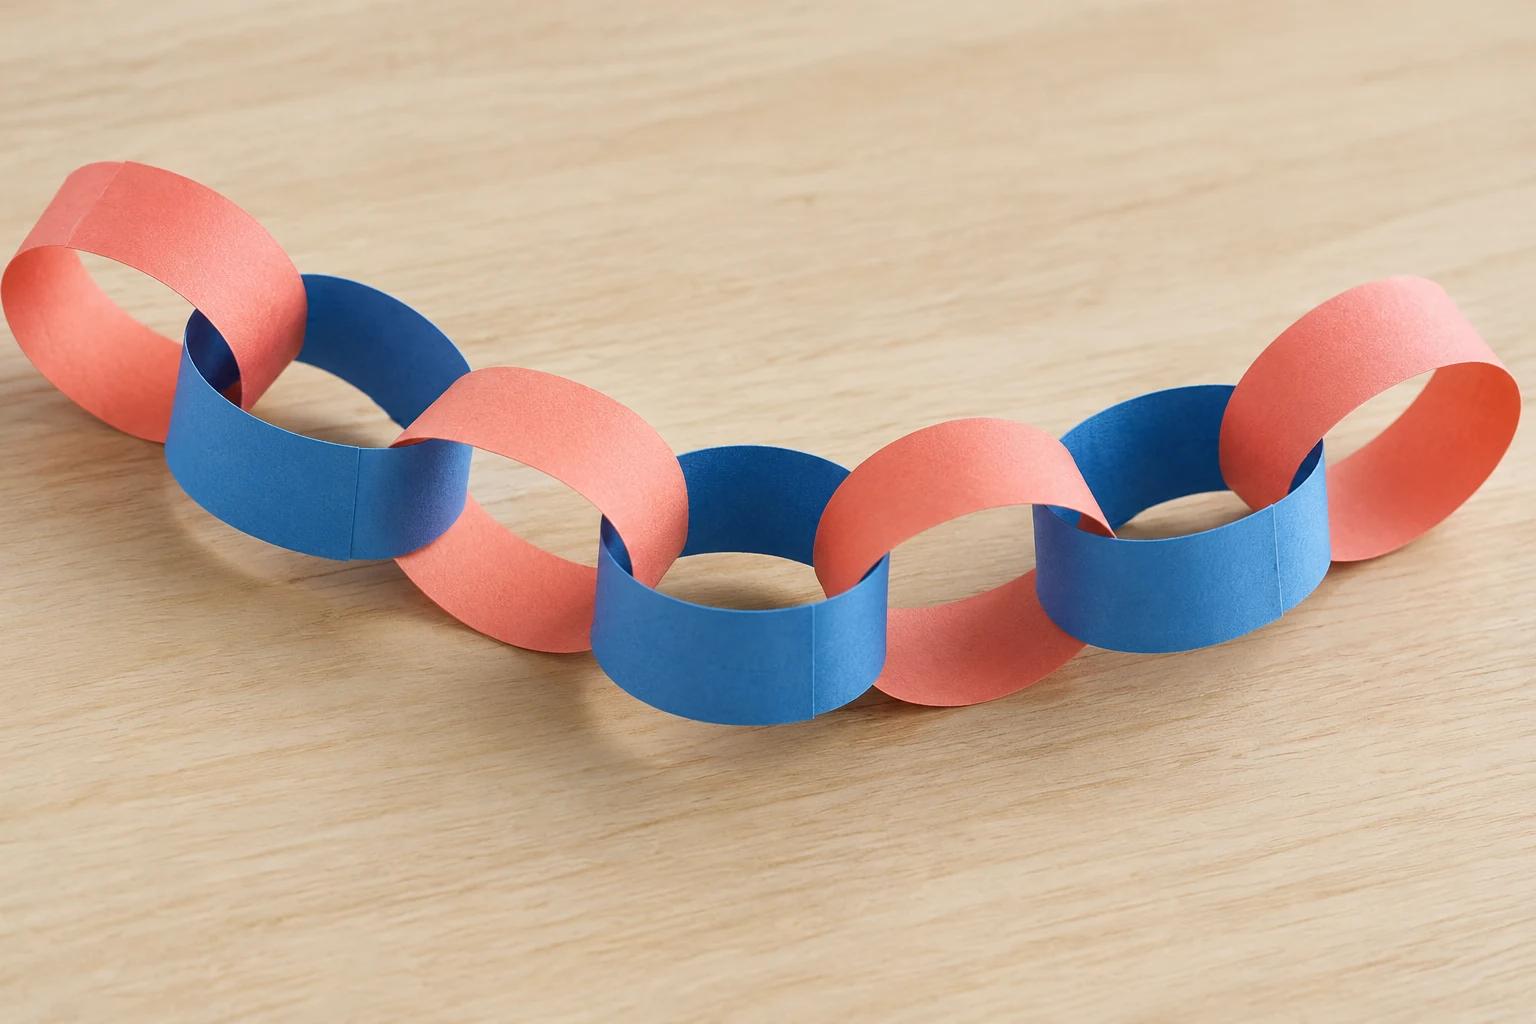
Cut several paper strips and glue the ends of one together into a loop. Pass the next strip through that loop before joining its ends. Continue with alternating colors, letting the joins set before lifting the chain.
- Lighter colored paper for folds and layersView on Amazon
- General craft scissorsView on Amazon
- Paper glue sticks, three 22g sticksView on Amazon
Comparable options, not the exact pictured items. Check the selected variant and current directions.
Fit and buying notes
- Astrobrights Spectrum colored paper, 150 sheets: Letter-size 24-pound paper, not cardstock or pre-cut origami squares. Lighter option for simple folds and loops; some buyers find the weight thinner than expected. Colors are assorted, not an exact match to every illustrative concept. No stock or delivery promise.
- Fiskars original scissors: General eight-inch craft scissors. Use a safe cutting method appropriate to your project and ability.
- Elmer’s washable school glue sticks: Elmer’s disappearing-purple washable school glue sticks, three 22-gram sticks. Paper and card use; follow age labeling. Not a food adhesive or an instruction to glue items to furniture.
Make a short sample before preparing enough strips for a larger decoration. Similar strip widths help the loops sit consistently. Use this light indoor accent without heavy attachments or relying on it for support.
10. Arrange loop petals into a flower
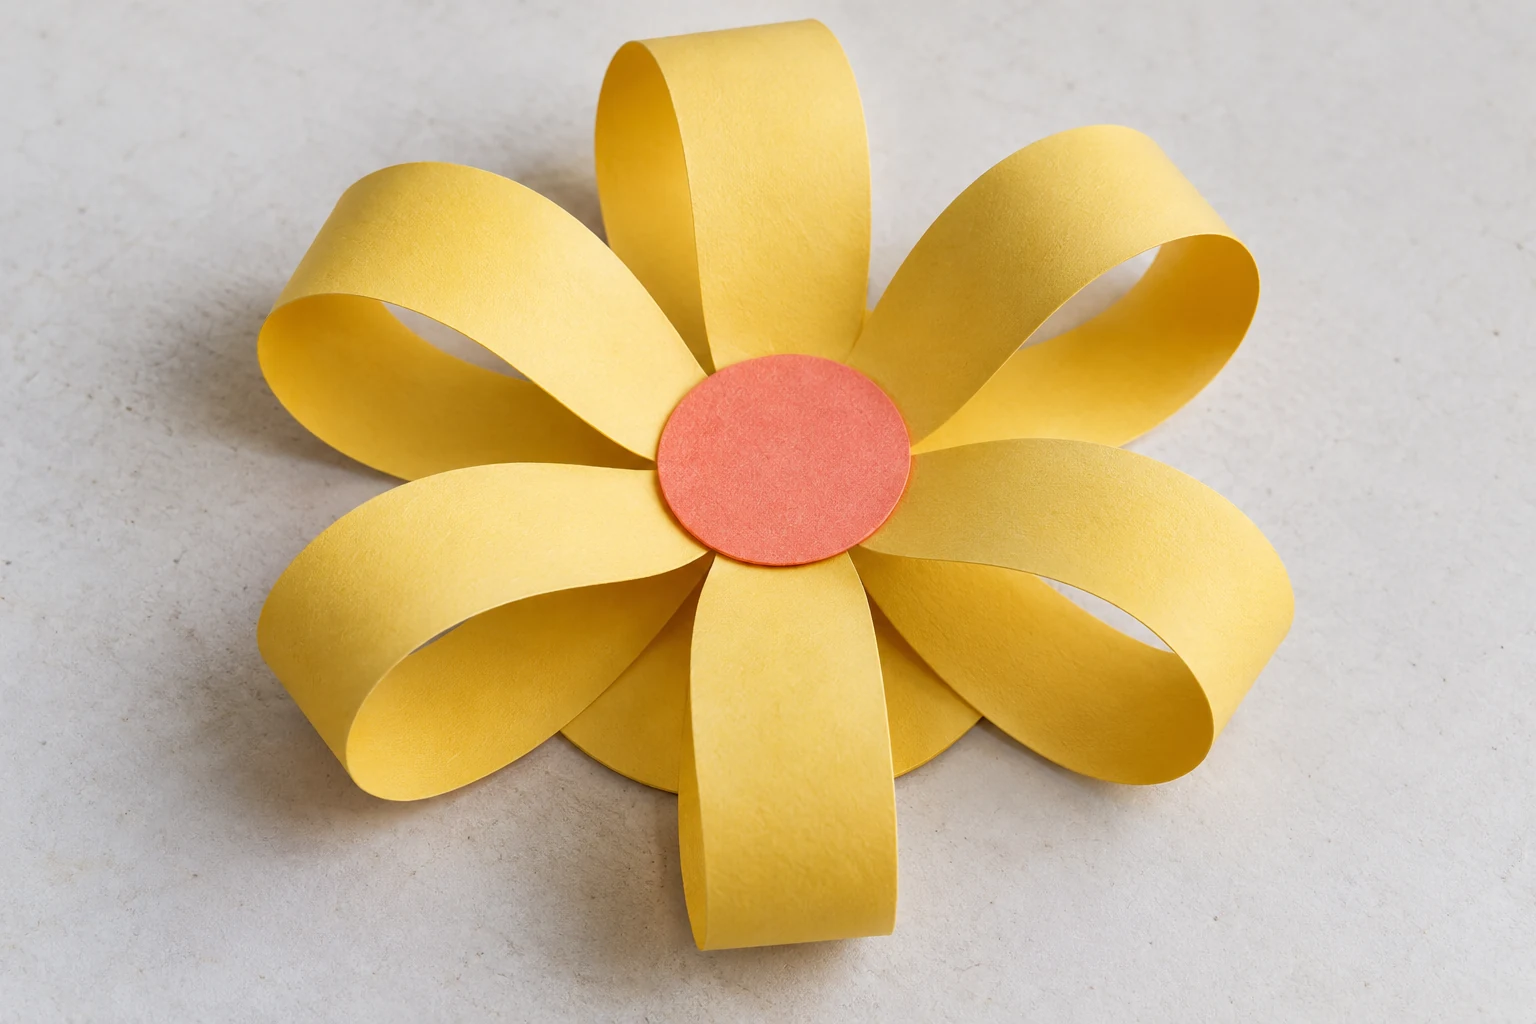
Bring the ends of a paper strip together without creasing its rounded middle. Glue the overlapping ends to form one loop petal. Arrange petals around a cardstock circle, covering their attached ends with a smaller circle.
- Lighter colored paper for folds and layersView on Amazon
- Firmer colored cardstock for basesView on Amazon
- General craft scissorsView on Amazon
- Paper glue sticks, three 22g sticksView on Amazon
Comparable options, not the exact pictured items. Check the selected variant and current directions.
Fit and buying notes
- Astrobrights Spectrum colored paper, 150 sheets: Letter-size 24-pound paper, not cardstock or pre-cut origami squares. Lighter option for simple folds and loops; some buyers find the weight thinner than expected. Colors are assorted, not an exact match to every illustrative concept. No stock or delivery promise.
- Astrobrights assorted cardstock: Assorted 65-pound colored cardstock. Compare thickness with folds and card blanks; a bulk pack is optional.
- Fiskars original scissors: General eight-inch craft scissors. Use a safe cutting method appropriate to your project and ability.
- Elmer’s washable school glue sticks: Elmer’s disappearing-purple washable school glue sticks, three 22-gram sticks. Paper and card use; follow age labeling. Not a food adhesive or an instruction to glue items to furniture.
Let the flower rest flat while those joins set. A contrasting center makes the shape readable without extra beads or specialty stamens. Our pipe-cleaner flower ideas explore another material when you’d prefer bendable stems and different silhouettes.
11. Finish a little pleated fan
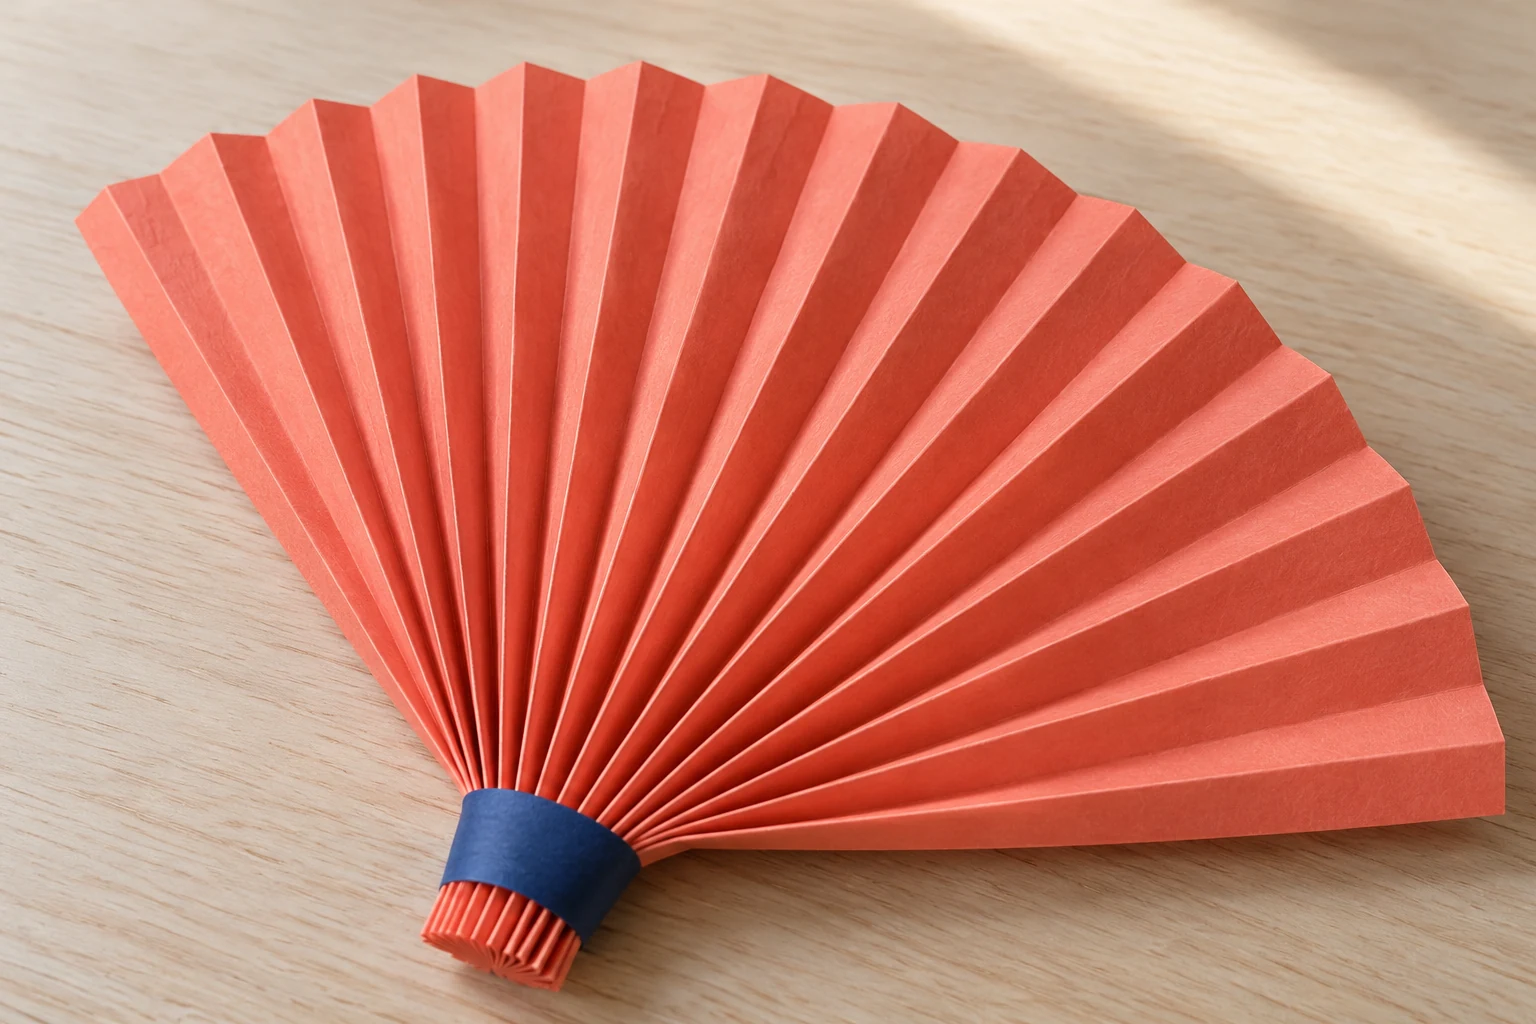
Accordion-fold a lighter paper rectangle across its width. Pinch one short end together while gently spreading the opposite end into a fan. Check the shape before gluing the pinched portion into a small paper wrap.
- Lighter colored paper for folds and layersView on Amazon
- Paper glue sticks, three 22g sticksView on Amazon
Comparable options, not the exact pictured items. Check the selected variant and current directions.
Fit and buying notes
- Astrobrights Spectrum colored paper, 150 sheets: Letter-size 24-pound paper, not cardstock or pre-cut origami squares. Lighter option for simple folds and loops; some buyers find the weight thinner than expected. Colors are assorted, not an exact match to every illustrative concept. No stock or delivery promise.
- Elmer’s washable school glue sticks: Elmer’s disappearing-purple washable school glue sticks, three 22-gram sticks. Paper and card use; follow age labeling. Not a food adhesive or an instruction to glue items to furniture.
Keep the wrap narrow enough to hold the base without swallowing the pleats. Let it set before opening the fan further. This is a light decorative paper piece, rather than a durable everyday cooling fan.
12. Fold a keepsake pocket
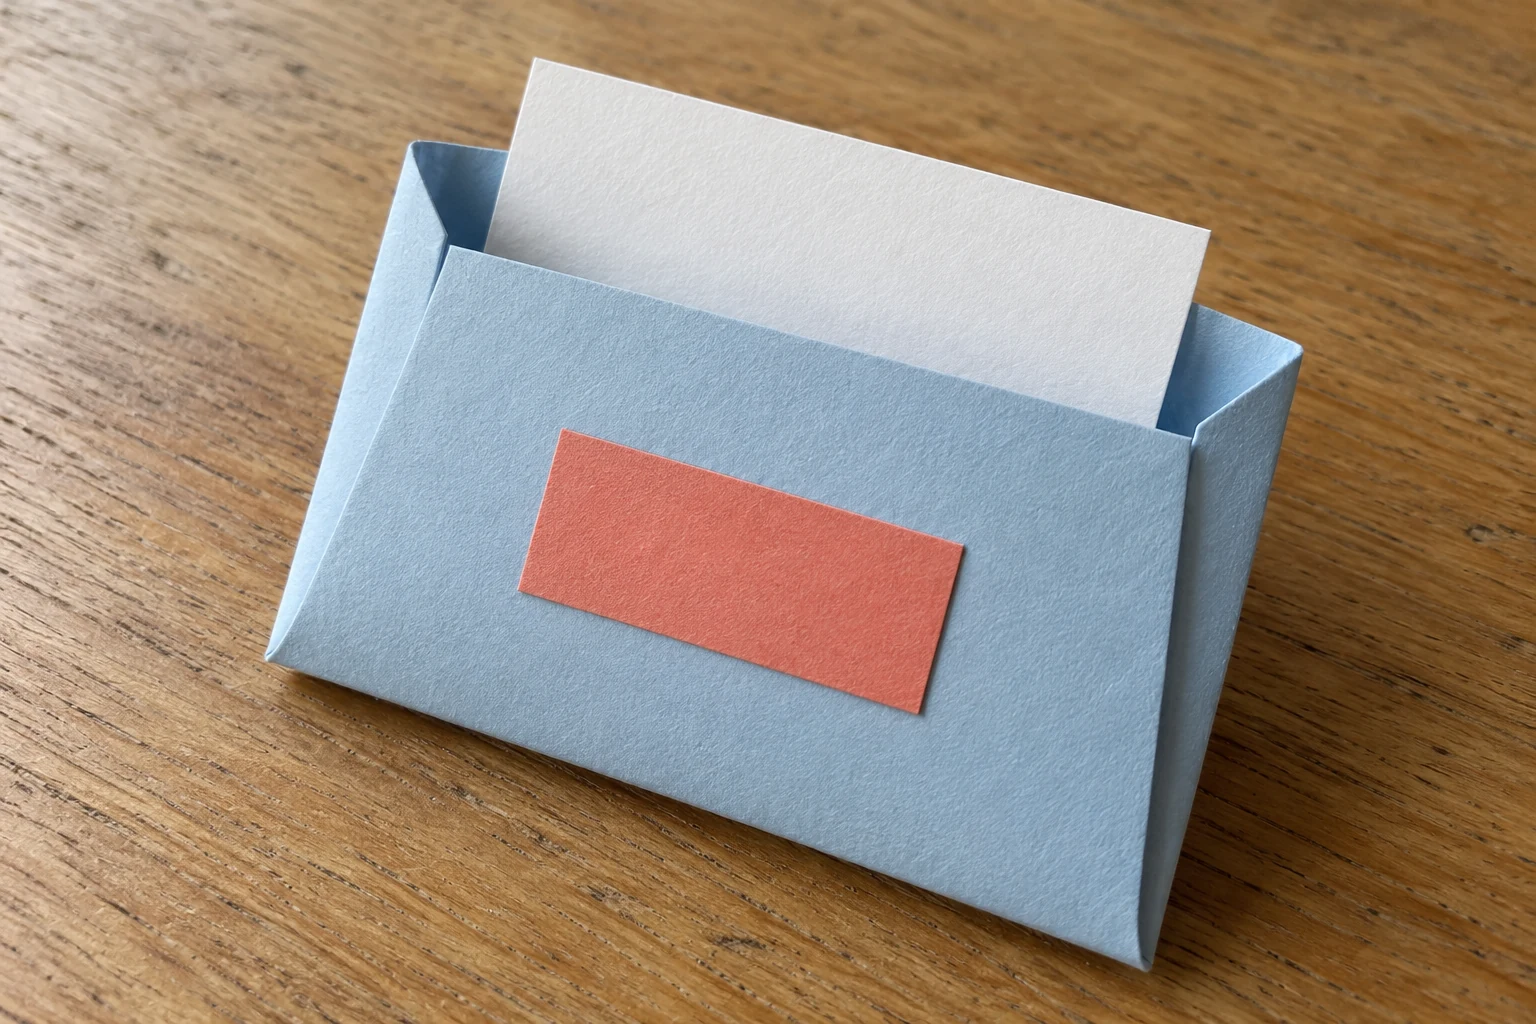
Fold the bottom of a paper rectangle upward to create a shallow pocket front. Fold narrow side tabs inward and glue them to the backing, leaving the top open. Check the opening with an ordinary scrap before adding decoration.
- Lighter colored paper for folds and layersView on Amazon
- Paper glue sticks, three 22g sticksView on Amazon
Comparable options, not the exact pictured items. Check the selected variant and current directions.
Fit and buying notes
- Astrobrights Spectrum colored paper, 150 sheets: Letter-size 24-pound paper, not cardstock or pre-cut origami squares. Lighter option for simple folds and loops; some buyers find the weight thinner than expected. Colors are assorted, not an exact match to every illustrative concept. No stock or delivery promise.
- Elmer’s washable school glue sticks: Elmer’s disappearing-purple washable school glue sticks, three 22-gram sticks. Paper and card use; follow age labeling. Not a food adhesive or an instruction to glue items to furniture.
Use the pocket for a small note or a lightweight paper memento. Leave original irreplaceable photographs in storage suited to their preservation needs. A handmade pocket isn’t automatically protective or archival because its paper looks attractive.
13. Roll a fringed paper tassel

Cut narrow parallel fringes along one long edge of a lighter paper rectangle. Leave the opposite edge intact, then roll that uncut band into a compact top. Glue the end in place without flattening the hanging fringe.
- Lighter colored paper for folds and layersView on Amazon
- General craft scissorsView on Amazon
- Paper glue sticks, three 22g sticksView on Amazon
Comparable options, not the exact pictured items. Check the selected variant and current directions.
Fit and buying notes
- Astrobrights Spectrum colored paper, 150 sheets: Letter-size 24-pound paper, not cardstock or pre-cut origami squares. Lighter option for simple folds and loops; some buyers find the weight thinner than expected. Colors are assorted, not an exact match to every illustrative concept. No stock or delivery promise.
- Fiskars original scissors: General eight-inch craft scissors. Use a safe cutting method appropriate to your project and ability.
- Elmer’s washable school glue sticks: Elmer’s disappearing-purple washable school glue sticks, three 22-gram sticks. Paper and card use; follow age labeling. Not a food adhesive or an instruction to glue items to furniture.
Add a small folded paper loop at the top if you want a decorative attachment point. Let that join set before handling it by the loop. Keep the piece light and dry, and make the fringe broader if thin strips keep tearing.
14. Open a folded cutout panel
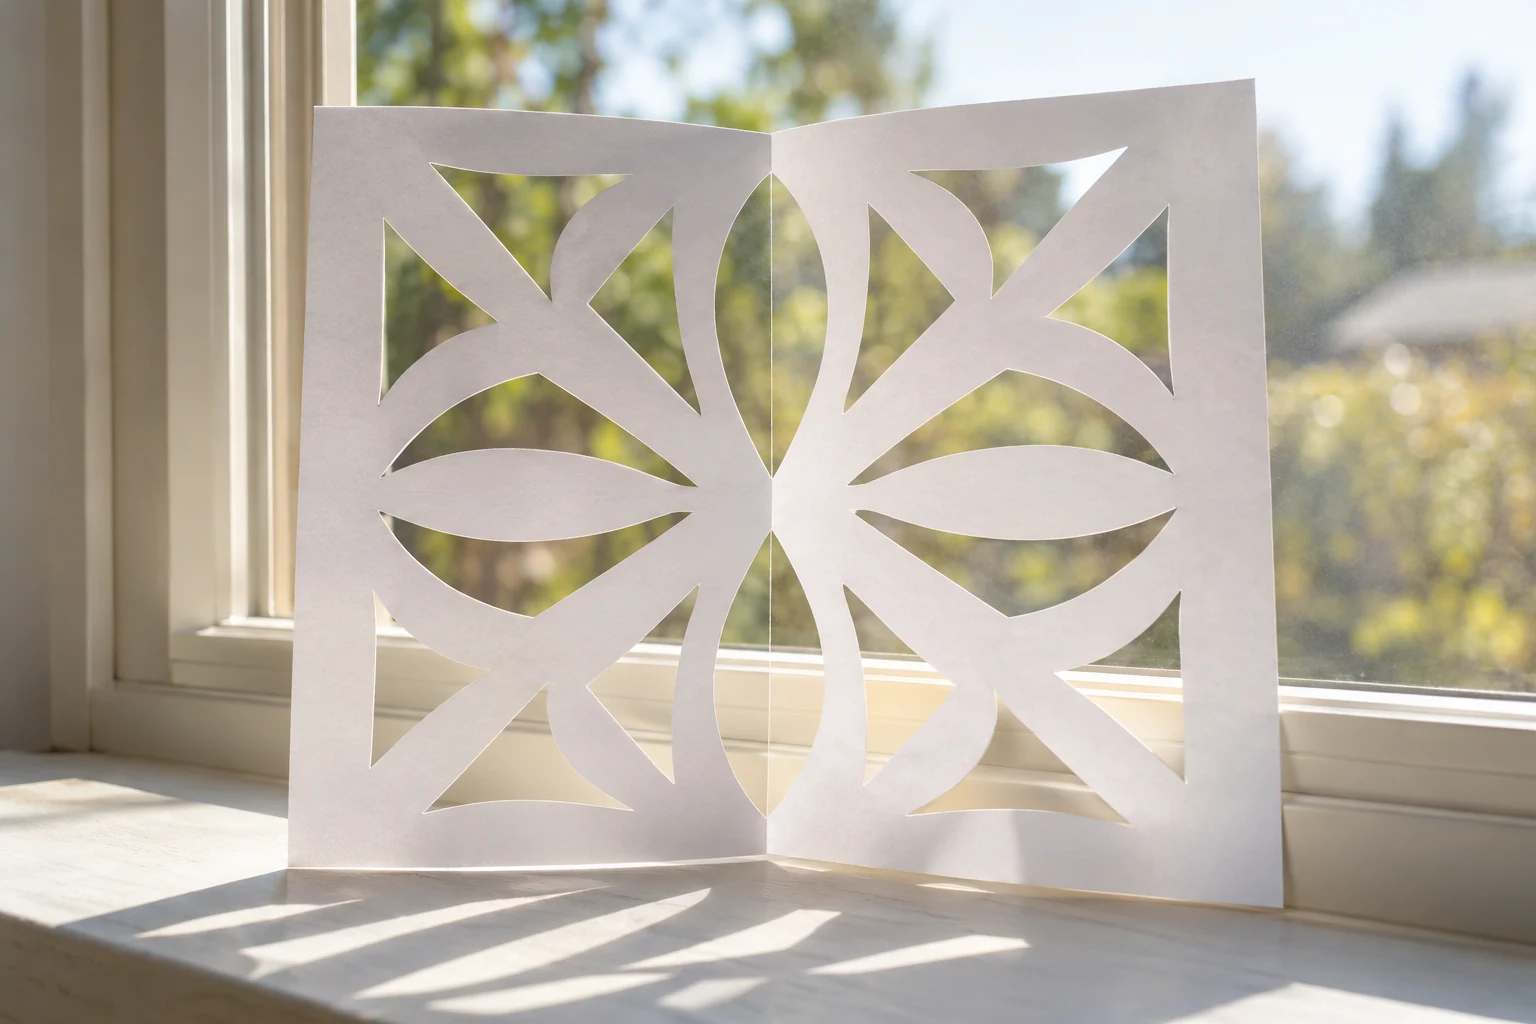
Fold a lighter paper rectangle and cut a few simple shapes from the folded edge. Keep clear bridges of uncut paper between the openings. Unfold slowly to reveal the repeated pattern, then flatten it gently on the table.
Comparable options, not the exact pictured items. Check the selected variant and current directions.
Fit and buying notes
- Astrobrights Spectrum colored paper, 150 sheets: Letter-size 24-pound paper, not cardstock or pre-cut origami squares. Lighter option for simple folds and loops; some buyers find the weight thinner than expected. Colors are assorted, not an exact match to every illustrative concept. No stock or delivery promise.
- Fiskars original scissors: General eight-inch craft scissors. Use a safe cutting method appropriate to your project and ability.
Start with broad triangles or rounded notches rather than tiny interior details. You can hold the finished panel toward a window to see its openings clearly. It doesn’t need permanent window adhesive or a frame to make the pattern interesting.
15. Layer cut leaves around a paper ring
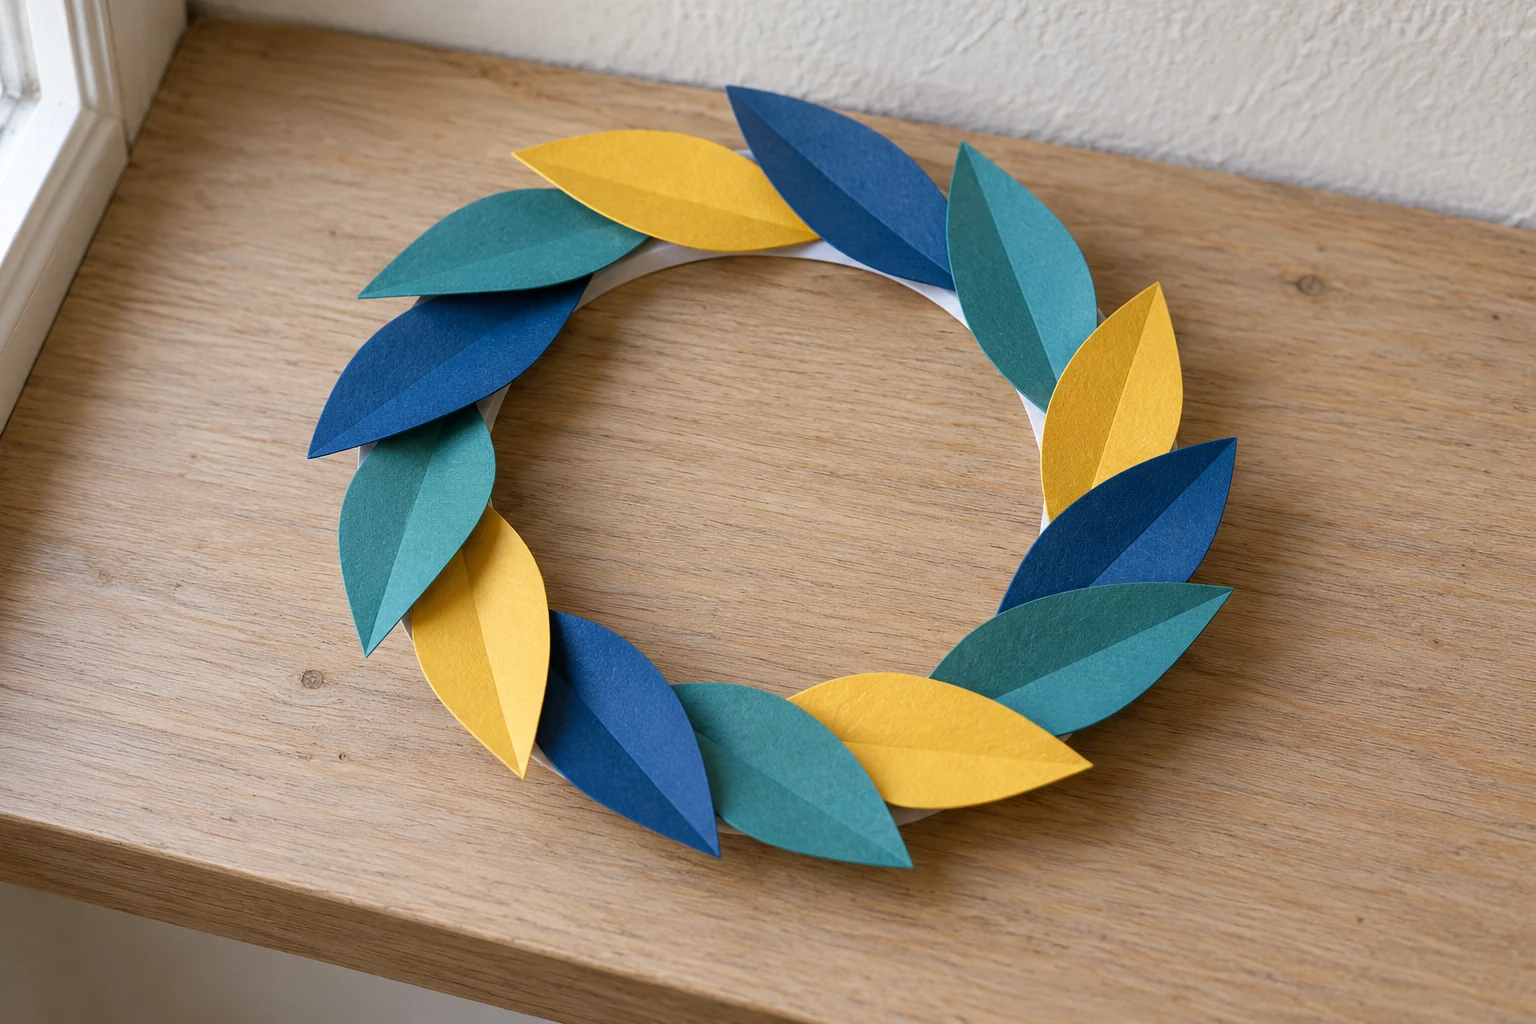
Fold cardstock in half and cut matching outer and inner semicircles to create a ring. Open it, then arrange simple cut paper leaves around the base. Overlap the leaves slightly while keeping their points and centers visible.
- Lighter colored paper for folds and layersView on Amazon
- Firmer colored cardstock for basesView on Amazon
- General craft scissorsView on Amazon
- Paper glue sticks, three 22g sticksView on Amazon
Comparable options, not the exact pictured items. Check the selected variant and current directions.
Fit and buying notes
- Astrobrights Spectrum colored paper, 150 sheets: Letter-size 24-pound paper, not cardstock or pre-cut origami squares. Lighter option for simple folds and loops; some buyers find the weight thinner than expected. Colors are assorted, not an exact match to every illustrative concept. No stock or delivery promise.
- Astrobrights assorted cardstock: Assorted 65-pound colored cardstock. Compare thickness with folds and card blanks; a bulk pack is optional.
- Fiskars original scissors: General eight-inch craft scissors. Use a safe cutting method appropriate to your project and ability.
- Elmer’s washable school glue sticks: Elmer’s disappearing-purple washable school glue sticks, three 22-gram sticks. Paper and card use; follow age labeling. Not a food adhesive or an instruction to glue items to furniture.
Glue small sections at a time instead of covering the whole ring before positioning anything. Let it rest flat while drying. The wreath can lie on a shelf as an indoor accent without a mounting system.
Keep the useful leftovers
Save clean strips, broad offcuts and unused card bases for another attempt. Sort them by the kind of movement they suit, rather than every tiny color difference. A few usable pieces beat a container packed with scraps you can’t comfortably cut.
When a project feels fiddly, make its shapes larger or reduce the number of parts. You can learn more from one clear fold or join than from another unfinished complicated design. Choose the next idea after seeing what your paper and tools can comfortably do.
Visuals are original AI-generated editorial concepts, not photographs of actual products, tested projects, cooked results or real events.