10 Kitchen Under-Sink Organization Ideas That Keep Plumbing Accessible
Explore the ideas
- 1. Map the cabinet before buying storage
- 2. Choose one side for a small caddy
- 3. Use the short front strip for small tools
- 4. Fit a narrow drawer beside the pipe
- 5. Let a plain bin handle the awkward side
- 6. Keep the shutoff route clear
- 7. Give damp tools a separate drying place
- 8. Contain the cloths without sealing them damp
- 9. Use a removable base layer sensibly
- 10. Check the fully open door and drawer together
- Keep the setup easy to inspect
- Keep maintenance information separate
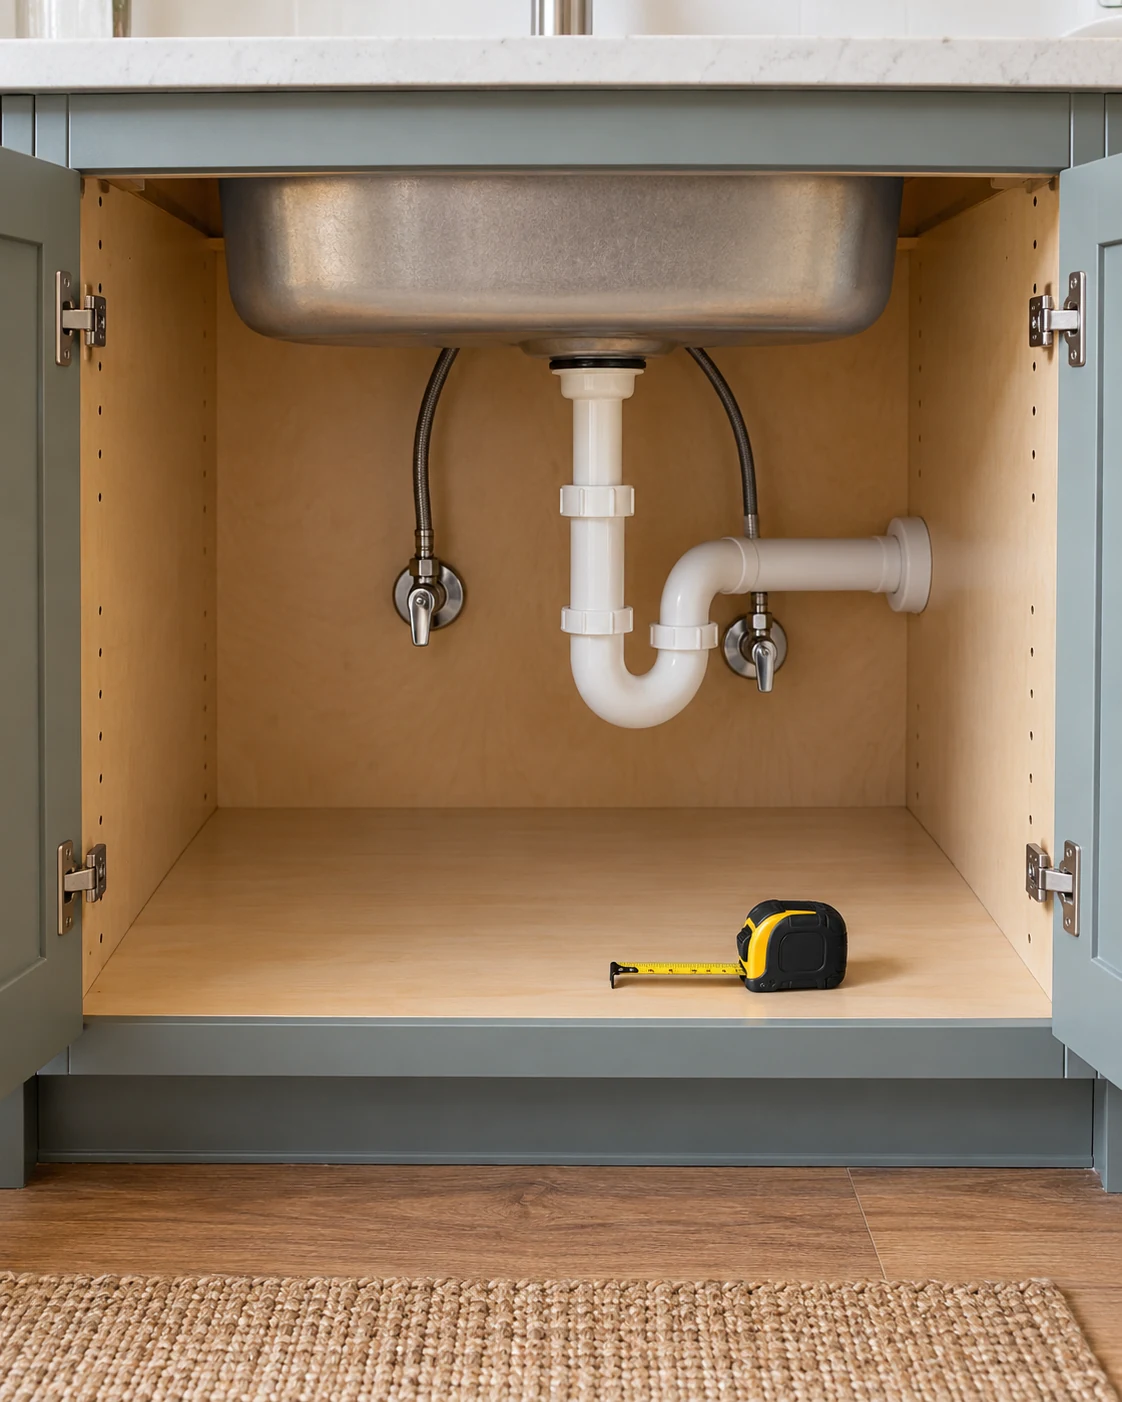
Under-sink storage starts with your actual cabinet and everything interrupting its floor space. Pipes, valves, hinges, and disposal units matter more than a product photograph showing an empty box. Measure those obstacles before choosing a drawer or bin.
The easier side may only need one removable caddy, while the awkward side stays mostly clear. A drawer is worthwhile only when its whole route works around the existing plumbing. The layouts below show storage possibilities, with repairs kept separate from the organizing job.
Organizing also isn’t childproofing, and an ordinary caddy doesn’t provide secure chemical storage. Keep cleaning products in their original labeled containers and follow their storage directions. Secure hazardous products away from children and pets instead of decanting them for appearance.
1. Map the cabinet before buying storage
Empty the cabinet enough to see its actual usable floor and obstructions. Record the clear opening, internal height, and the position of the drain and valves. Include anything attached to the doors, since it moves through the available space too.
Comparable options, not the exact pictured items. Check the selected color, size and buying notes.
Materials, fit and differences from the concept
- Stanley PowerLock tape measure: Sixteen-foot retractable tape measure. Check usable internal space, not just advertised external bag or cabinet dimensions.
Draw a simple outline on scrap paper with those obstacles marked. Then compare a proposed organizer against that outline instead of guessing from total cabinet width. Don’t detach plumbing or move electrical equipment to make a storage product fit.
2. Choose one side for a small caddy
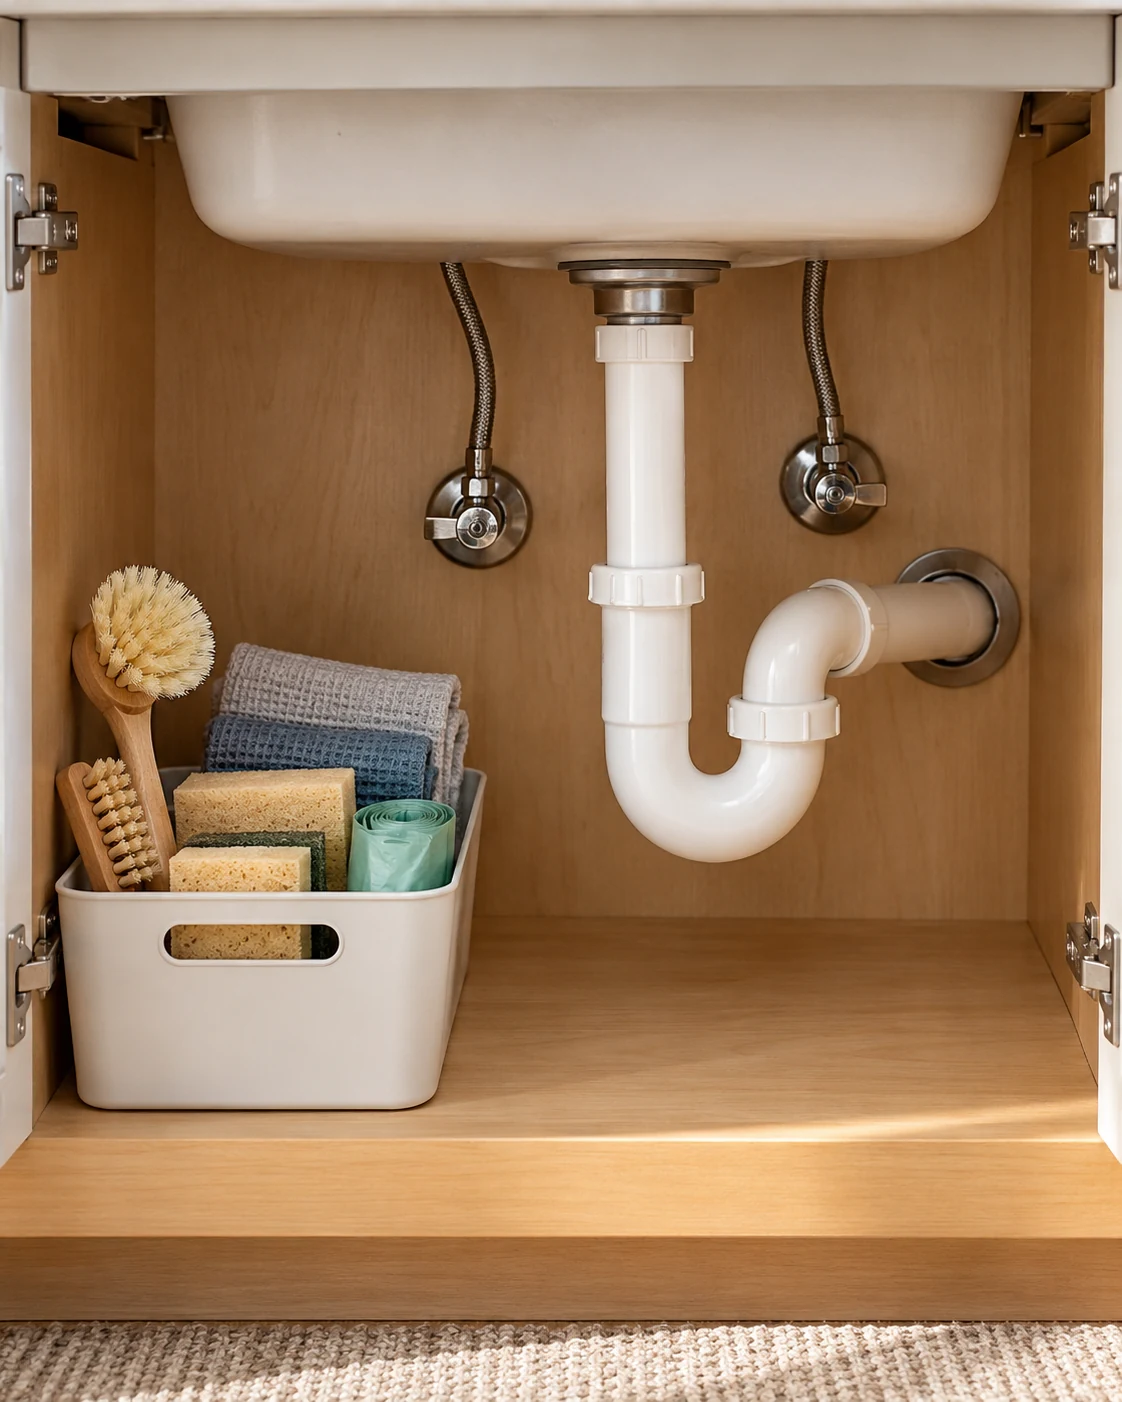
A small handled caddy can group brushes and other dry tools on one side. Keeping it to a defined area leaves more of the cabinet accessible. It also lets you remove the group without handling every loose item separately.
Comparable options, not the exact pictured items. Check the selected color, size and buying notes.
Materials, fit and differences from the concept
- Casabella handled cleaning caddy: 1.5-gallon handled utility caddy. Check loaded weight and opening clearance; it is not a childproof chemical container.
Check the loaded caddy’s weight and how easily its handle clears the cabinet opening. Its footprint matters less if you cannot lift it past the pipe. Use it for a manageable group rather than filling every compartment because space remains.
3. Use the short front strip for small tools
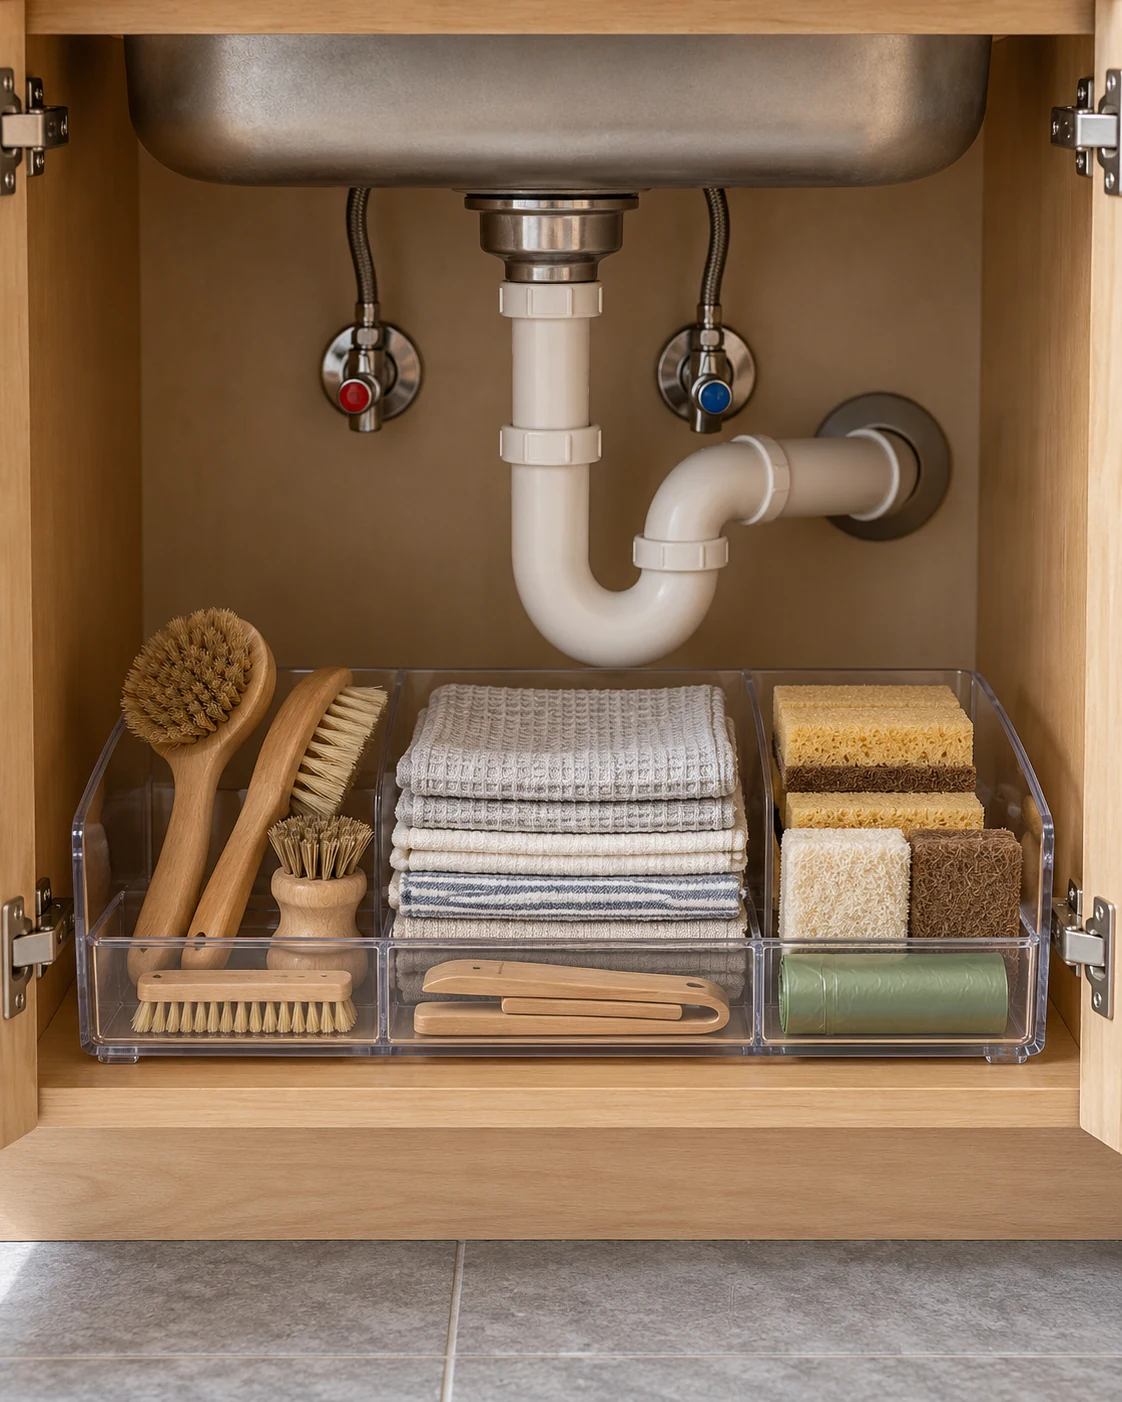
The front edge may provide useful shallow space even when the center is interrupted by plumbing. A low bin can keep small dry tools from rolling backward. Its height should let you see what is inside without reaching blindly behind the door.
Comparable options, not the exact pictured items. Check the selected color, size and buying notes.
Materials, fit and differences from the concept
- mDesign clear handled storage bin: Handled clear organizer, 14-inch length. Confirm all dimensions, cabinet opening and care instructions before ordering.
Make sure the bin doesn’t obstruct the hinges or stop the doors closing normally. Leave enough room to grasp its sides or handle. Choose a smaller group or another position if retrieval requires tilting tools toward your face.
4. Fit a narrow drawer beside the pipe
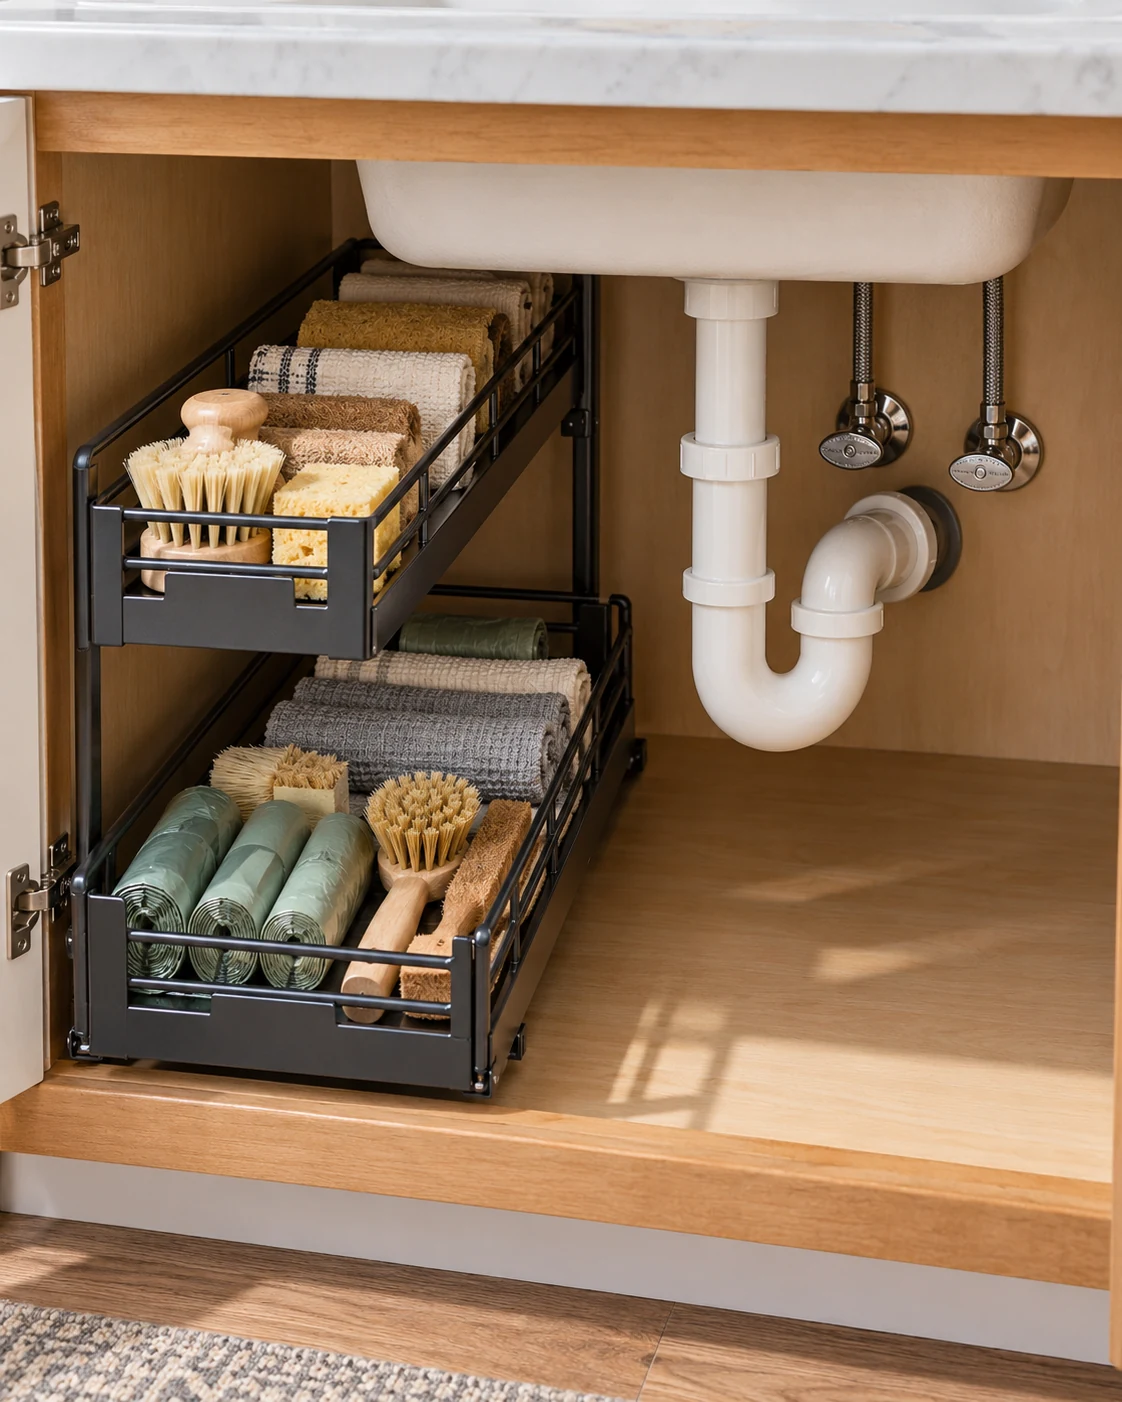
A narrow sliding organizer can use one side without crossing the main drain route. An L-shaped design may provide different clearances on its upper and lower levels. The illustrated layout shows the idea, while your measurements determine whether a particular model works.
Comparable options, not the exact pictured items. Check the selected color, size and buying notes.
Materials, fit and differences from the concept
- REALINN L-shaped sliding organizer: L-shaped two-tier sliding organizers. Check exact dimensions, assembly, hinge clearance, drawer travel and actual plumbing; no universal fit.
Check the drawer’s entire path when extended, including its handles and contents. A unit can fit at rest while colliding with a hinge during use. Follow its assembly and load guidance instead of treating an advertised capacity as a target.
5. Let a plain bin handle the awkward side
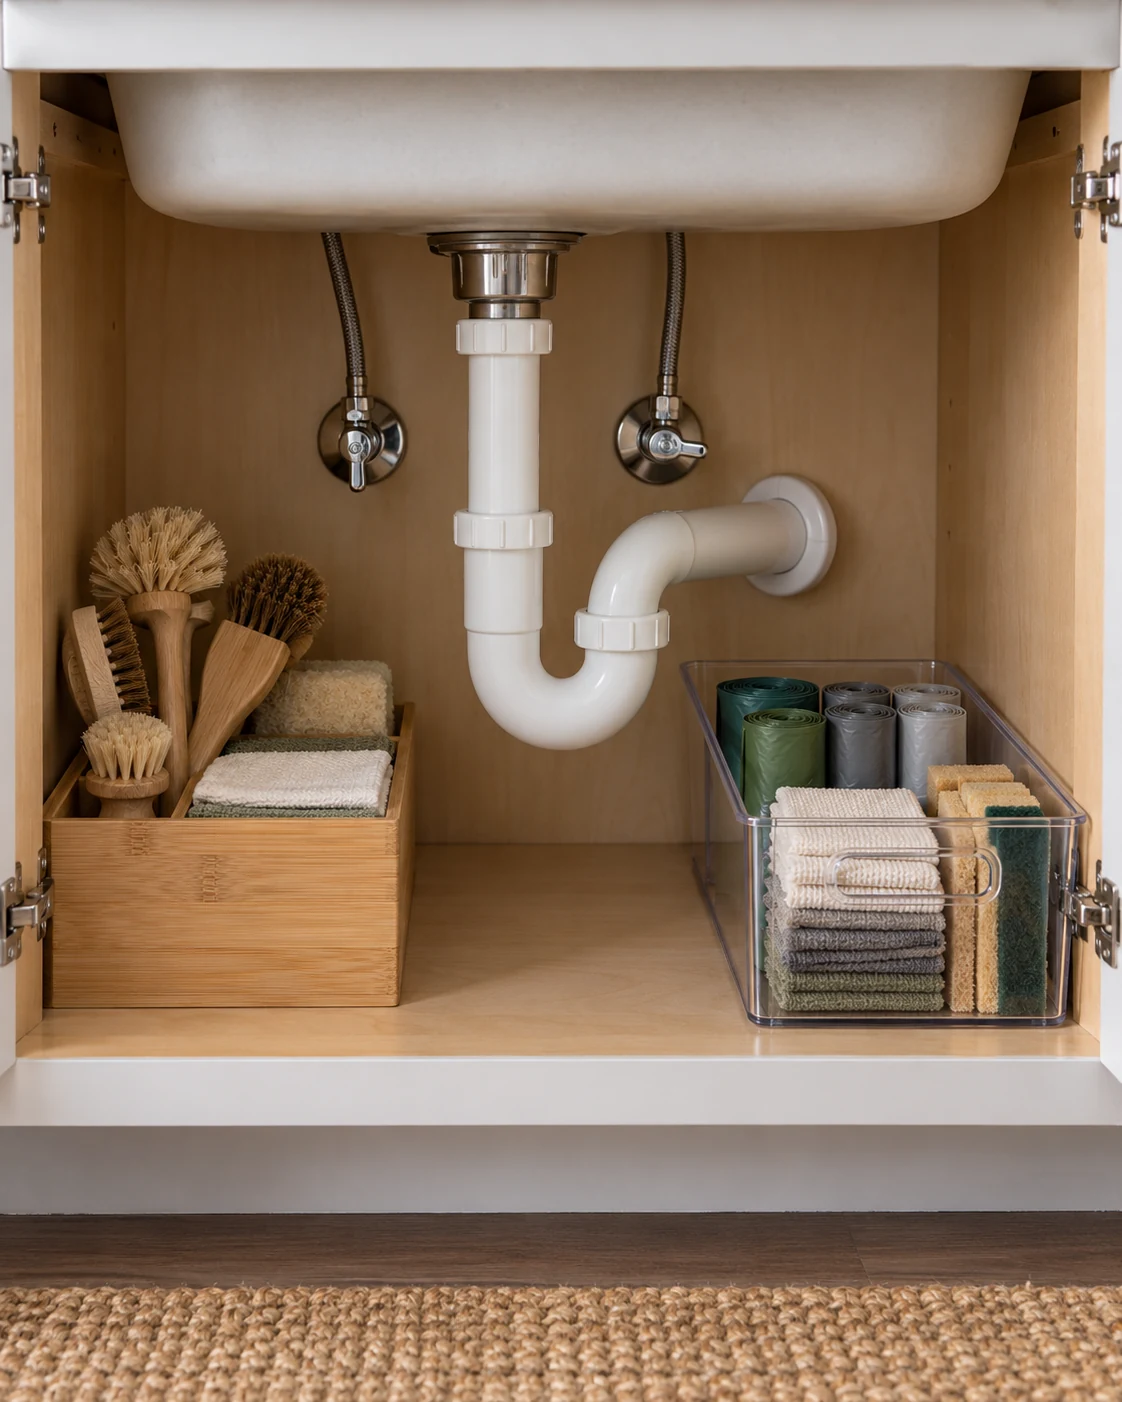
The side with less clear height may suit a simple low bin better than stacked shelving. Use it for bag rolls or dry cloths that don’t require a tall compartment. A modest container can be easier to remove when plumbing access matters.
Comparable options, not the exact pictured items. Check the selected color, size and buying notes.
Materials, fit and differences from the concept
- mDesign clear handled storage bin: Handled clear organizer, 14-inch length. Confirm all dimensions, cabinet opening and care instructions before ordering.
Measure the narrowest point the bin must pass through. The cabinet’s interior may be wider than the space between a pipe and door hinge. Keep the contents low enough that the loaded bin remains manageable.
6. Keep the shutoff route clear
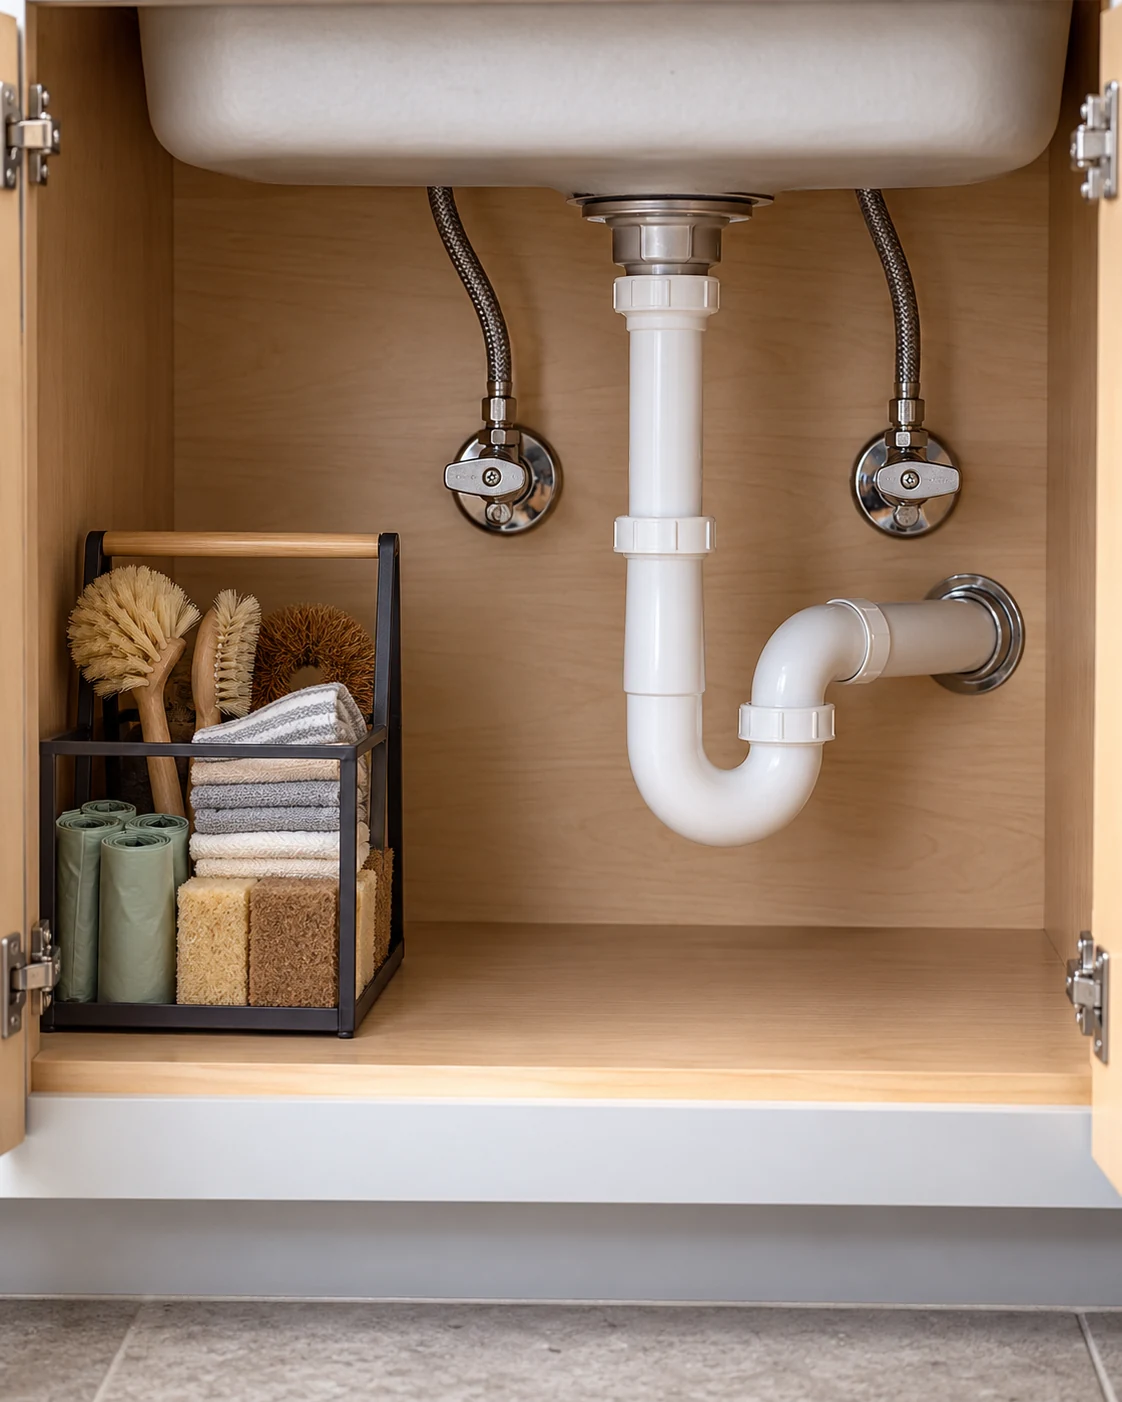
Leave the water shutoff valves visible and reachable without unloading a complicated display. A small caddy should sit away from that route rather than directly beneath your hand. Clear access also makes it easier to notice changes inside the cabinet.
Comparable options, not the exact pictured items. Check the selected color, size and buying notes.
Materials, fit and differences from the concept
- Casabella handled cleaning caddy: 1.5-gallon handled utility caddy. Check loaded weight and opening clearance; it is not a childproof chemical container.
Know where your own valves are without experimenting with unfamiliar plumbing unnecessarily. If access is obstructed by fixed equipment, ask an appropriate professional about the situation. Storage should adapt around the system instead of encouraging you to alter it.
7. Give damp tools a separate drying place
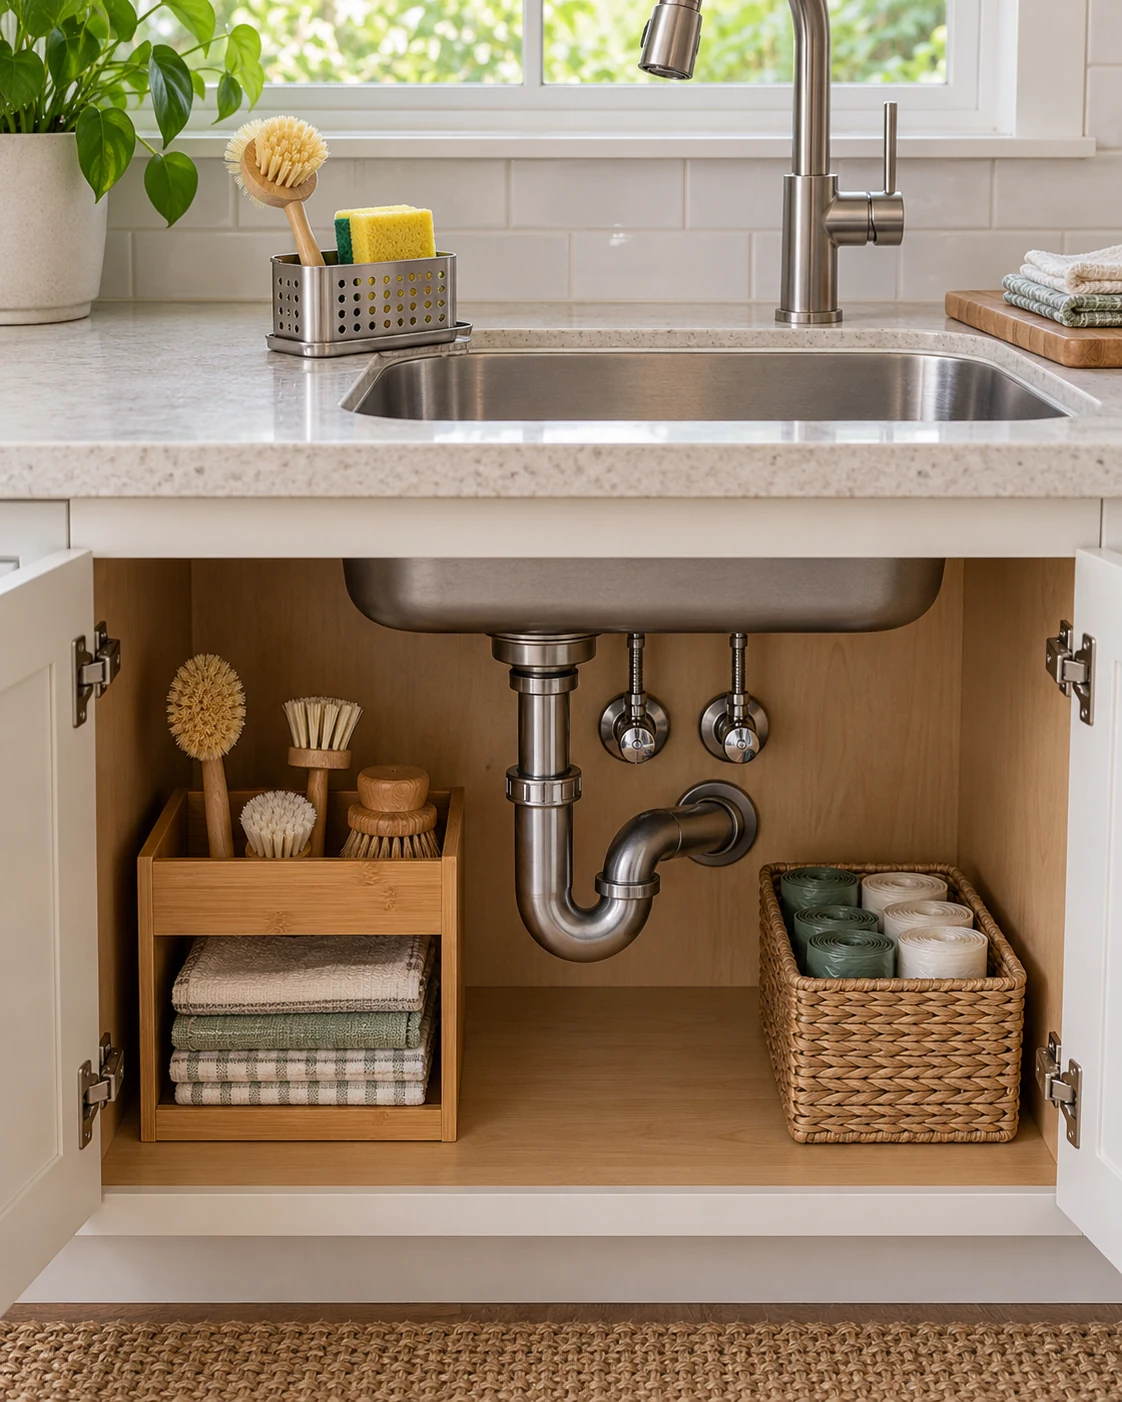
A ventilated sink holder can give a used brush or sponge a separate draining place. That keeps damp tools from being buried among folded cloths inside the cabinet. Choose a stable position where drips won’t create another problem on the counter.
Comparable options, not the exact pictured items. Check the selected color, size and buying notes.
Materials, fit and differences from the concept
- OXO stainless sinkware caddy: Stainless sinkware caddy with drainage collection. Follow cleaning guidance; storage does not sterilize brushes or sponges.
Clean the holder according to its instructions and empty any collected water as needed. A caddy organizes tools; it doesn’t sterilize them or make them last indefinitely. Let the actual condition of a tool guide when it needs cleaning or replacing.
8. Contain the cloths without sealing them damp

An open bin can hold clean, dry cloths where you can see and retrieve them. Fold them to the bin’s depth instead of building a stack that falls behind the pipe. Keep used cloths out of this clean supply.
Comparable options, not the exact pictured items. Check the selected color, size and buying notes.
Materials, fit and differences from the concept
- mDesign clear handled storage bin: Handled clear organizer, 14-inch length. Confirm all dimensions, cabinet opening and care instructions before ordering.
Dry cloths appropriately before returning them to enclosed storage. A neatly folded damp stack still creates an unsuitable storage situation. Choose another location if this cabinet stays damp or cannot sensibly store clean textiles.
9. Use a removable base layer sensibly
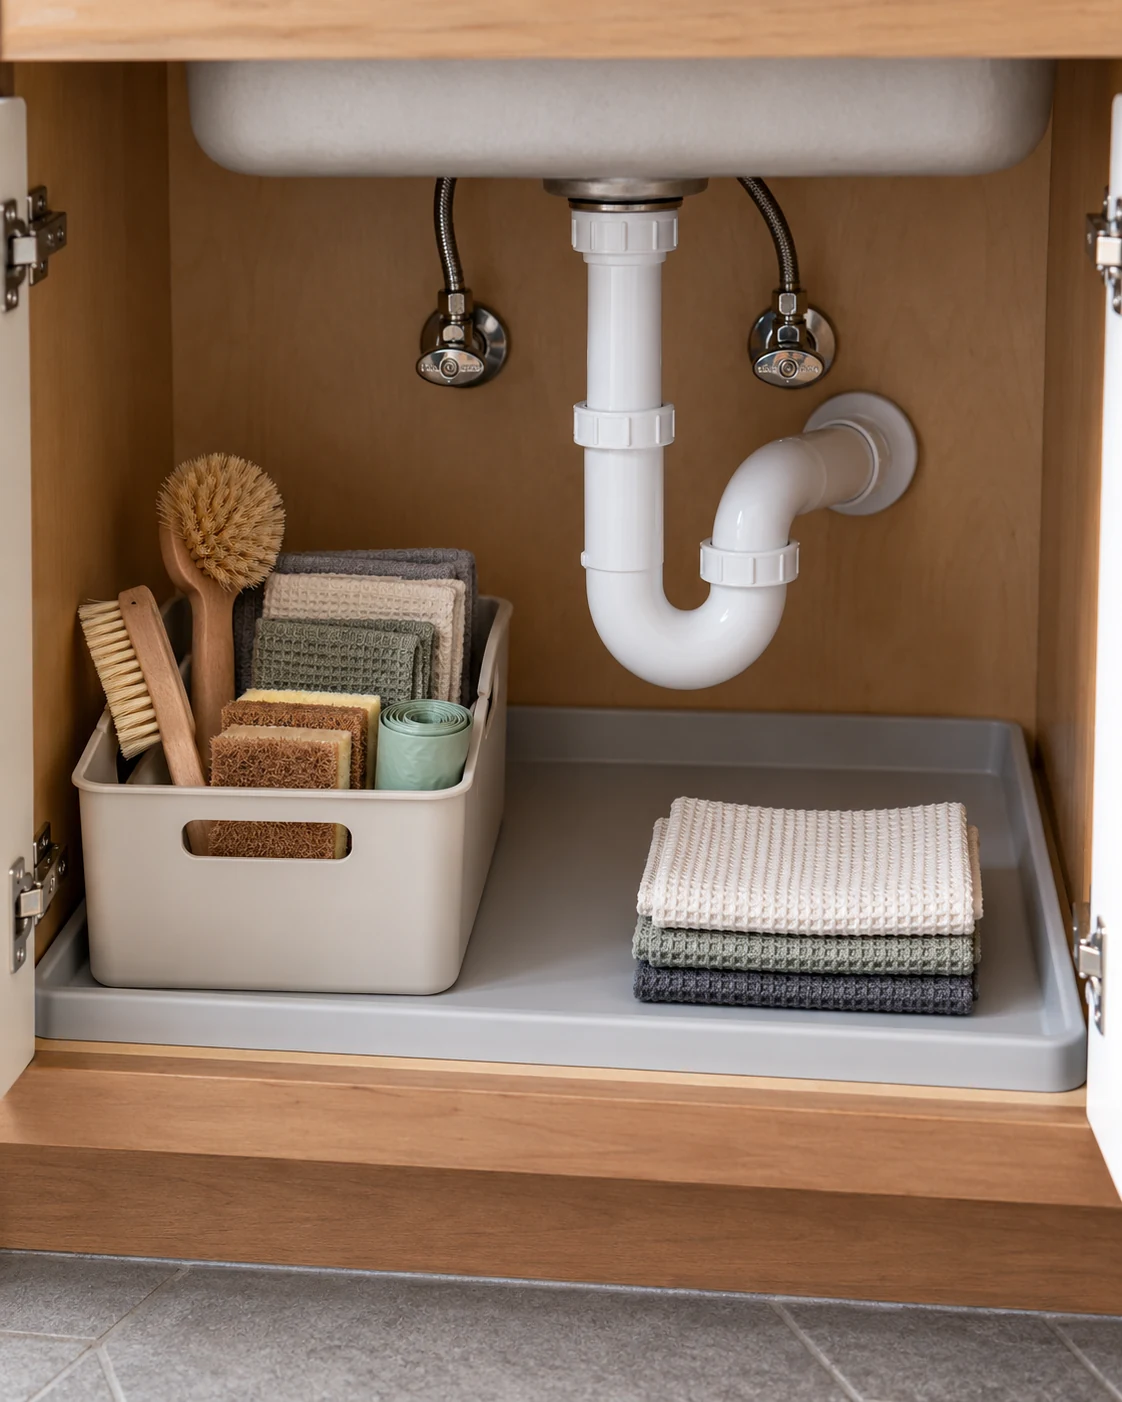
A removable tray can make routine cleaning easier beneath a small group of tools. Choose a size that can come out without disturbing fixed plumbing. Keep the edges visible so you can inspect the surface beneath it periodically.
Comparable options, not the exact pictured items. Check the selected color, size and buying notes.
Materials, fit and differences from the concept
- Gorilla Grip boot tray: Compare selected color, size and materials with the concept.
- Casabella handled cleaning caddy: 1.5-gallon handled utility caddy. Check loaded weight and opening clearance; it is not a childproof chemical container.
A tray isn’t a repair, leak alarm, or reason to ignore moisture. Investigate unexpected water instead of simply placing another liner over it. Avoid using layers that conceal damage or make the cabinet’s condition harder to check.
10. Check the fully open door and drawer together
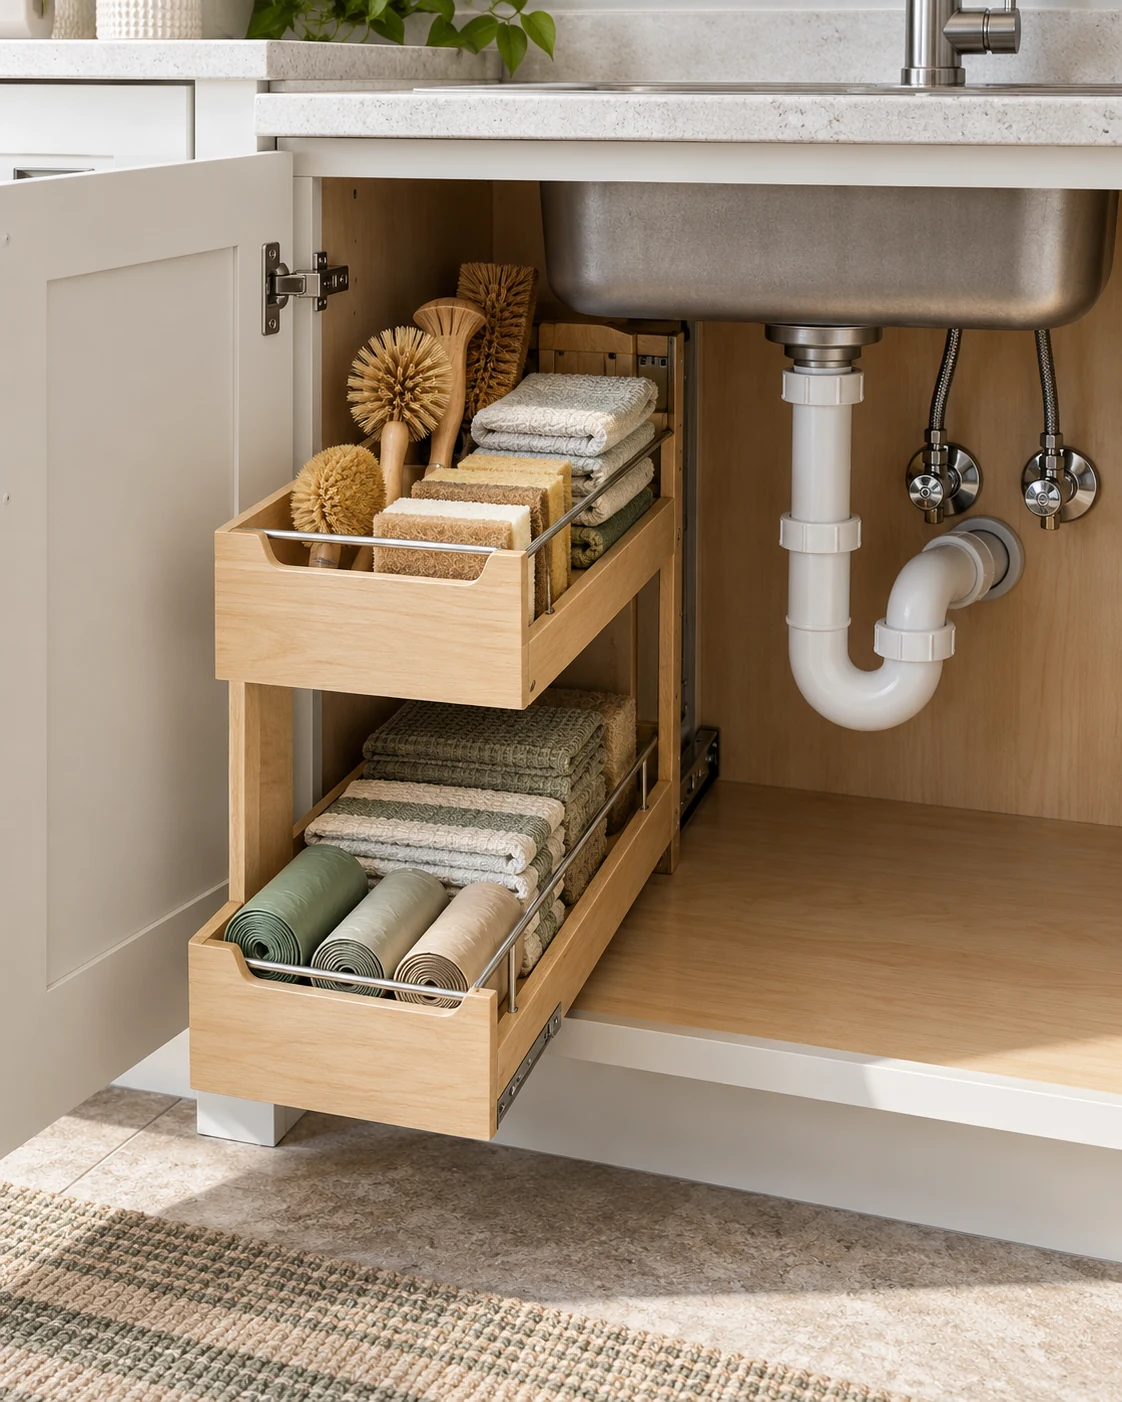
Test moving parts through their complete normal range before calling the arrangement finished. Open the door, extend the drawer, and check where your hands need to go. Repeat the check with the actual tools inside, since handles can project beyond the organizer.
Comparable options, not the exact pictured items. Check the selected color, size and buying notes.
Materials, fit and differences from the concept
- REALINN L-shaped sliding organizer: L-shaped two-tier sliding organizers. Check exact dimensions, assembly, hinge clearance, drawer travel and actual plumbing; no universal fit.
Look for collisions with hinges, neighboring doors, and anything stored immediately outside the cabinet. A slightly different position may solve the problem without another purchase. If it still doesn’t work comfortably, choose a simpler removable bin rather than forcing the mechanism.
Keep the setup easy to inspect
Leave some visible floor instead of using every available patch beneath the sink. An arrangement with fewer objects is easier to remove for cleaning or necessary maintenance. It also makes stray cloths and unexpected moisture less likely to stay hidden.
Keep product storage requirements separate from the desire for matching containers. Never combine cleaning chemicals or transfer them into food and drink containers. Use this cabinet for appropriate nonhazardous tools if hazardous products need secured storage elsewhere.
Before buying several organizers, try one manageable group on the less obstructed side. Use it through normal cleaning and put everything back afterward. The small pantry ideas explain retrieval and return without assuming every package needs decanting.
Review the cabinet again after adding any new tool or changing your cleaning routine. A system that once worked can become crowded without any obvious single mistake. Remove unnecessary items first, then decide whether another organizer would solve a real remaining problem.
Keep maintenance information separate
Store useful appliance or plumbing information somewhere dry and easy to locate. That might include a model reference or the contact your household uses for repairs. Don’t put important paper directly beneath a sink simply because the cabinet is nearby.
After reorganizing, show other household members where the essential access routes remain. A setup works better when everyone knows which spaces should stay clear. Keep that explanation practical rather than expecting people to infer it from matching bins.
Visuals are original AI-generated editorial concepts, not photographs of actual products, tested projects or hosted events.


