12 Handmade Birthday Card Ideas Using Simple Paper Shapes
Explore the ideas
- 1. Paper candles on a quiet background
- 2. A small balloon cluster
- 3. Torn paper as a tiny landscape
- 4. One envelope pocket on the front
- 5. A stack of paper presents
- 6. A generous circle for the message
- 7. Confetti kept in one corner
- 8. Petals from repeated paper shapes
- 9. An open heart-shaped window
- 10. Three panels with one color family
- 11. A ticket-shaped paper layer
- 12. A narrow tape border
- Finish with the recipient in mind
A handmade birthday card doesn’t need a complicated folding mechanism to feel personal. A few paper shapes can make the front cheerful while your message does the meaningful work. These twelve designs use familiar supplies and leave space for actual handwriting.
A row of paper candles is a friendly place to start if precise cutting feels intimidating. Flowers and balloons give you another direction without needing specialist tools. Try it on scrap paper first, leaving room for a greeting that fits the recipient’s name.
Start with scissors, colored paper, a card blank, and a suitable paper adhesive. Keep the first attempt flat if you plan to mail it. Thick layers and bulky embellishments introduce envelope and postage questions that a simple design avoids.
1. Paper candles on a quiet background
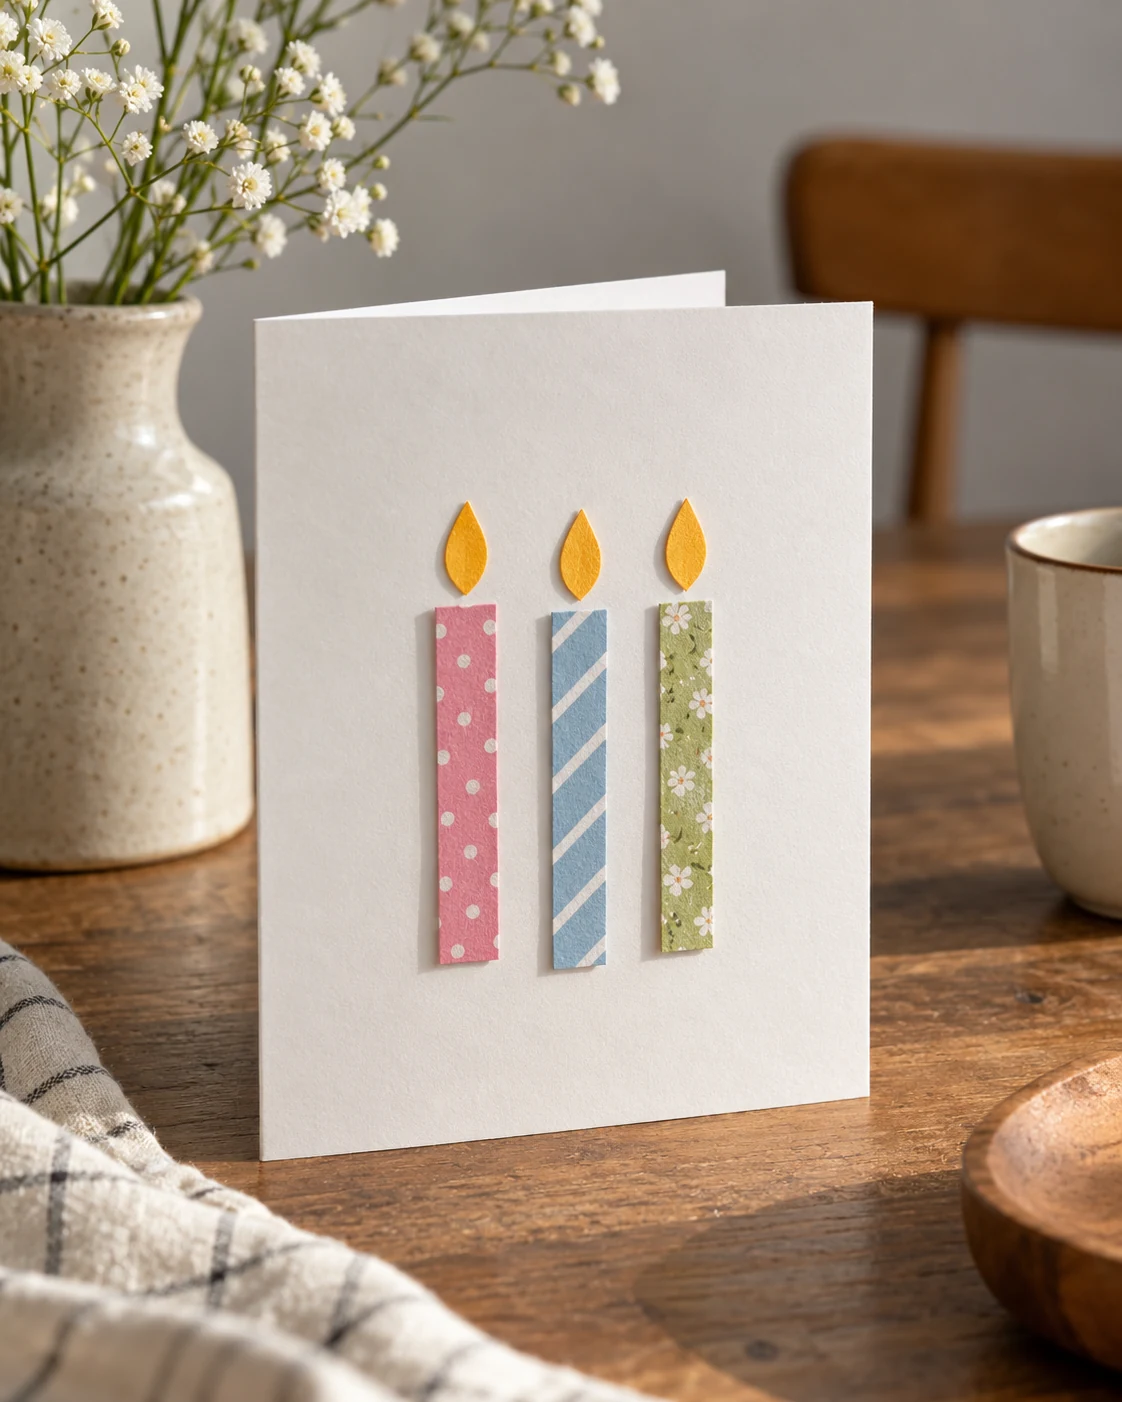
Cut several narrow rectangles for candles, varying their heights a little. Add small flame shapes above them, with clear gaps between neighboring flames. A plain background keeps the little silhouettes readable without an outlined birthday cake beneath them.
- White blank cards and envelopesView on Amazon
- Astrobrights assorted cardstockView on Amazon
- Elmer's CraftBond glue sticksView on Amazon
- Fiskars original scissorsView on Amazon
- Sakura Pigma Micron 05 pensView on Amazon
Comparable options, not the exact pictured items. Check the selected color, size and buying notes.
Materials, fit and differences from the concept
- White blank cards and envelopes: 4×6 blank cards and envelopes. Confirm finished card and envelope dimensions; packaging terminology varies.
- Astrobrights assorted cardstock: Assorted 65-pound colored cardstock. Compare thickness with folds and card blanks; a bulk pack is optional.
- Elmer's CraftBond glue sticks: Permanent paper glue sticks. Test your paper and use copies rather than applying glue to irreplaceable photographs.
- Fiskars original scissors: General eight-inch craft scissors. Use a safe cutting method appropriate to your project and ability.
- Sakura Pigma Micron 05 pens: Black Micron 05 pen, approximately 0.45 mm. Test the actual paper first; not a universal no-bleed guarantee.
Lay the candles along an imaginary baseline before attaching anything. Too many competing heights can make the row resemble scraps rather than candles. Leave a separate area for the greeting, instead of trying to squeeze words into the gaps.
2. A small balloon cluster
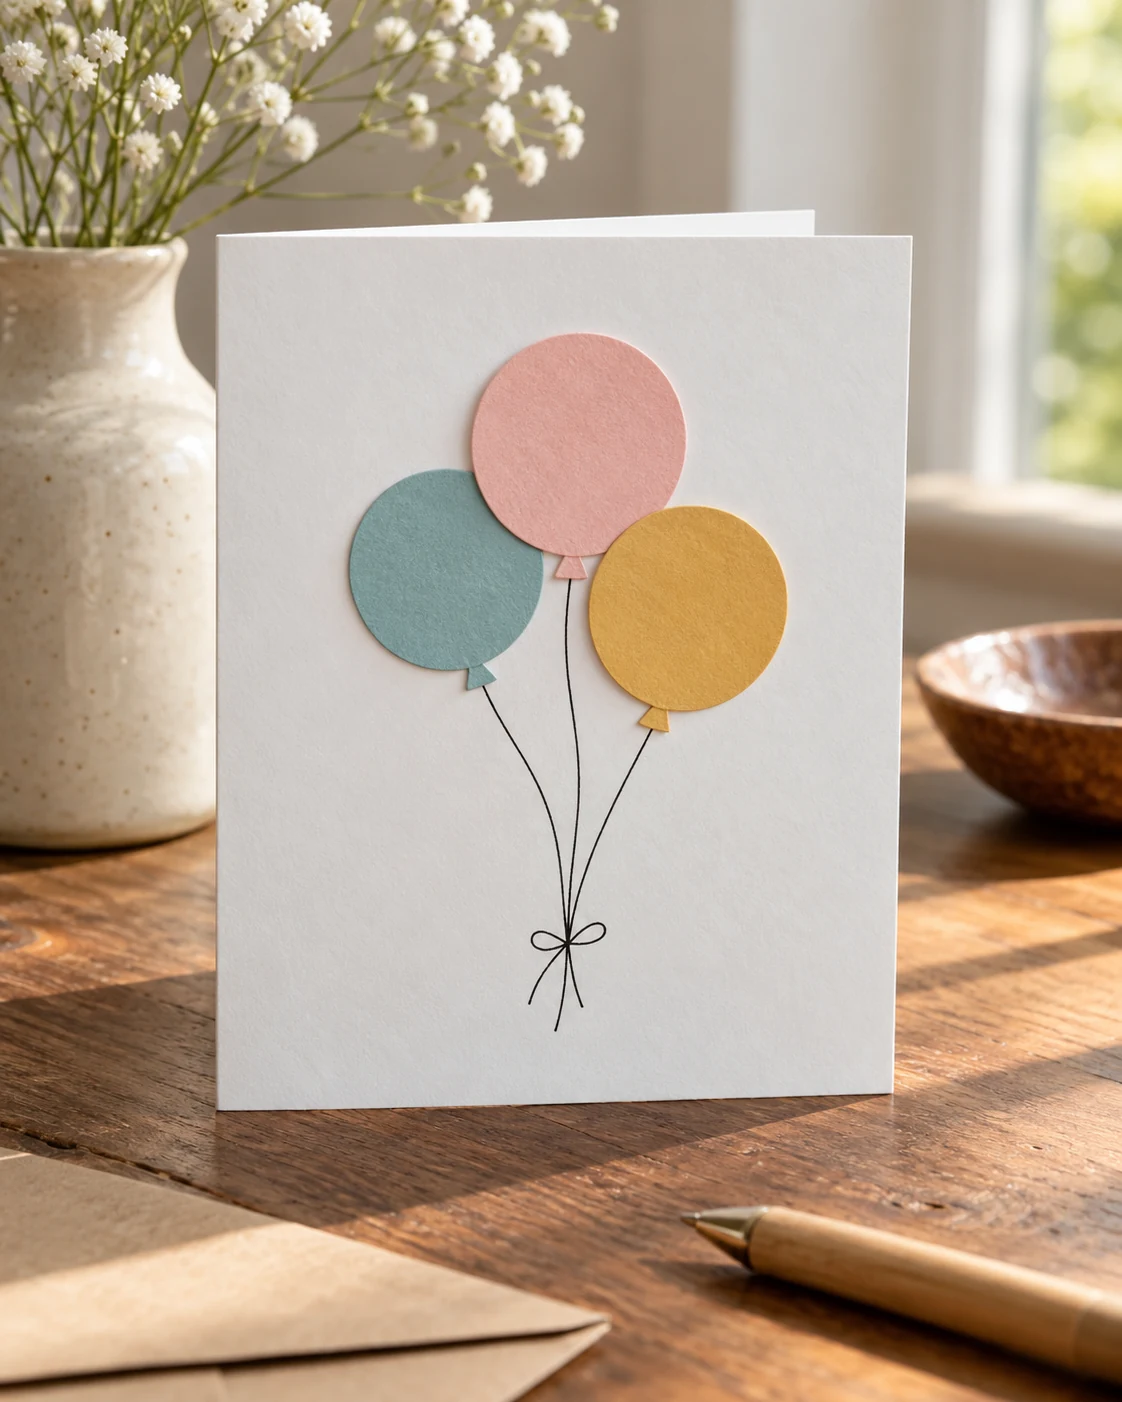
Three or four paper balloons create a clear focal point near the top of the card. Different colors work together when their shapes and sizes remain related. Draw the strings lightly after deciding where the paper pieces will sit.
- White blank cards and envelopesView on Amazon
- Astrobrights assorted cardstockView on Amazon
- Sakura Pigma Micron 05 pensView on Amazon
- Elmer's CraftBond glue sticksView on Amazon
- Fiskars original scissorsView on Amazon
Comparable options, not the exact pictured items. Check the selected color, size and buying notes.
Materials, fit and differences from the concept
- White blank cards and envelopes: 4×6 blank cards and envelopes. Confirm finished card and envelope dimensions; packaging terminology varies.
- Astrobrights assorted cardstock: Assorted 65-pound colored cardstock. Compare thickness with folds and card blanks; a bulk pack is optional.
- Sakura Pigma Micron 05 pens: Black Micron 05 pen, approximately 0.45 mm. Test the actual paper first; not a universal no-bleed guarantee.
- Elmer's CraftBond glue sticks: Permanent paper glue sticks. Test your paper and use copies rather than applying glue to irreplaceable photographs.
- Fiskars original scissors: General eight-inch craft scissors. Use a safe cutting method appropriate to your project and ability.
Keep some background visible between the balloons so their individual outlines survive. A tiny overlap can suggest depth without requiring foam pads or extra layers. Try the pen on a paper offcut first, particularly if the card has a textured surface.
3. Torn paper as a tiny landscape
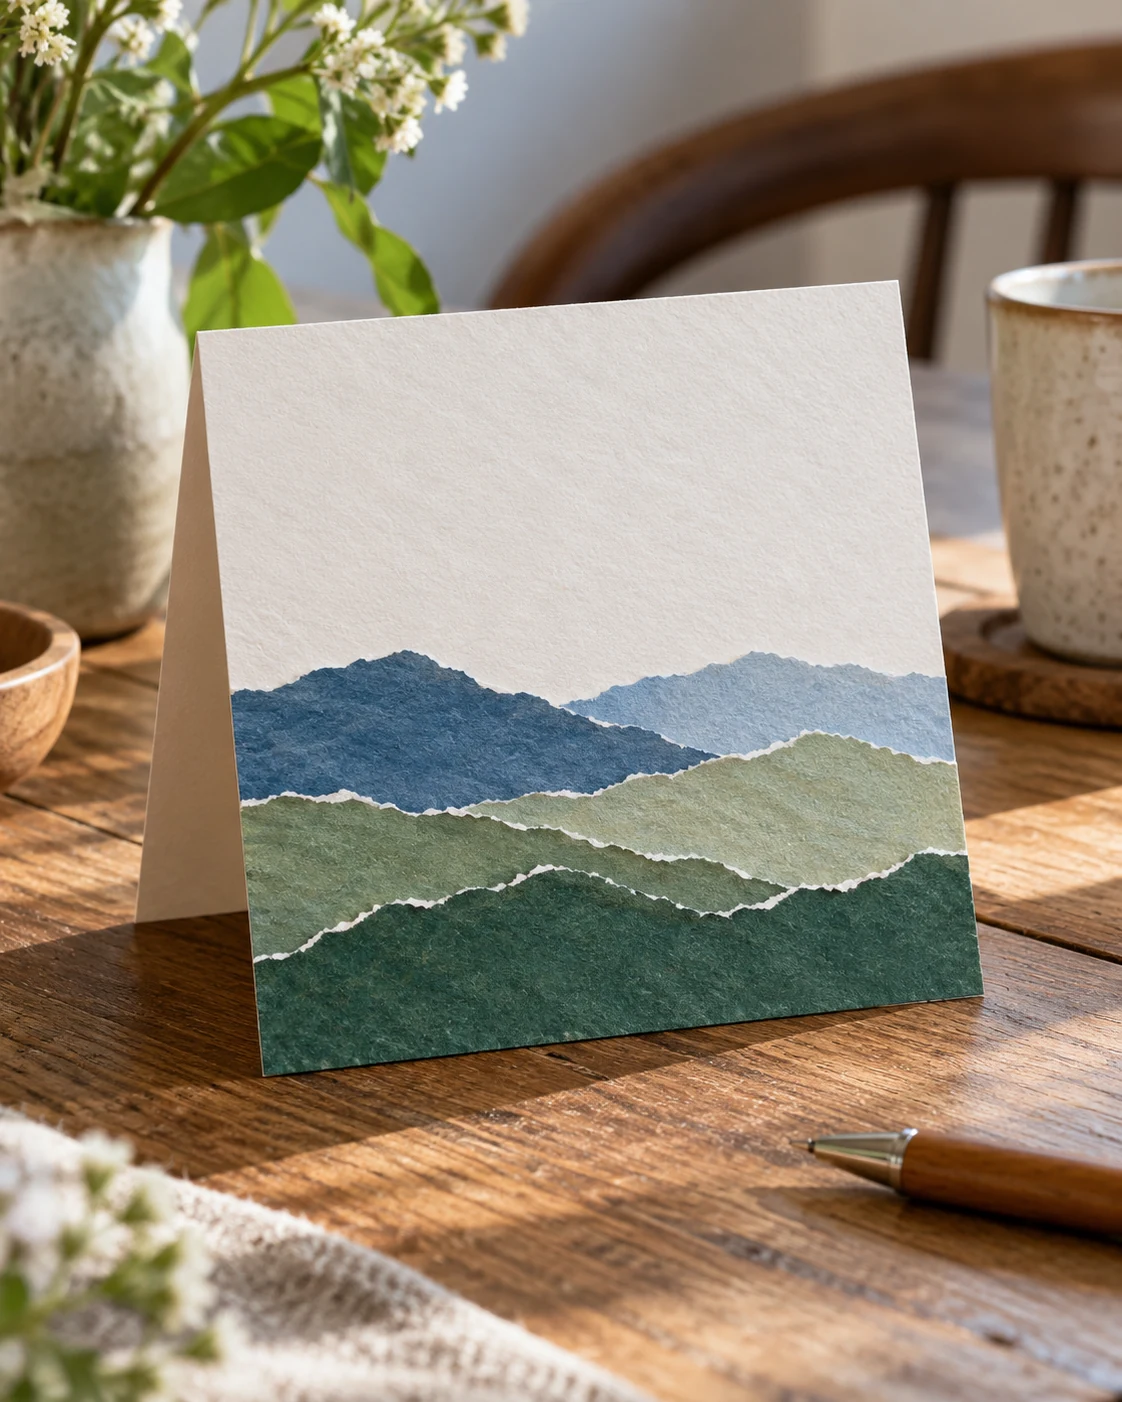
Torn paper gives a landscape softer edges than a carefully cut illustration. Stack a few low hills and add one simple circle for the sun. You can suggest a favorite walking place without copying an entire photograph.
- White blank cards and envelopesView on Amazon
- Astrobrights assorted cardstockView on Amazon
- Elmer's CraftBond glue sticksView on Amazon
- Fiskars original scissorsView on Amazon
- Sakura Pigma Micron 05 pensView on Amazon
Comparable options, not the exact pictured items. Check the selected color, size and buying notes.
Materials, fit and differences from the concept
- White blank cards and envelopes: 4×6 blank cards and envelopes. Confirm finished card and envelope dimensions; packaging terminology varies.
- Astrobrights assorted cardstock: Assorted 65-pound colored cardstock. Compare thickness with folds and card blanks; a bulk pack is optional.
- Elmer's CraftBond glue sticks: Permanent paper glue sticks. Test your paper and use copies rather than applying glue to irreplaceable photographs.
- Fiskars original scissors: General eight-inch craft scissors. Use a safe cutting method appropriate to your project and ability.
- Sakura Pigma Micron 05 pens: Black Micron 05 pen, approximately 0.45 mm. Test the actual paper first; not a universal no-bleed guarantee.
Keep the lowest layer broad enough to anchor the scene. A narrow strip beneath several heavy shapes can make the composition feel top-heavy. Save a clean area of sky for a short greeting or leave all writing inside.
4. One envelope pocket on the front

A miniature paper envelope can hold a small removable note on the card’s front. Use it for a private joke, a kind sentence, or a birthday invitation. The pocket becomes meaningful through its contents, rather than through additional decorations.
- White blank cards and envelopesView on Amazon
- Astrobrights assorted cardstockView on Amazon
- Elmer's CraftBond glue sticksView on Amazon
- Fiskars original scissorsView on Amazon
- Sakura Pigma Micron 05 pensView on Amazon
Comparable options, not the exact pictured items. Check the selected color, size and buying notes.
Materials, fit and differences from the concept
- White blank cards and envelopes: 4×6 blank cards and envelopes. Confirm finished card and envelope dimensions; packaging terminology varies.
- Astrobrights assorted cardstock: Assorted 65-pound colored cardstock. Compare thickness with folds and card blanks; a bulk pack is optional.
- Elmer's CraftBond glue sticks: Permanent paper glue sticks. Test your paper and use copies rather than applying glue to irreplaceable photographs.
- Fiskars original scissors: General eight-inch craft scissors. Use a safe cutting method appropriate to your project and ability.
- Sakura Pigma Micron 05 pens: Black Micron 05 pen, approximately 0.45 mm. Test the actual paper first; not a universal no-bleed guarantee.
Test the pocket with an ordinary paper insert before attaching it. Keep adhesive away from the opening and let everything dry before sliding the note inside. This is a design concept, so work out your fold on scrap paper first.
5. A stack of paper presents
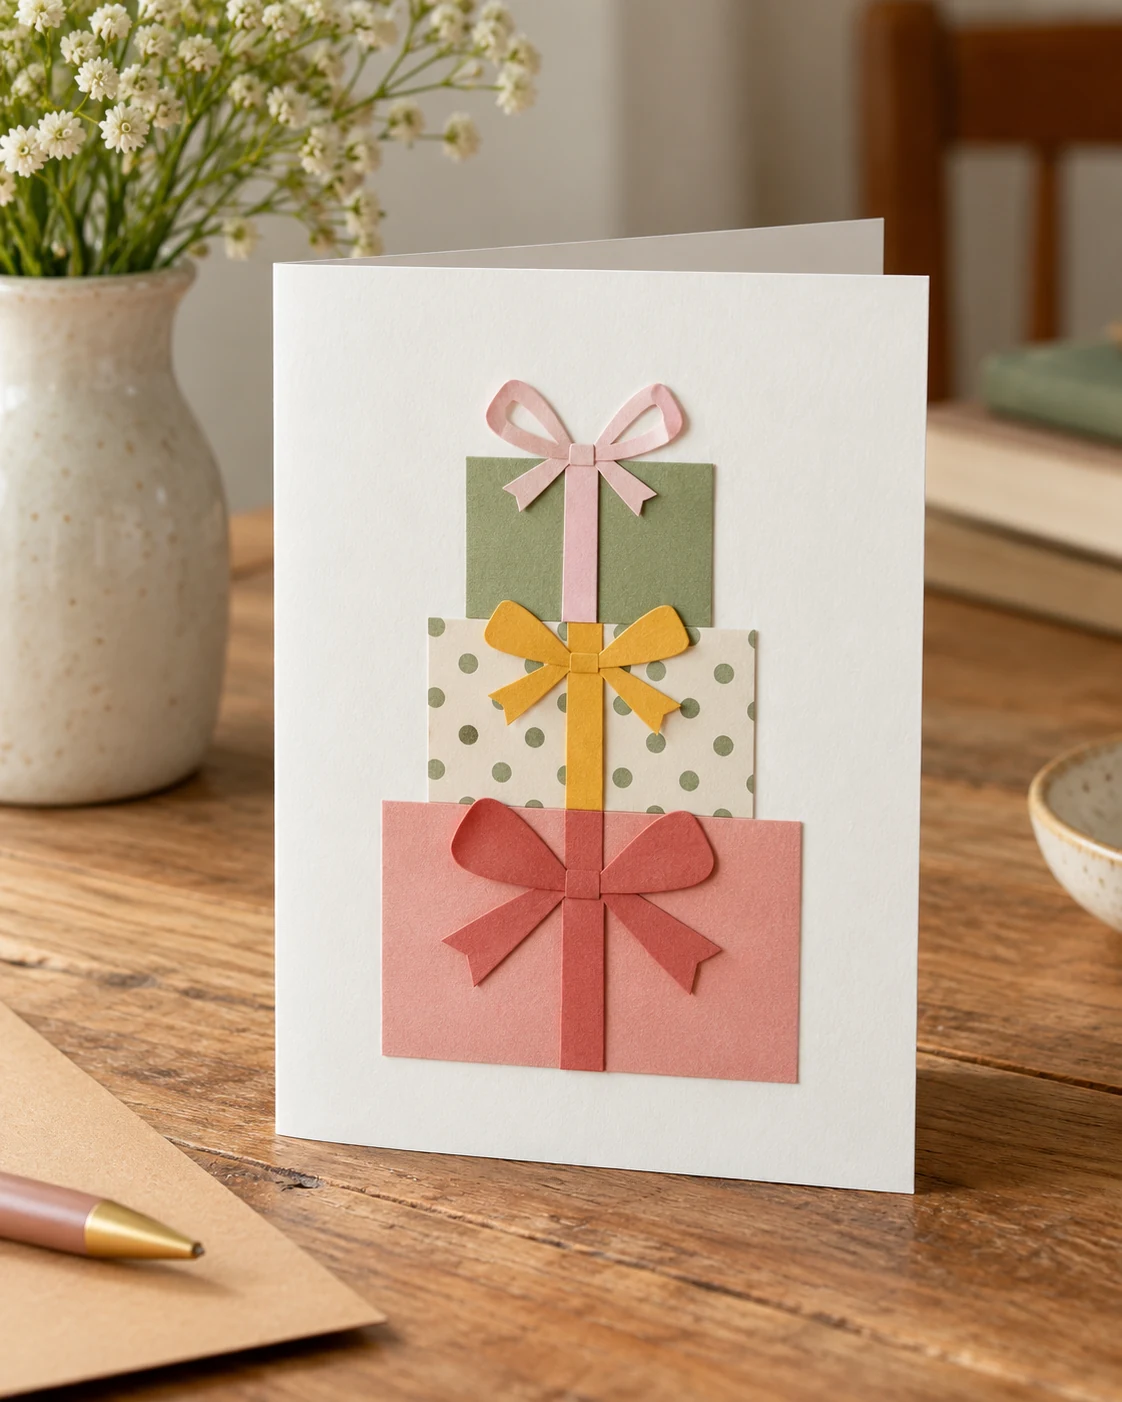
Layer two or three rectangles to suggest wrapped presents without drawing complicated objects. Thin paper strips can stand in for ribbon across each box. Choose one repeated color so the stack doesn’t become a jumble of unrelated patterns.
- White blank cards and envelopesView on Amazon
- Astrobrights assorted cardstockView on Amazon
- Elmer's CraftBond glue sticksView on Amazon
- Fiskars original scissorsView on Amazon
- Sakura Pigma Micron 05 pensView on Amazon
Comparable options, not the exact pictured items. Check the selected color, size and buying notes.
Materials, fit and differences from the concept
- White blank cards and envelopes: 4×6 blank cards and envelopes. Confirm finished card and envelope dimensions; packaging terminology varies.
- Astrobrights assorted cardstock: Assorted 65-pound colored cardstock. Compare thickness with folds and card blanks; a bulk pack is optional.
- Elmer's CraftBond glue sticks: Permanent paper glue sticks. Test your paper and use copies rather than applying glue to irreplaceable photographs.
- Fiskars original scissors: General eight-inch craft scissors. Use a safe cutting method appropriate to your project and ability.
- Sakura Pigma Micron 05 pens: Black Micron 05 pen, approximately 0.45 mm. Test the actual paper first; not a universal no-bleed guarantee.
Make the bottom present visually wider than the pieces resting above it. That small proportion choice gives the arrangement a more believable balance. Keep the ribbons flat if the card needs to slide smoothly into a standard envelope.
6. A generous circle for the message
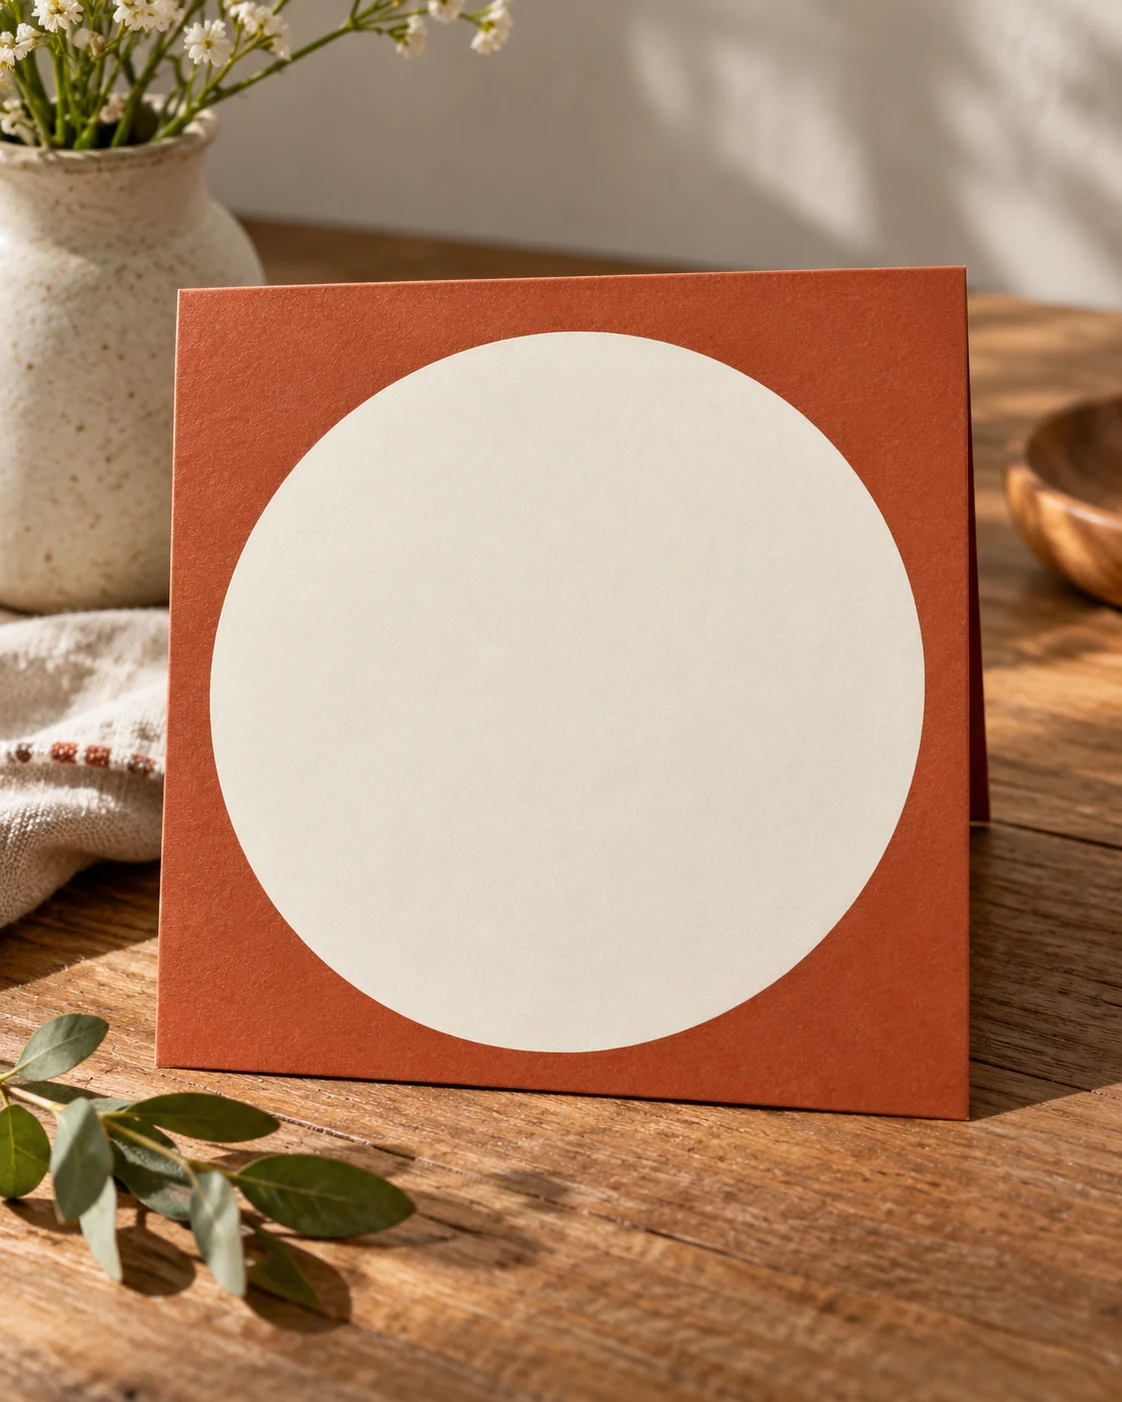
One large paper circle can provide the entire front design with a few surrounding accents. Write the greeting inside it, keeping the lettering comfortably away from the edge. This works particularly well when you would rather focus on handwriting than intricate cutting.
- White blank cards and envelopesView on Amazon
- Astrobrights assorted cardstockView on Amazon
- Elmer's CraftBond glue sticksView on Amazon
- Fiskars original scissorsView on Amazon
- Sakura Pigma Micron 05 pensView on Amazon
Comparable options, not the exact pictured items. Check the selected color, size and buying notes.
Materials, fit and differences from the concept
- White blank cards and envelopes: 4×6 blank cards and envelopes. Confirm finished card and envelope dimensions; packaging terminology varies.
- Astrobrights assorted cardstock: Assorted 65-pound colored cardstock. Compare thickness with folds and card blanks; a bulk pack is optional.
- Elmer's CraftBond glue sticks: Permanent paper glue sticks. Test your paper and use copies rather than applying glue to irreplaceable photographs.
- Fiskars original scissors: General eight-inch craft scissors. Use a safe cutting method appropriate to your project and ability.
- Sakura Pigma Micron 05 pens: Black Micron 05 pen, approximately 0.45 mm. Test the actual paper first; not a universal no-bleed guarantee.
Draft the words on a spare circle before using the final piece. Long names may need more space than the reference image suggests. If the message looks crowded, enlarge the circle or move part of the greeting inside.
7. Confetti kept in one corner
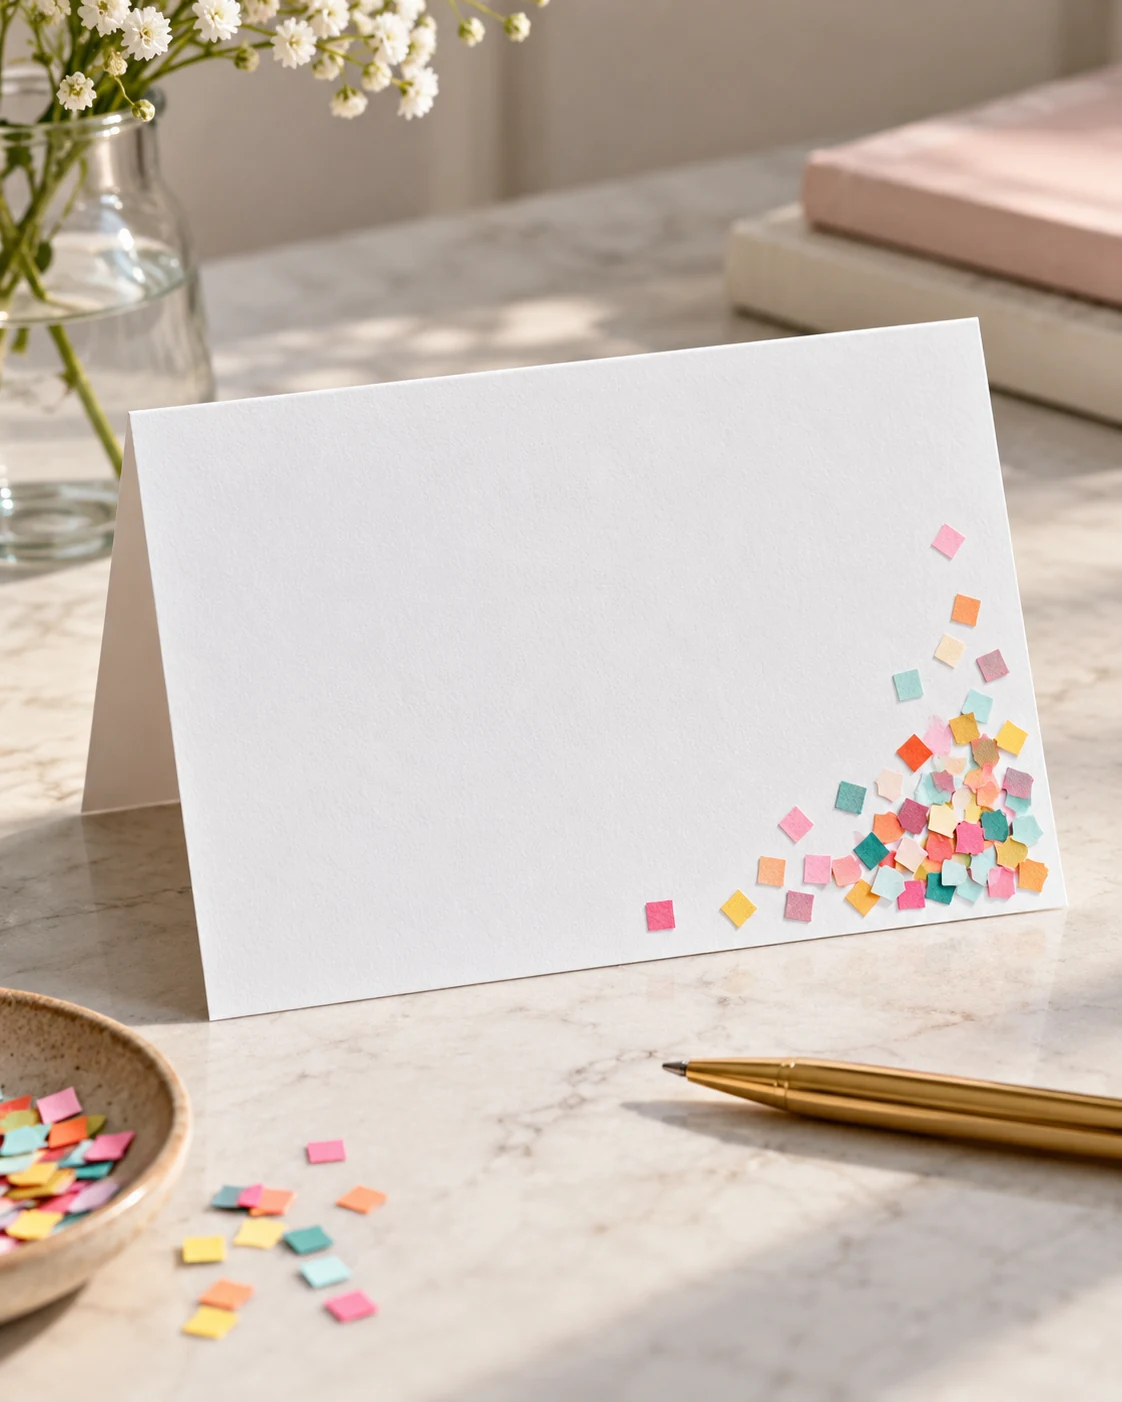
A corner of small paper pieces gives a birthday card movement without covering every surface. Mix a few short strips and dots in a limited color group. Let the shapes spread apart as they move toward the center.
- White blank cards and envelopesView on Amazon
- Astrobrights assorted cardstockView on Amazon
- Elmer's CraftBond glue sticksView on Amazon
- Fiskars original scissorsView on Amazon
- Sakura Pigma Micron 05 pensView on Amazon
Comparable options, not the exact pictured items. Check the selected color, size and buying notes.
Materials, fit and differences from the concept
- White blank cards and envelopes: 4×6 blank cards and envelopes. Confirm finished card and envelope dimensions; packaging terminology varies.
- Astrobrights assorted cardstock: Assorted 65-pound colored cardstock. Compare thickness with folds and card blanks; a bulk pack is optional.
- Elmer's CraftBond glue sticks: Permanent paper glue sticks. Test your paper and use copies rather than applying glue to irreplaceable photographs.
- Fiskars original scissors: General eight-inch craft scissors. Use a safe cutting method appropriate to your project and ability.
- Sakura Pigma Micron 05 pens: Black Micron 05 pen, approximately 0.45 mm. Test the actual paper first; not a universal no-bleed guarantee.
Attach each piece securely instead of leaving loose confetti inside the envelope. That saves the recipient an unexpected cleanup when they open your card. Small pieces need patience, so use fewer shapes if handling them becomes frustrating.
8. Petals from repeated paper shapes

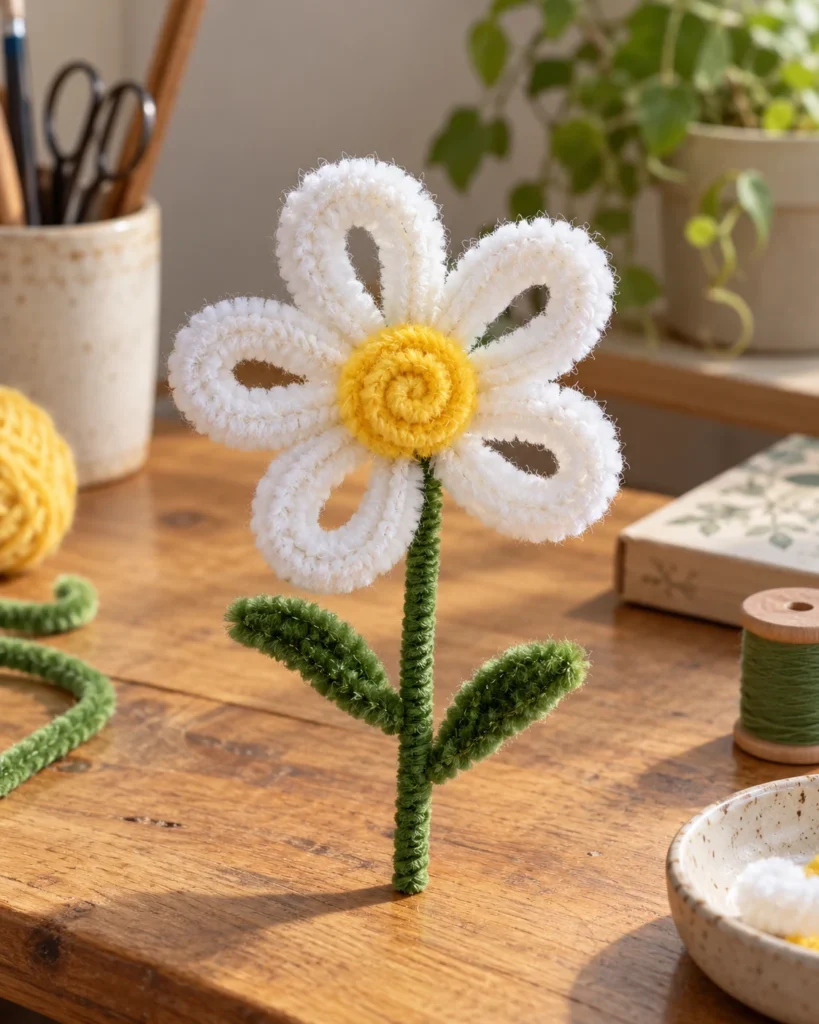
Repeated rounded shapes can form a flower without requiring detailed botanical drawing. Arrange the petals around one contrasting center, allowing their spacing to stay slightly informal. A simple stem or leaf is enough to establish the idea.
- White blank cards and envelopesView on Amazon
- Astrobrights assorted cardstockView on Amazon
- Elmer's CraftBond glue sticksView on Amazon
- Fiskars original scissorsView on Amazon
- Sakura Pigma Micron 05 pensView on Amazon
Comparable options, not the exact pictured items. Check the selected color, size and buying notes.
Materials, fit and differences from the concept
- White blank cards and envelopes: 4×6 blank cards and envelopes. Confirm finished card and envelope dimensions; packaging terminology varies.
- Astrobrights assorted cardstock: Assorted 65-pound colored cardstock. Compare thickness with folds and card blanks; a bulk pack is optional.
- Elmer's CraftBond glue sticks: Permanent paper glue sticks. Test your paper and use copies rather than applying glue to irreplaceable photographs.
- Fiskars original scissors: General eight-inch craft scissors. Use a safe cutting method appropriate to your project and ability.
- Sakura Pigma Micron 05 pens: Black Micron 05 pen, approximately 0.45 mm. Test the actual paper first; not a universal no-bleed guarantee.
Decide whether the flower belongs in the center or along an edge before gluing. A partly cropped flower can look intentional when the card boundary clearly frames it. Avoid accidental tiny overhangs that catch the envelope or look like cutting mistakes.
9. An open heart-shaped window
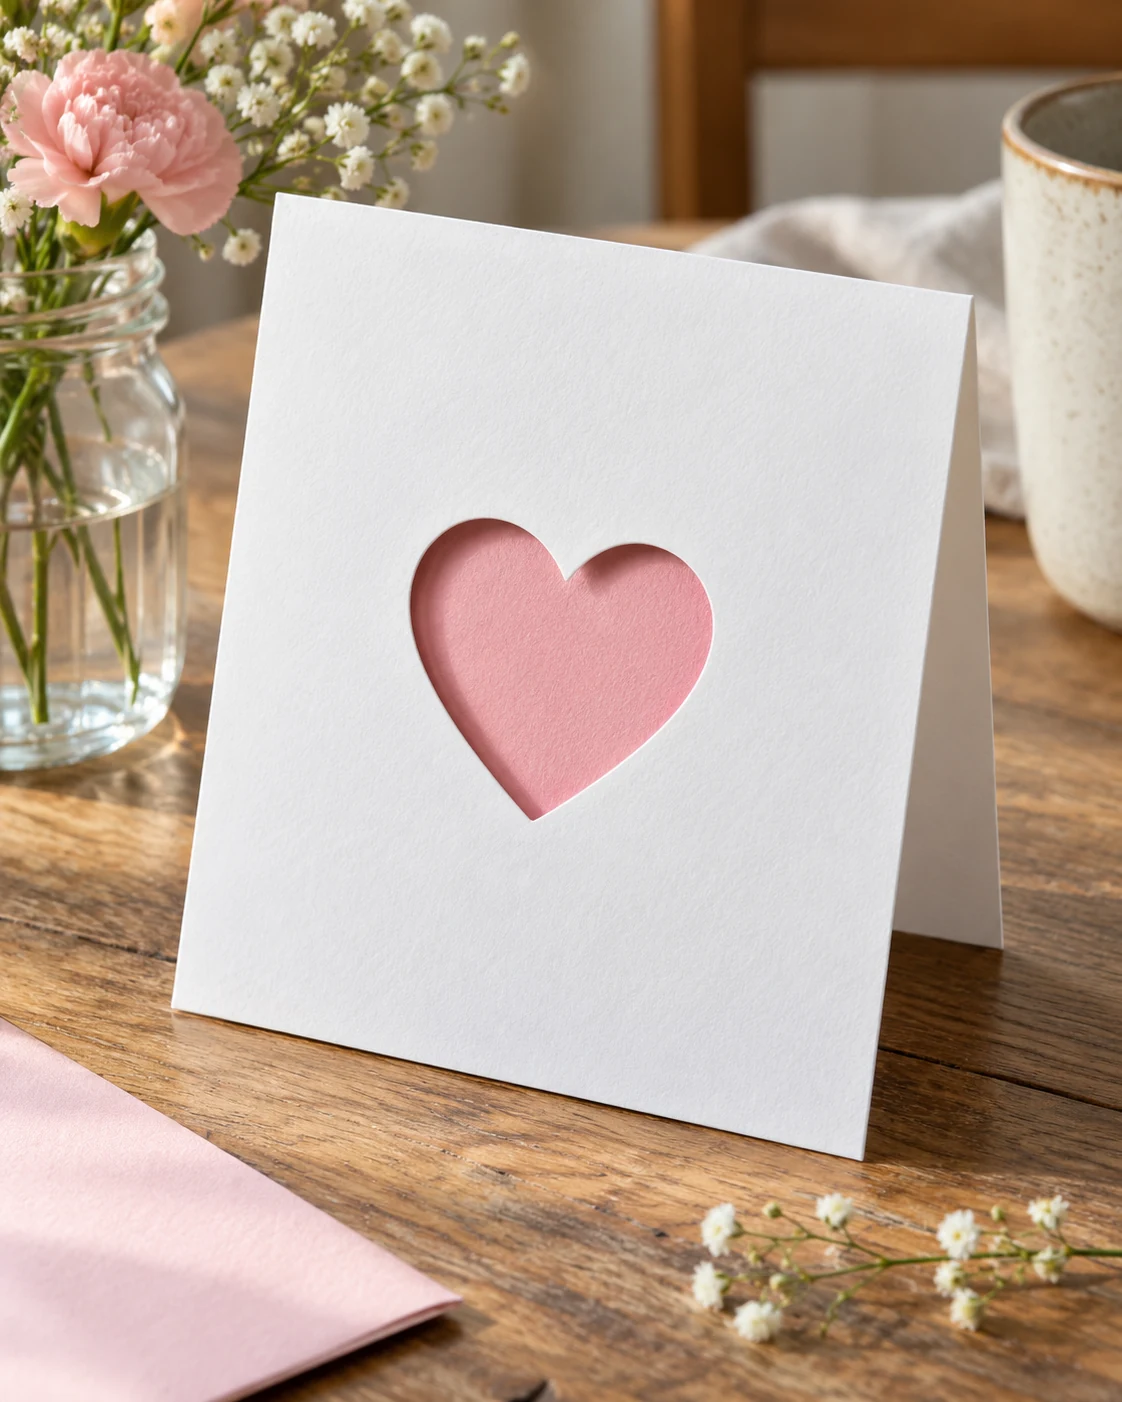
A heart opening lets a contrasting paper layer show through the front. Keep the shape broad and simple, with a generous border around it. The contrast does the work, so additional stickers or drawn flourishes aren’t necessary.
- White blank cards and envelopesView on Amazon
- Astrobrights assorted cardstockView on Amazon
- Fiskars original scissorsView on Amazon
- Sakura Pigma Micron 05 pensView on Amazon
Comparable options, not the exact pictured items. Check the selected color, size and buying notes.
Materials, fit and differences from the concept
- White blank cards and envelopes: 4×6 blank cards and envelopes. Confirm finished card and envelope dimensions; packaging terminology varies.
- Astrobrights assorted cardstock: Assorted 65-pound colored cardstock. Compare thickness with folds and card blanks; a bulk pack is optional.
- Fiskars original scissors: General eight-inch craft scissors. Use a safe cutting method appropriate to your project and ability.
- Sakura Pigma Micron 05 pens: Black Micron 05 pen, approximately 0.45 mm. Test the actual paper first; not a universal no-bleed guarantee.
Plan where the inside message will sit before making any opening. You don’t want private words appearing awkwardly through the front window. Use a cutting method you can control safely, and choose a layered heart instead if needed.
10. Three panels with one color family

Three paper panels can create rhythm without illustrating a specific birthday object. Try pale, medium, and deeper shades of one color family. The small differences become more noticeable against a clean white card blank.
- White blank cards and envelopesView on Amazon
- Astrobrights assorted cardstockView on Amazon
- Elmer's CraftBond glue sticksView on Amazon
- Fiskars original scissorsView on Amazon
- Sakura Pigma Micron 05 pensView on Amazon
Comparable options, not the exact pictured items. Check the selected color, size and buying notes.
Materials, fit and differences from the concept
- White blank cards and envelopes: 4×6 blank cards and envelopes. Confirm finished card and envelope dimensions; packaging terminology varies.
- Astrobrights assorted cardstock: Assorted 65-pound colored cardstock. Compare thickness with folds and card blanks; a bulk pack is optional.
- Elmer's CraftBond glue sticks: Permanent paper glue sticks. Test your paper and use copies rather than applying glue to irreplaceable photographs.
- Fiskars original scissors: General eight-inch craft scissors. Use a safe cutting method appropriate to your project and ability.
- Sakura Pigma Micron 05 pens: Black Micron 05 pen, approximately 0.45 mm. Test the actual paper first; not a universal no-bleed guarantee.
Space the panels before attaching them, checking the outer margins as well as the inner gaps. Slightly uneven edges are easier to notice in a regular geometric arrangement. If precision isn’t enjoyable, use deliberately torn edges so the texture becomes part of the design.
11. A ticket-shaped paper layer
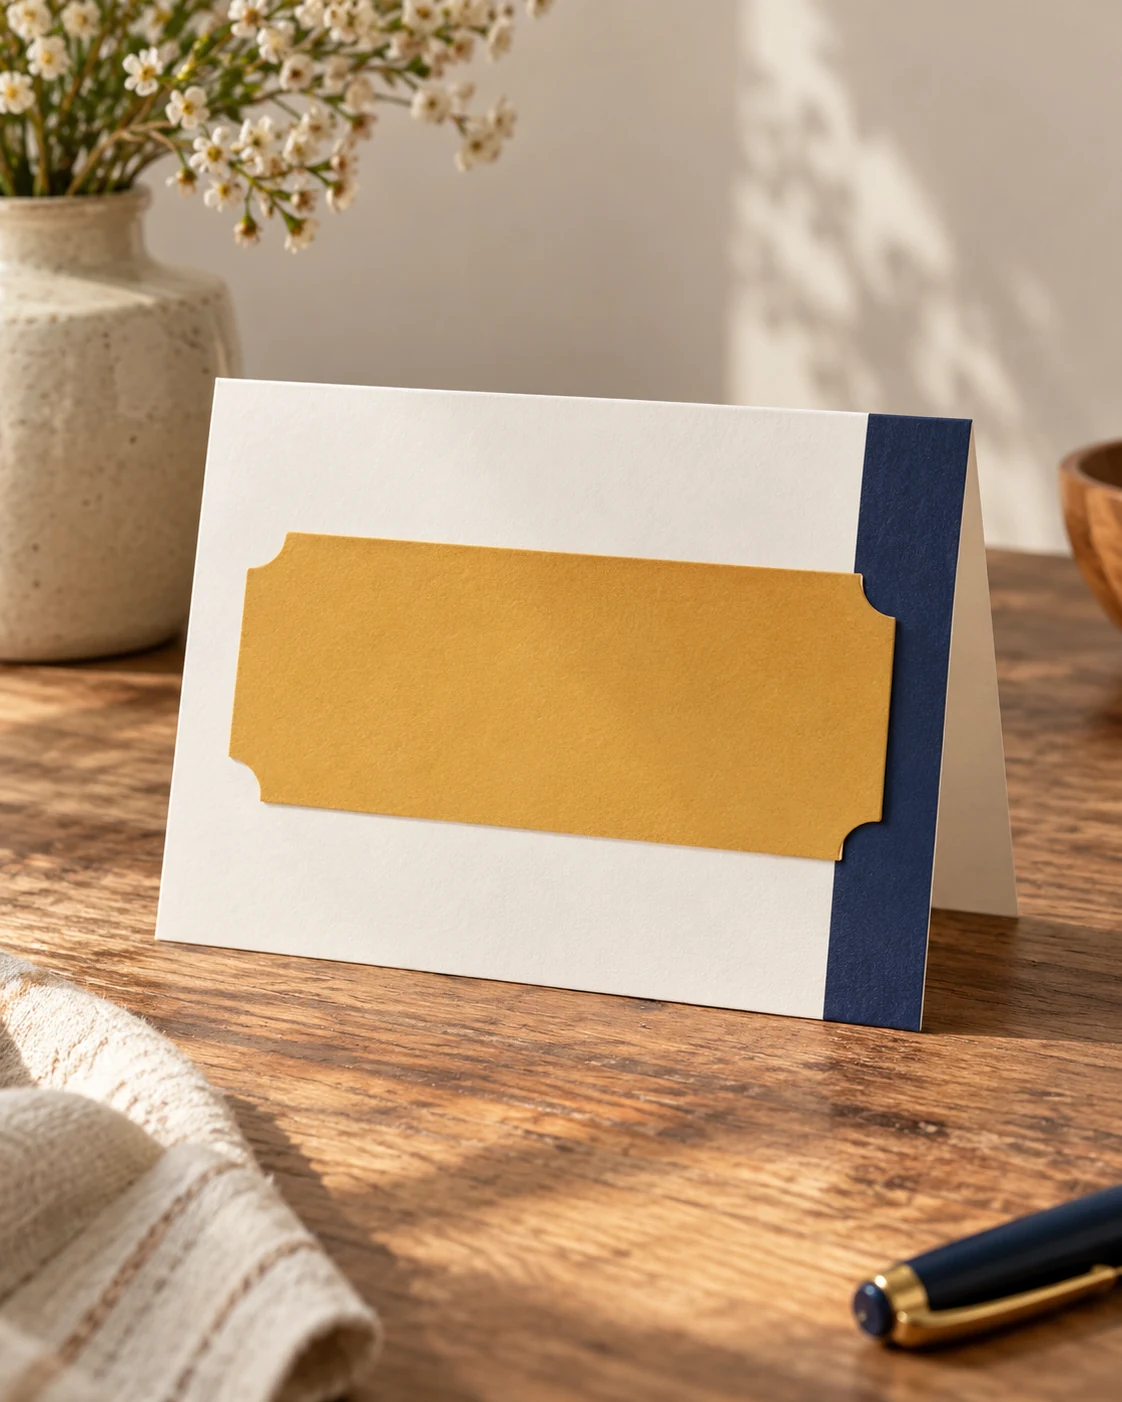
A ticket-shaped layer suits a birthday outing, shared plan, or homemade experience gift. Keep the main message readable and save any longer explanation for the inside. The shape can suggest an invitation without pretending to be a real admission ticket.
- White blank cards and envelopesView on Amazon
- Astrobrights assorted cardstockView on Amazon
- Fiskars original scissorsView on Amazon
- Elmer's CraftBond glue sticksView on Amazon
- Sakura Pigma Micron 05 pensView on Amazon
Comparable options, not the exact pictured items. Check the selected color, size and buying notes.
Materials, fit and differences from the concept
- White blank cards and envelopes: 4×6 blank cards and envelopes. Confirm finished card and envelope dimensions; packaging terminology varies.
- Astrobrights assorted cardstock: Assorted 65-pound colored cardstock. Compare thickness with folds and card blanks; a bulk pack is optional.
- Fiskars original scissors: General eight-inch craft scissors. Use a safe cutting method appropriate to your project and ability.
- Elmer's CraftBond glue sticks: Permanent paper glue sticks. Test your paper and use copies rather than applying glue to irreplaceable photographs.
- Sakura Pigma Micron 05 pens: Black Micron 05 pen, approximately 0.45 mm. Test the actual paper first; not a universal no-bleed guarantee.
Make the corner details large enough to cut cleanly with your scissors. Extremely tiny notches can tear or disappear against a busy background. Include practical arrangements separately if the recipient needs an actual booking confirmation or venue ticket.
12. A narrow tape border
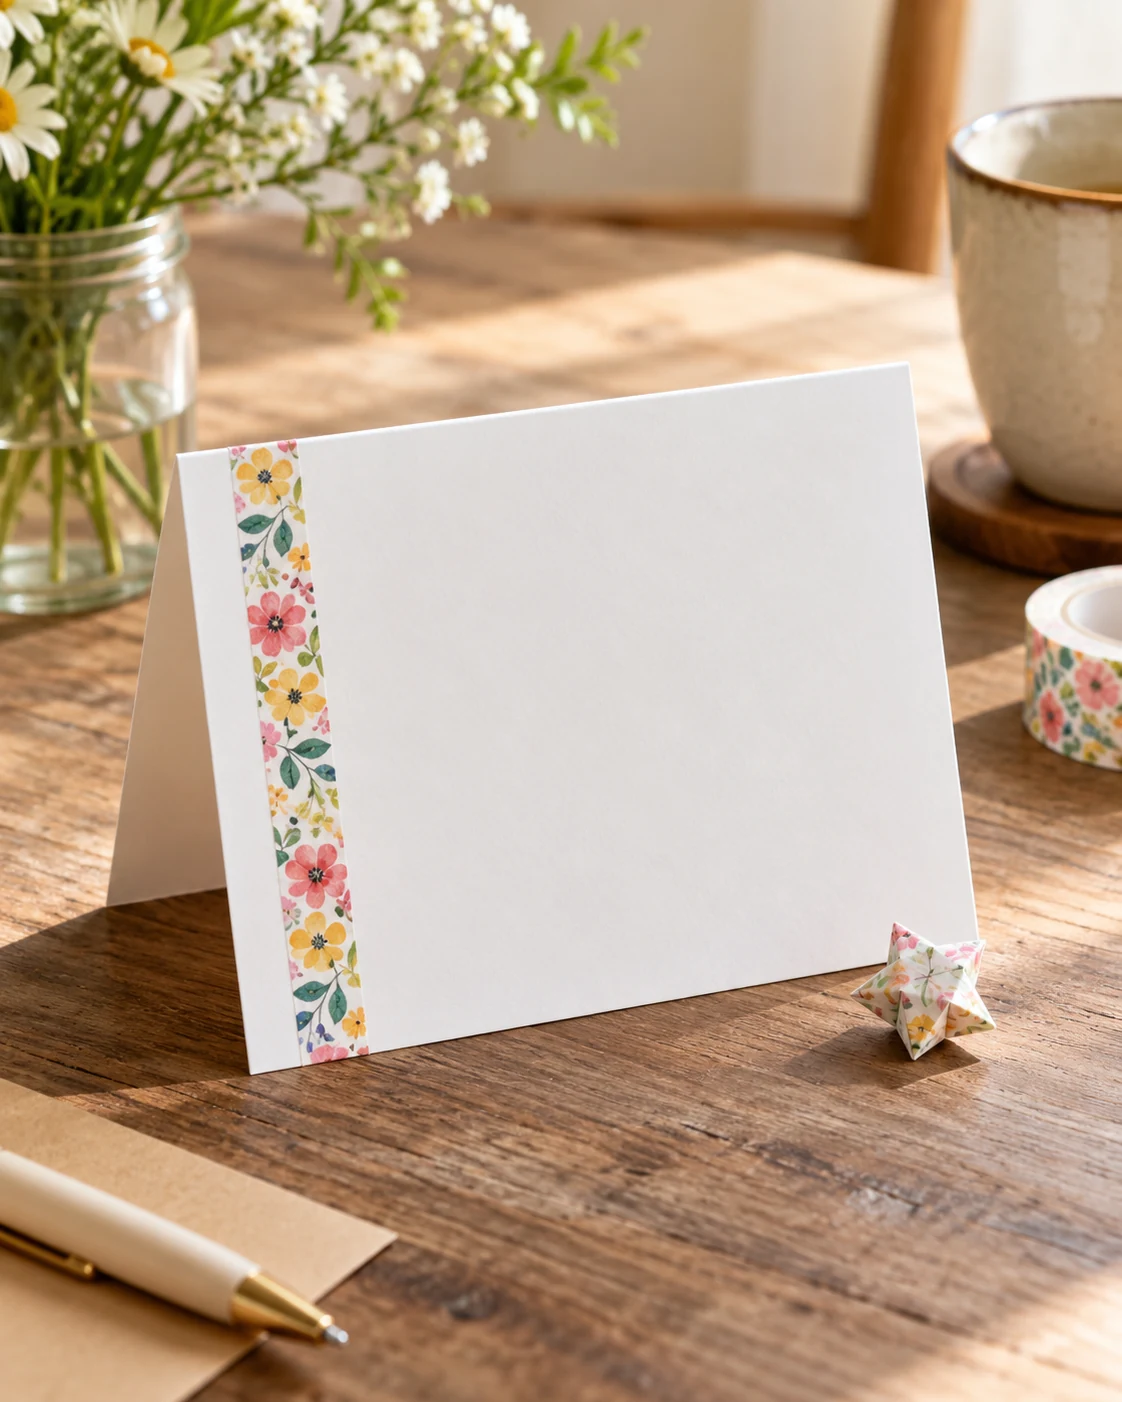
A washi tape border gives a plain card structure with very little cutting. Use one color or repeat two related tapes around a central blank area. A small paper shape inside the border can finish the front without crowding the message.
- White blank cards and envelopesView on Amazon
- MT colored washi tapeView on Amazon
- Astrobrights assorted cardstockView on Amazon
- Fiskars original scissorsView on Amazon
- Sakura Pigma Micron 05 pensView on Amazon
Comparable options, not the exact pictured items. Check the selected color, size and buying notes.
Materials, fit and differences from the concept
- White blank cards and envelopes: 4×6 blank cards and envelopes. Confirm finished card and envelope dimensions; packaging terminology varies.
- MT colored washi tape: Decorative colored paper tape. Adhesion and removability depend on the surface; not a verified preservation adhesive.
- Astrobrights assorted cardstock: Assorted 65-pound colored cardstock. Compare thickness with folds and card blanks; a bulk pack is optional.
- Fiskars original scissors: General eight-inch craft scissors. Use a safe cutting method appropriate to your project and ability.
- Sakura Pigma Micron 05 pens: Black Micron 05 pen, approximately 0.45 mm. Test the actual paper first; not a universal no-bleed guarantee.
Test the tape on the same paper before covering the full card. Decorative tape adhesion varies, and lifting an edge may disturb delicate surfaces. Trim the ends neatly instead of wrapping bulky overlaps around every corner.
Finish with the recipient in mind
The personal detail doesn’t have to be a photograph or an elaborate drawing. A favorite color, a familiar landscape, or a shared plan can carry the connection. Write something specific inside, even when the front greeting stays short.
Check the finished card against its envelope before adding your final message. Allow adhesive to dry fully, then open and close the card without forcing the fold. For another small paper project, these beginner scrapbook ideas use the same restrained approach.
Keep reusable scraps in one small container rather than saving every tiny offcut. A manageable selection makes the next card easier to start. You can always repeat a shape while changing the colors and the message for another person.
Visuals are original AI-generated editorial concepts, not photographs of actual products, tested projects or hosted events.