Dresser Drawer Organization With Less Refolding
Explore the guide
- 1. Start with the drawer that slows you down
- 2. Measure usable space and closure clearance
- 3. Assign categories by comfortable reach
- 4. Adjust the fold to the drawer height
- 5. Give socks a simple contained space
- 6. Separate underwear without tiny compartments
- 7. Keep shaped bras in their natural form
- 8. Use one divider where rows drift
- 9. Keep bulky clothes in a shallow arrangement
- 10. Make laundry returns easy to finish
- 11. Plan for the full clean wardrobe
- 12. Review the spot that keeps coming undone
A drawer can look spacious when half your clothes are waiting in the laundry. The harder question comes when everything returns clean. Build your arrangement around that ordinary moment, rather than the smallest load it ever holds.
Start with one drawer, the clothes you actually wear and the containers you already own. You can try a different fold or smaller category before buying organizers. A useful setup lets you retrieve one item and return another without rebuilding the whole row.
These twelve changes focus on the drawer’s shape and your own way of putting clothes away. The scenes are illustrative arrangements, not photographs of a tested organizing project. Adjust the examples to your clothes, reach and furniture instructions.
1. Start with the drawer that slows you down
Choose the drawer where finding a particular item regularly becomes a search. Work through its contents without emptying every drawer across the room. Set aside laundry and clothes needing a decision, keeping them separate from the pieces returning now.
Use suitable pieces you already own for this idea.
Sort the remaining clothes into a few useful groups. Socks might need separate everyday and exercise sections, while another household needs only one sock space. Follow the difference you look for when dressing, rather than inventing categories for every color.
Keep the project small enough to finish putting everything back. You can adjust another drawer after using this one. An unfinished dresser spread across the bed creates a second task before you’ve resolved the first.
2. Measure usable space and closure clearance
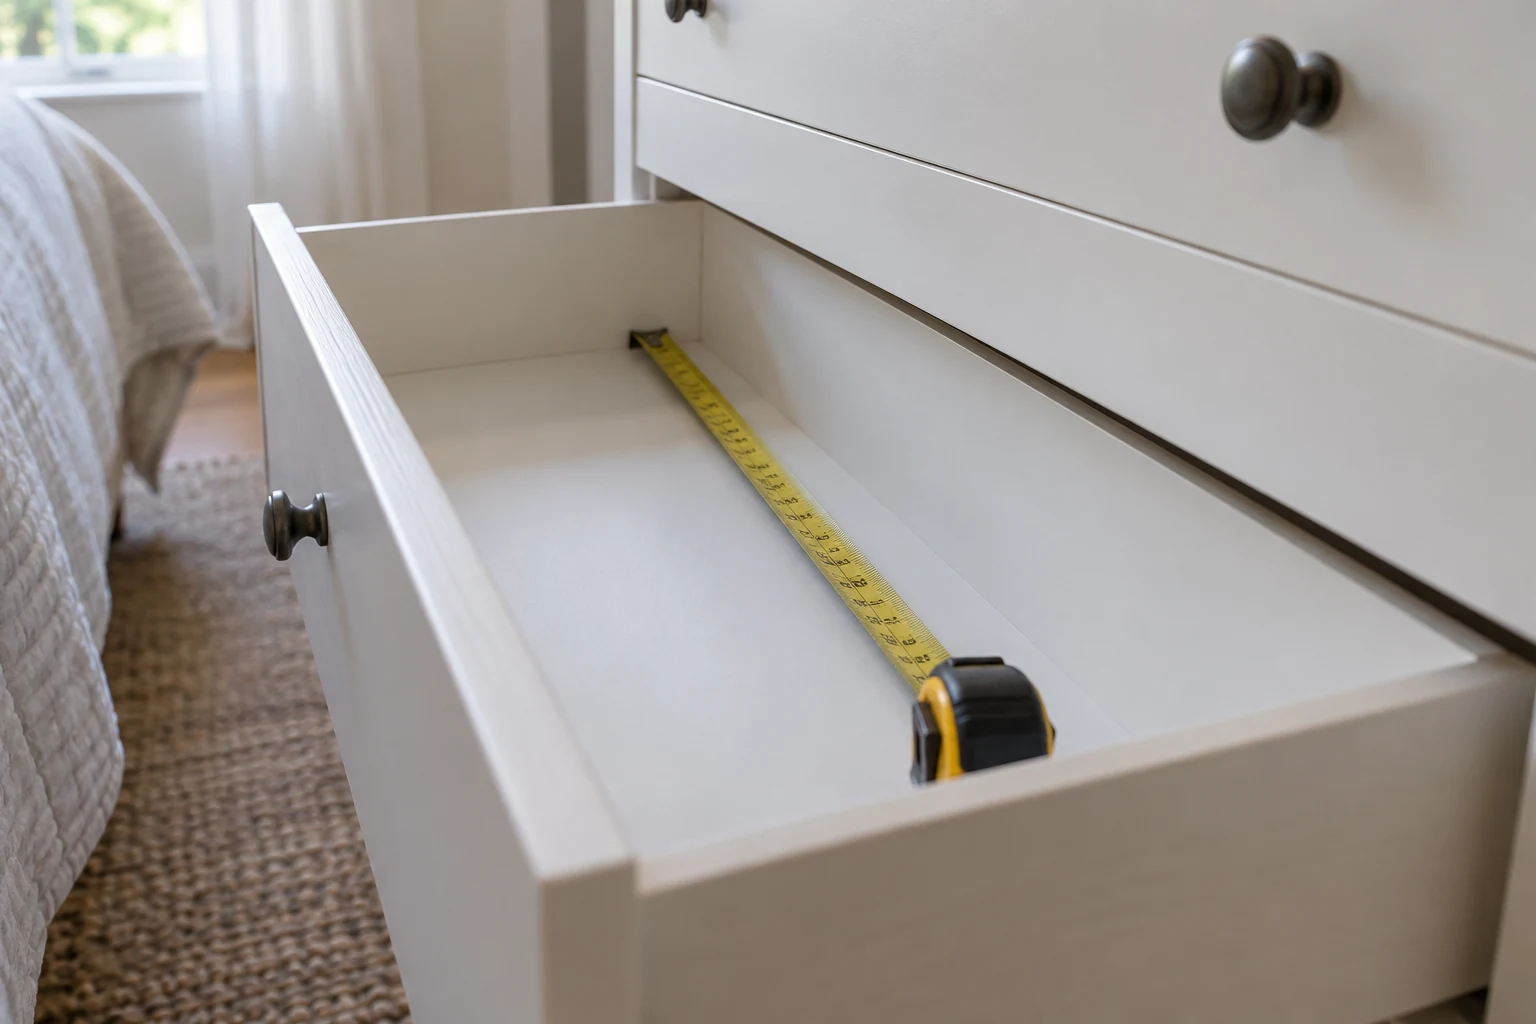
Measure inside the drawer, including its usable height beneath the opening above. Check how far it opens and which rear corners you can comfortably reach. Exterior dresser dimensions don’t tell you whether a folded shirt or container will clear the frame.
Use suitable pieces you already own for this idea.
Check the furniture instructions before removing drawers or adjusting any fittings. Follow its anchoring directions, using the hardware and wall fixing appropriate to that furniture. The CPSC advises securing furniture against tip overs; a tidy drawer does not provide that protection.
Keep other drawers closed while working on the selected one. Stop if a drawer binds or its base appears damaged. Don’t force an organizer into a space that already needs attention from the furniture manufacturer.
3. Assign categories by comfortable reach
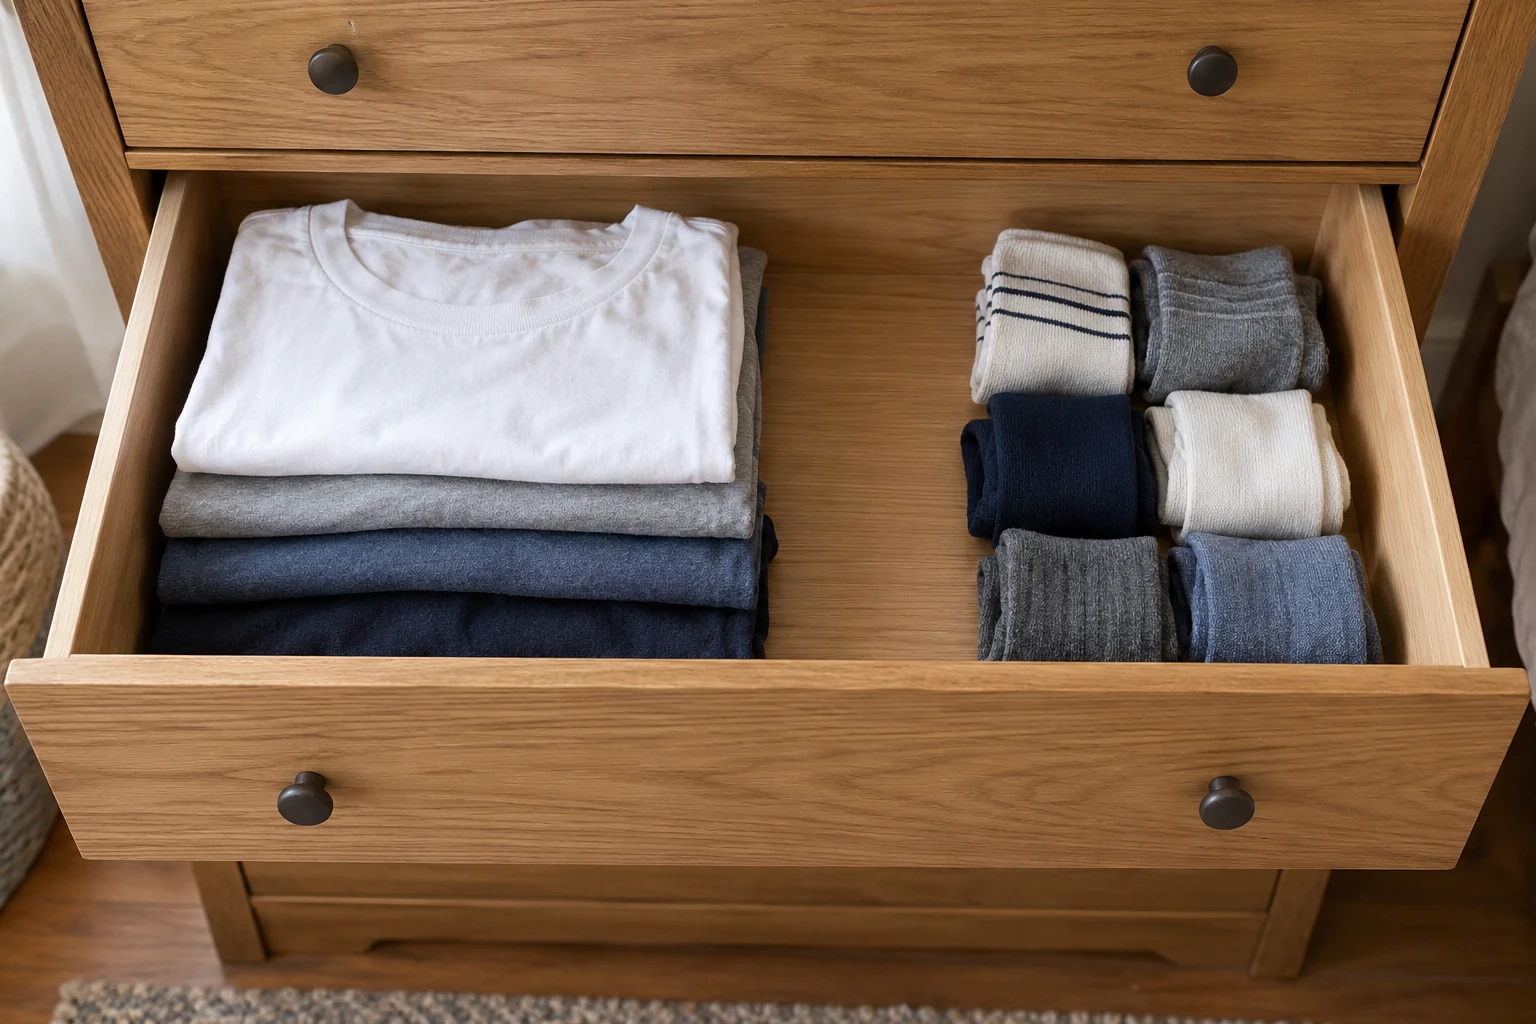
Place frequently worn items where you can see and retrieve them comfortably. The top drawer isn’t automatically the best location for every person. A deep upper drawer may hide small items from someone who cannot see over its front.
Use suitable pieces you already own for this idea.
Let a less convenient drawer hold a less frequently needed category, if that works for you. Keep the arrangement understandable without memorizing a complicated map. Two categories can share a drawer when each has enough room and an obvious location.
Try reaching the actual clothes before committing to the arrangement. Moving an item higher may improve visibility while making it harder to retrieve. Choose the position that works in use, rather than following a fixed top-to-bottom order.
4. Adjust the fold to the drawer height
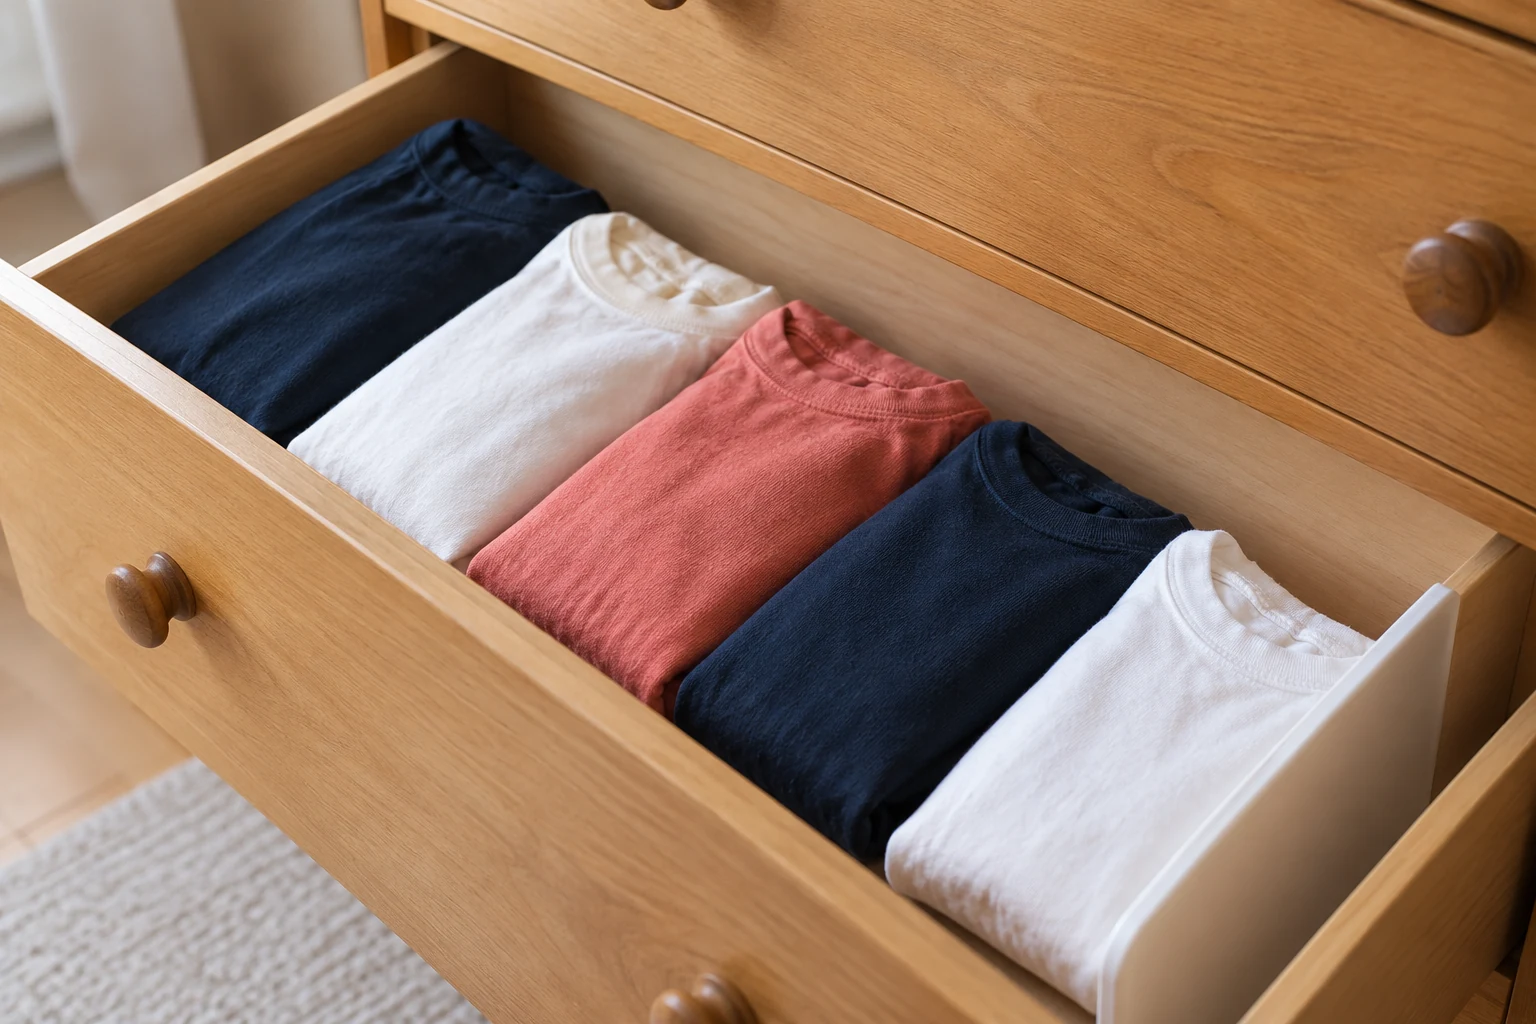
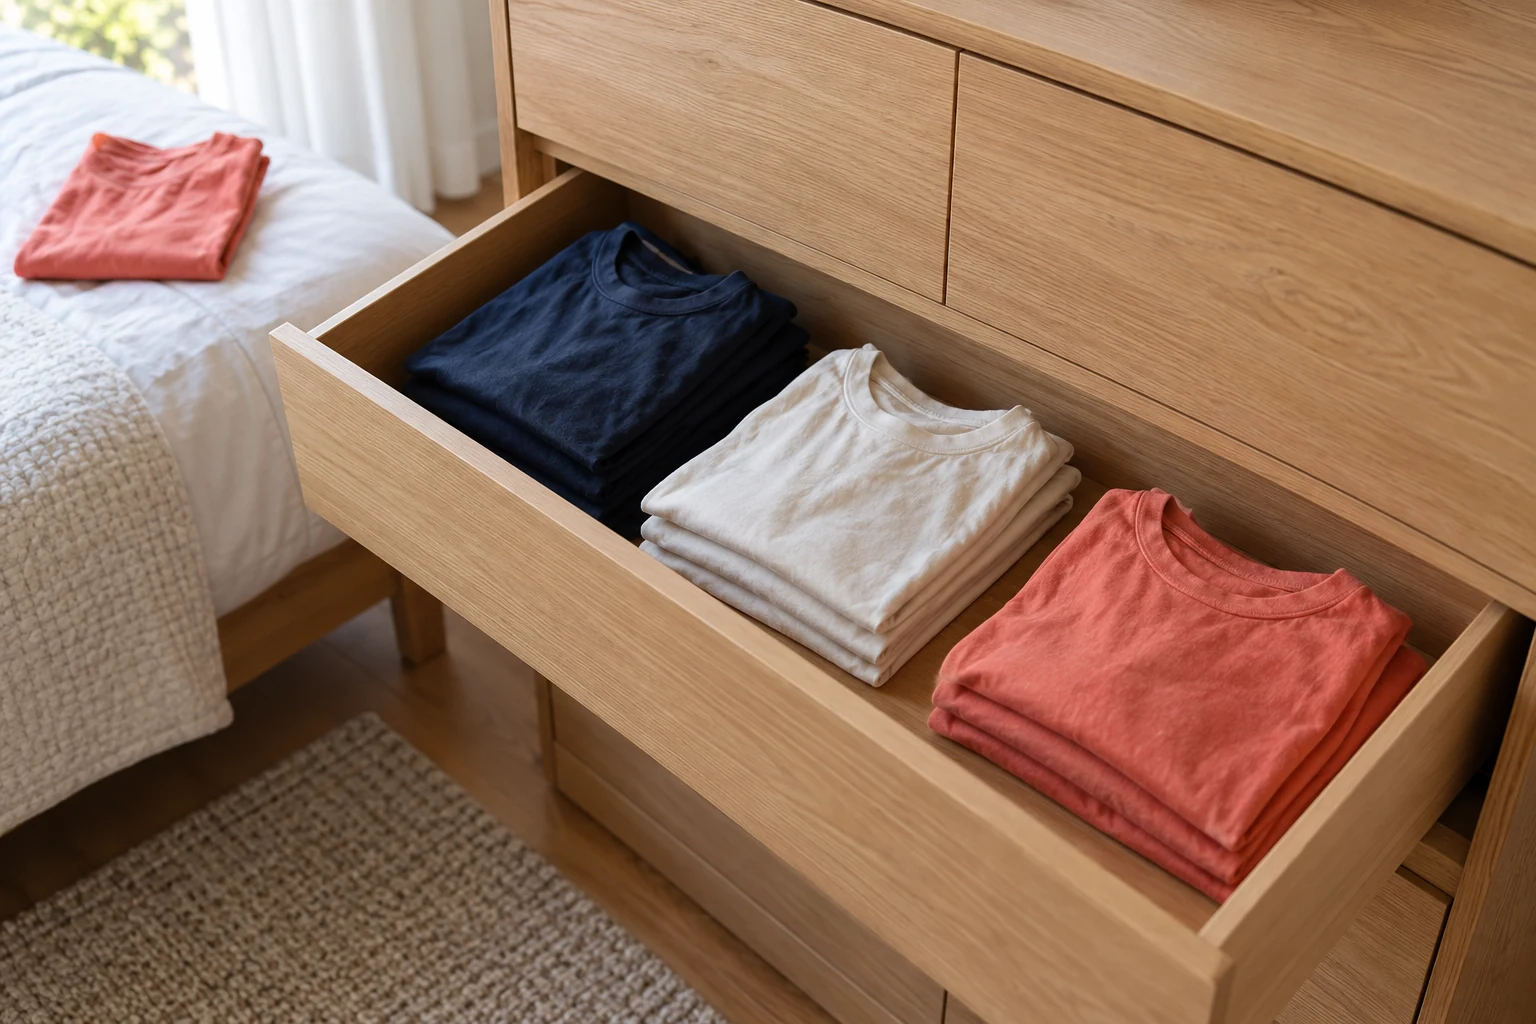
Fold one ordinary shirt and check its height inside the closed drawer’s available space. Change the fold before repeating it across the whole category. A compact bundle that stands above the drawer opening will still catch when you close it.
Comparable options, not the exact pictured items. Check the selected variant and current directions.
Fit and buying notes
- Lifewit adjustable plastic drawer dividers: Eight white plastic dividers, each four inches high and adjustable from eleven to seventeen inches. Their thickness uses some drawer space. Check closure clearance and avoid pressure against fragile or bowed drawer walls.
Standing folded clothes is associated with Marie Kondo’s KonMari method and can make individual pieces visible. It remains an option, rather than a requirement for every fabric or drawer. If a shirt keeps collapsing, try a wider fold, a smaller group or a shallow stack.
Try removing a shirt from the middle of the arrangement. Leave enough room to return it without compressing everything around it. A divider may support a row where its height, span and pressure suit the drawer.
5. Give socks a simple contained space
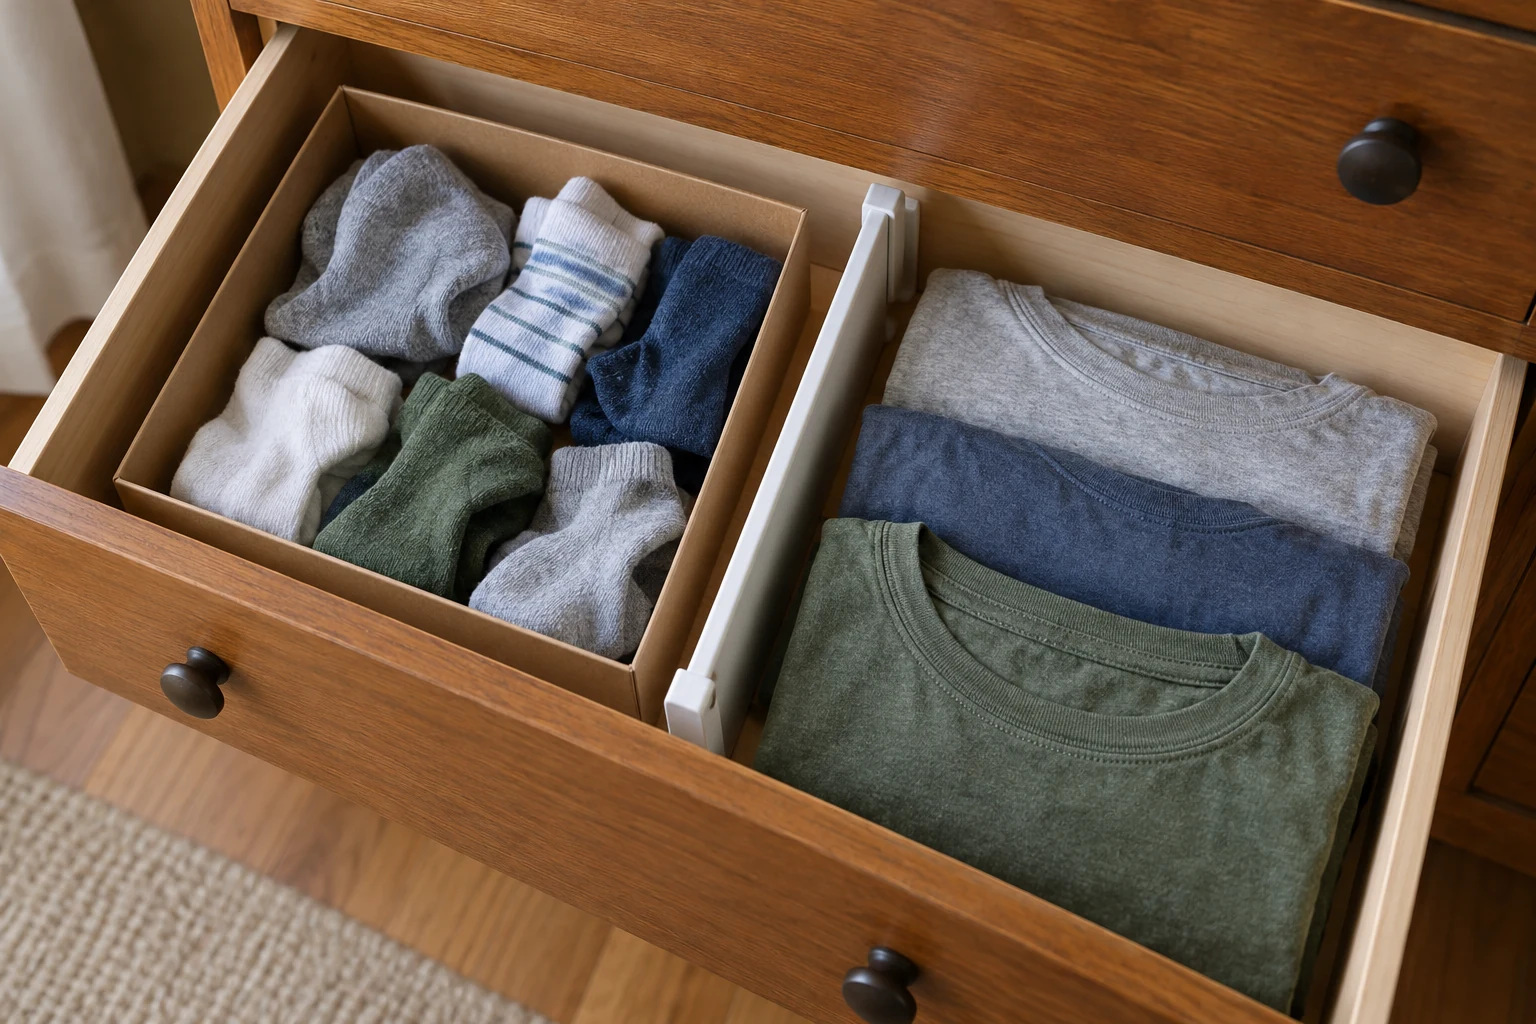
Pair clean socks and separate only the types you need to distinguish. Try a clean existing shallow box that clears the drawer opening. Check its edges for anything that might snag fabric before filling it.
Comparable options, not the exact pictured items. Check the selected variant and current directions.
Fit and buying notes
- Lifewit adjustable plastic drawer dividers: Eight white plastic dividers, each four inches high and adjustable from eleven to seventeen inches. Their thickness uses some drawer space. Check closure clearance and avoid pressure against fragile or bowed drawer walls.
You don’t need an individual little compartment for every pair. One broad section can be easier to refill than a grid of small openings. If socks drift into neighboring clothes, a suitable divider can create a boundary without a box.
Keep the pairs loose enough to identify and lift easily. Avoid treating the pictured quantity as a capacity target for your own socks. Thick hiking socks and thin everyday pairs will occupy different amounts of space.
6. Separate underwear without tiny compartments
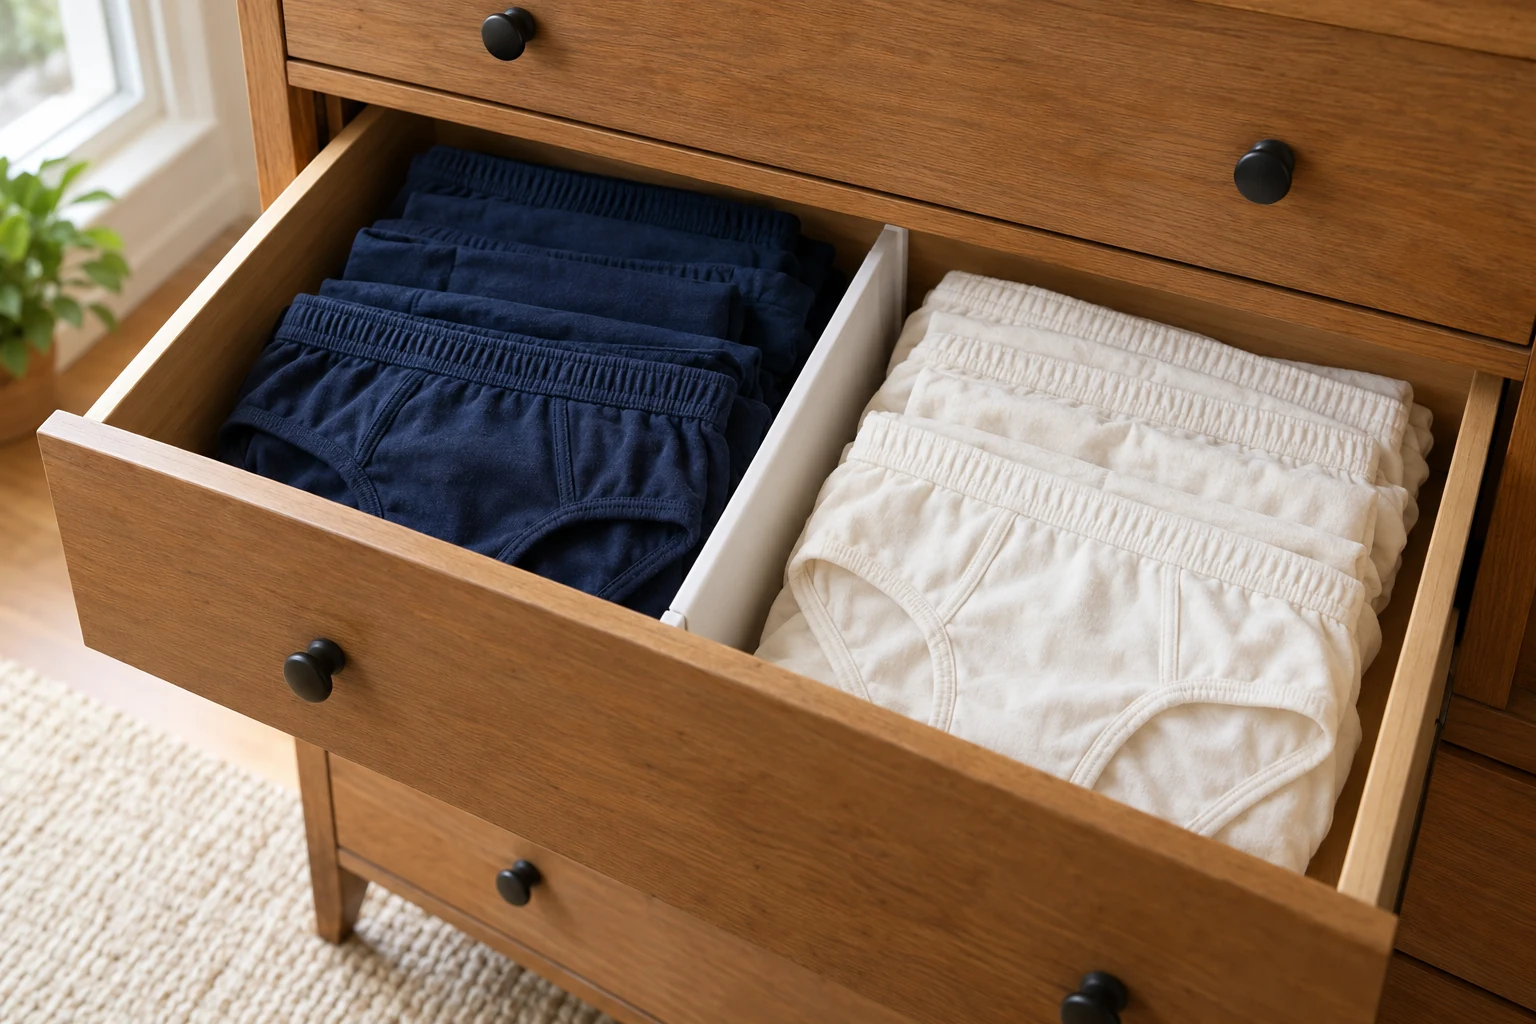
Choose a fold that makes the clean items easy to place and retrieve. A broad section often gives more flexibility than a slot sized around one garment. Change the section size when a particular fabric or shape needs more room.
Comparable options, not the exact pictured items. Check the selected variant and current directions.
Fit and buying notes
- Lifewit adjustable plastic drawer dividers: Eight white plastic dividers, each four inches high and adjustable from eleven to seventeen inches. Their thickness uses some drawer space. Check closure clearance and avoid pressure against fragile or bowed drawer walls.
Use an existing smooth box or a measured divider if you need a visible boundary. Keep underwear separate from items with exposed hooks that might catch it. There’s no need to fold every piece into an identical rectangle for the drawer to work.
Try putting away a small clean load before subdividing the space further. If each piece needs careful positioning, simplify the arrangement. The best category names cannot compensate for a section that’s awkward to refill.
7. Keep shaped bras in their natural form
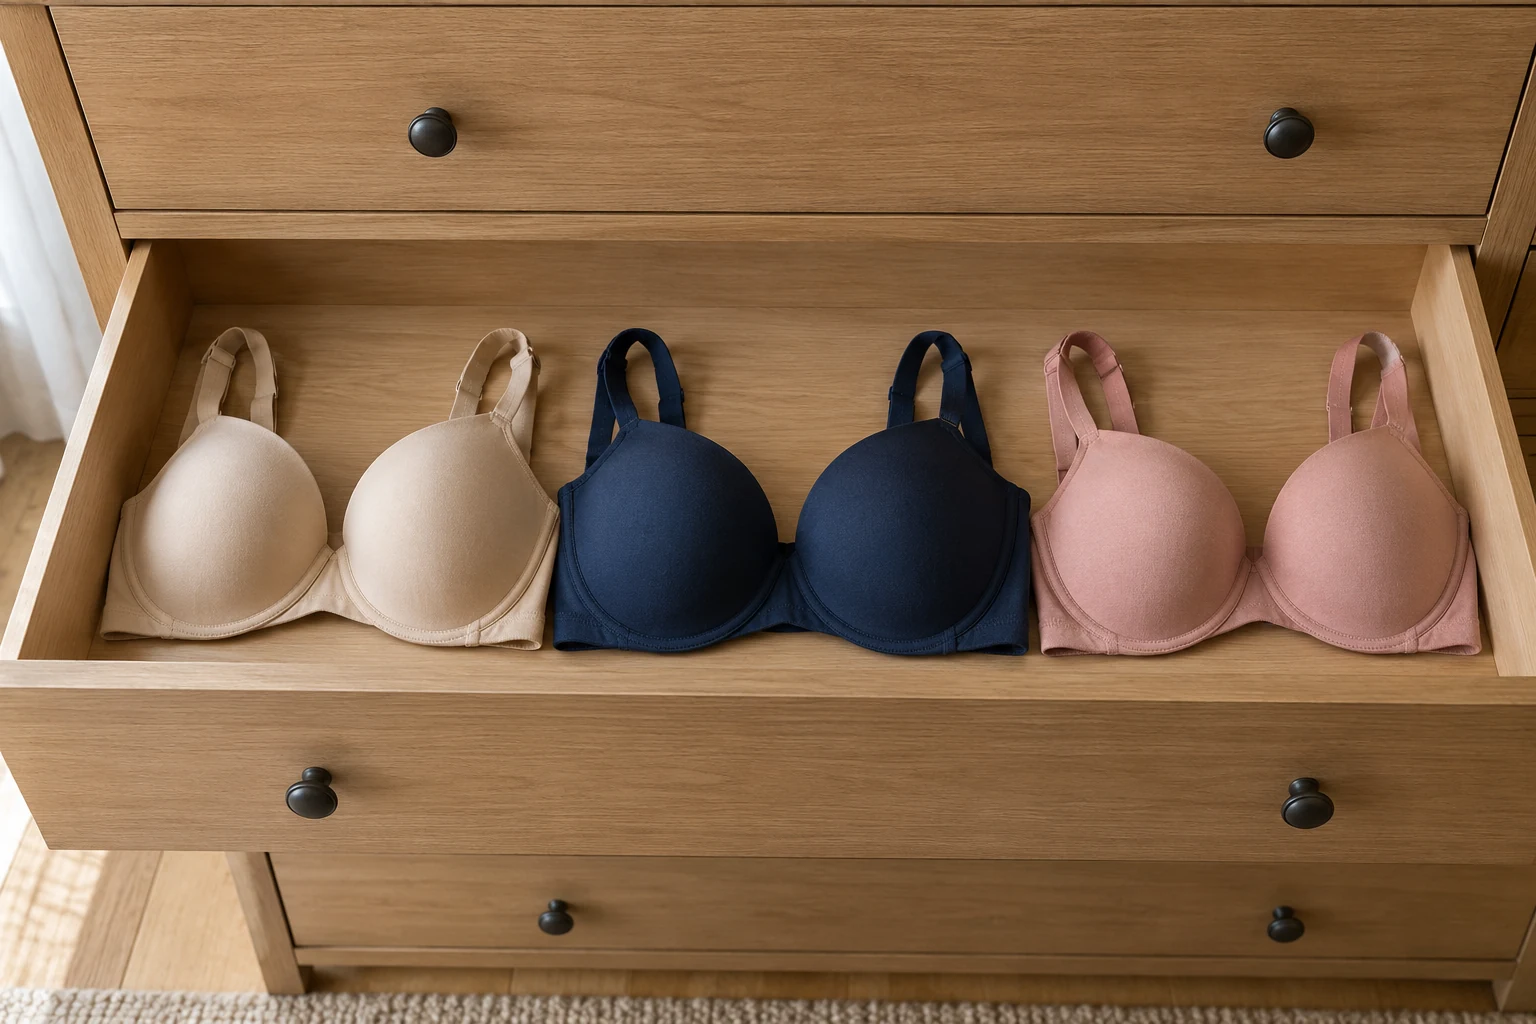
Follow each garment’s care and storage guidance, particularly where cups have a formed shape. Give those pieces room rather than crushing them into a narrow sock compartment. A broad drawer area can accommodate shapes that don’t fold into small bundles.
Use suitable pieces you already own for this idea.
Keep hooks fastened and straps contained where the garment guidance allows. Check for contact with delicate neighboring fabrics when lifting a piece. Avoid forcing cups inside one another simply to recreate a perfectly uniform row.
Soft bralettes may suit a different arrangement from structured bras. Give each group the space its actual shape requires. You don’t need to replace useful underwear to make everything fit the same storage pattern.
8. Use one divider where rows drift

Identify a particular boundary that keeps disappearing before adding a divider. The selected Lifewit option comes as eight adjustable white plastic dividers. Each is four inches tall and adjusts across an eleven-to-seventeen-inch interior span.
Comparable options, not the exact pictured items. Check the selected variant and current directions.
Fit and buying notes
- Lifewit adjustable plastic drawer dividers: Eight white plastic dividers, each four inches high and adjustable from eleven to seventeen inches. Their thickness uses some drawer space. Check closure clearance and avoid pressure against fragile or bowed drawer walls.
That height rules it out for many shallow drawers. Its thickness also takes away some usable width, so include that in your measurements. Check the actual instructions and avoid pressure against fragile, bowed or unsuitable drawer walls.
Use the pieces your layout needs, rather than filling every drawer because the pack has extras. The option is comparable to the illustrated divider, not an exact pictured product. Existing smooth boxes remain an alternative where they already fit and contain the category adequately.
9. Keep bulky clothes in a shallow arrangement
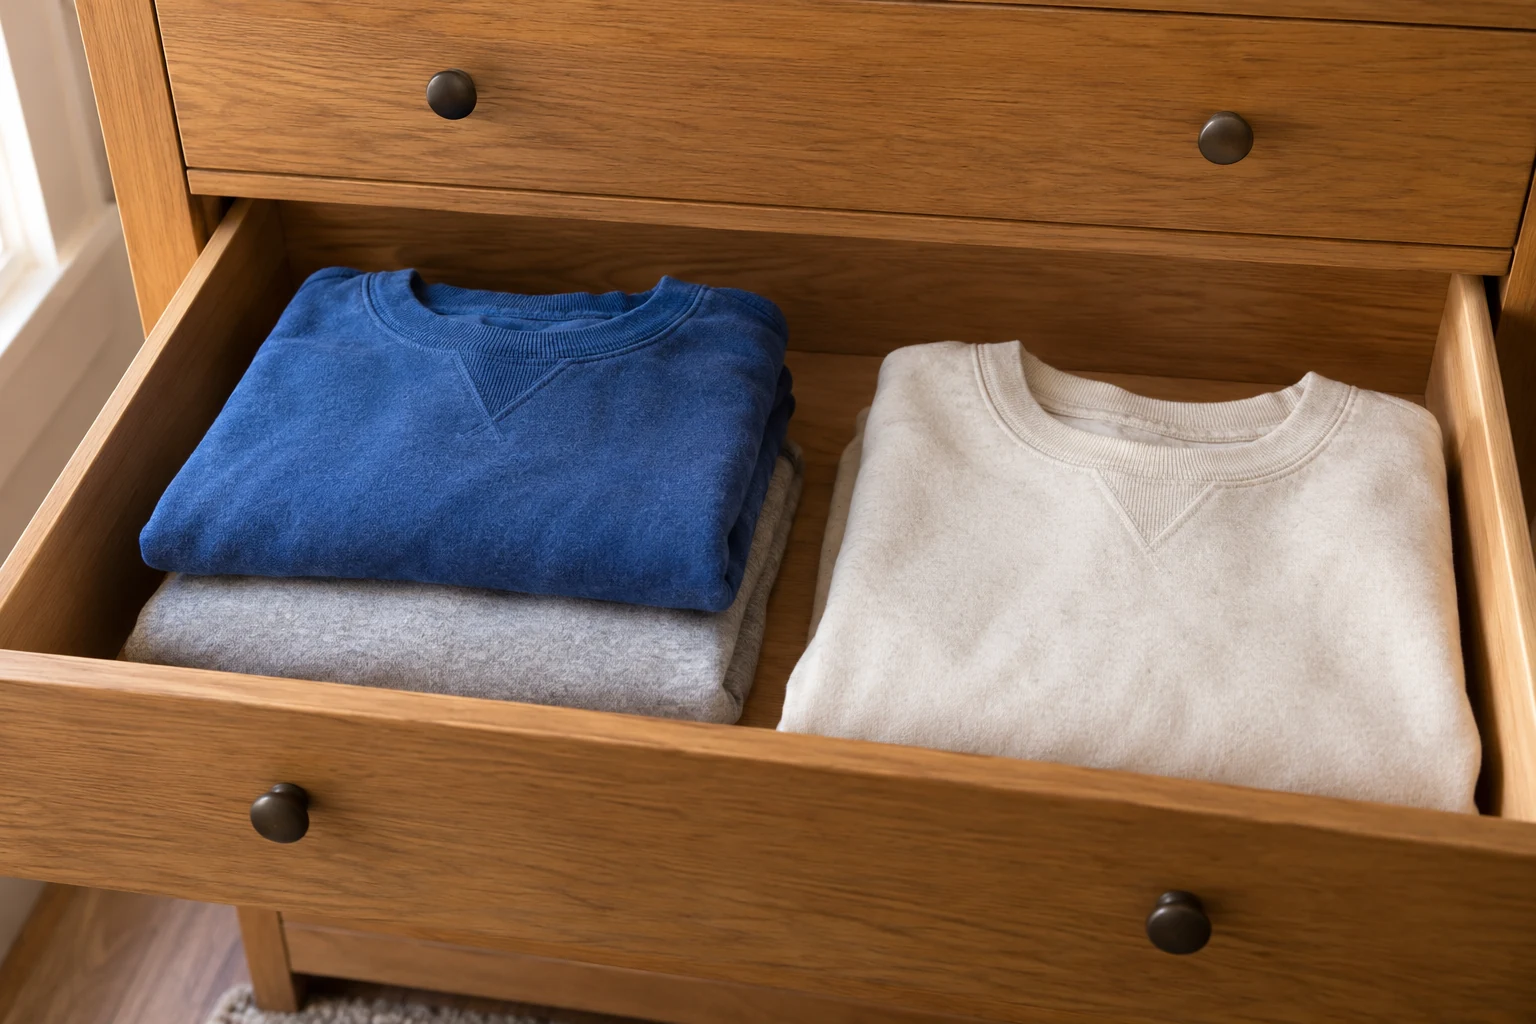
A thick sweatshirt may need most of a section without any extra organizer. Try a small visible stack or a broad folded row, depending on clearance. Don’t add another layer if it makes the lower clothes difficult to retrieve.
Use suitable pieces you already own for this idea.
Check each garment’s care guidance before choosing between folded storage and hanging elsewhere. The goal is a workable location for that garment. You don’t have to fit every category into the dresser simply because it started there.
If one piece repeatedly blocks the drawer, try storing fewer bulky items in that section. Change the location before buying a larger set of inserts. Our small closet organization ideas cover options outside the dresser. More internal walls won’t create extra height above the clothes.
10. Make laundry returns easy to finish
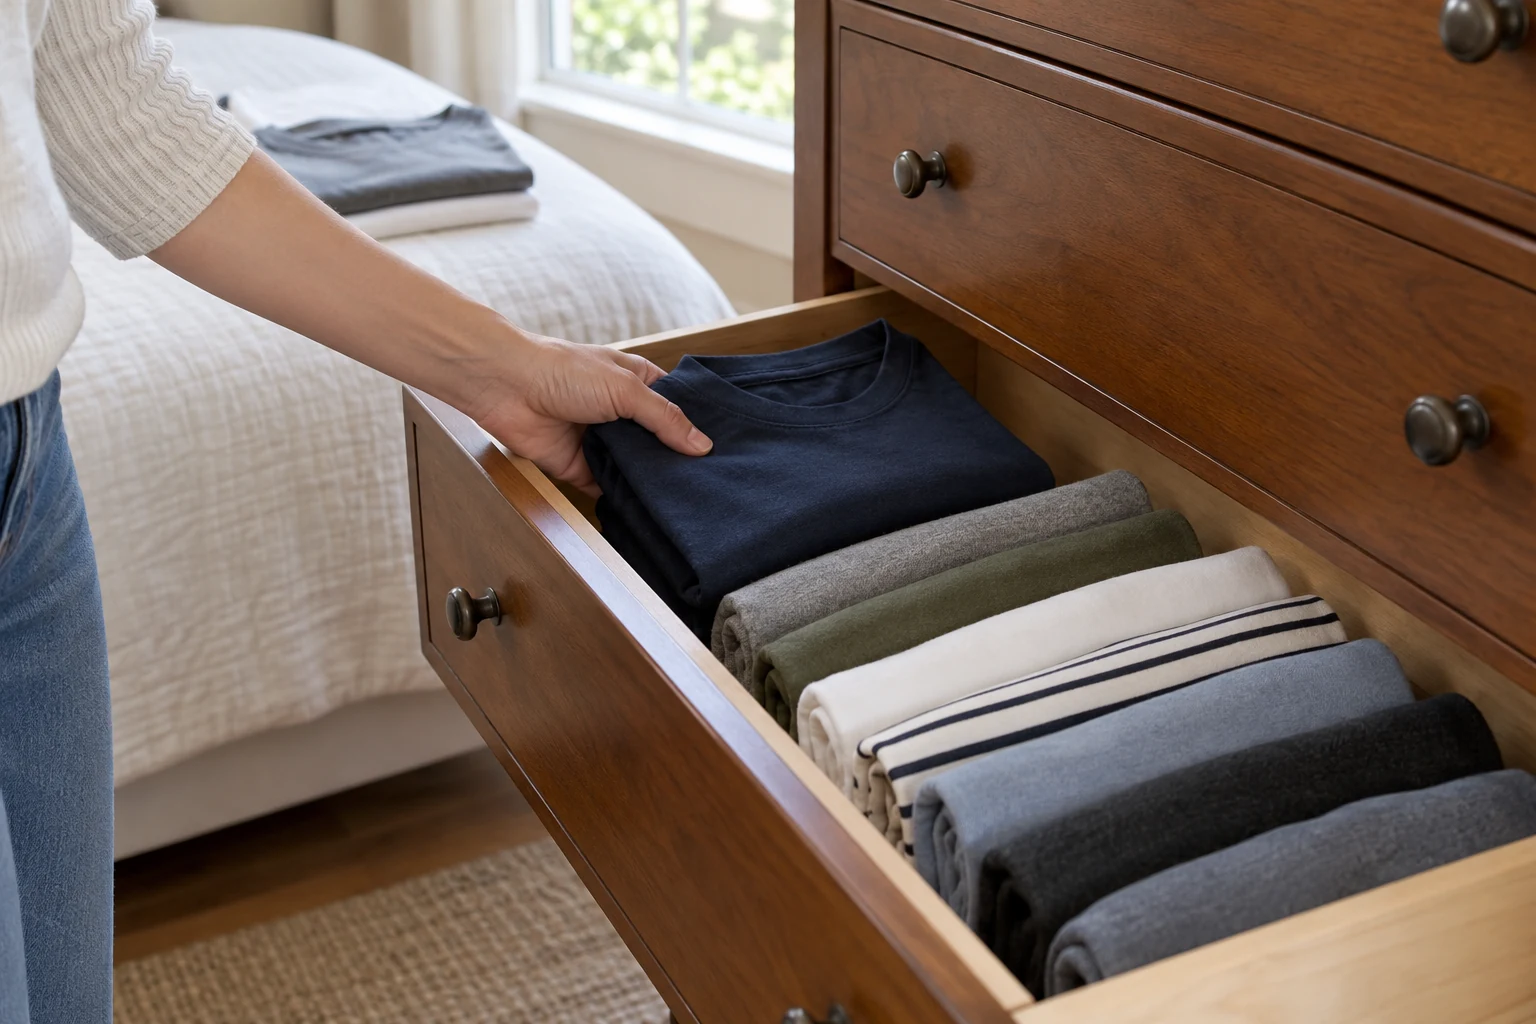
Bring a small clean load to the dresser and put it away normally. Notice where you pause, unfold something or move another category aside. Those interruptions show which parts of the arrangement may need changing.
Use suitable pieces you already own for this idea.
Keep the fold simple enough to repeat without needing a demonstration each time. If someone else shares the task, ask whether the sections make sense to them. A system that only one person understands may create more sorting later.
Change one awkward step and try again with the next load. That might mean widening a section or combining two nearly identical categories. You can judge the result through ordinary use without promising a permanently perfect drawer.
11. Plan for the full clean wardrobe
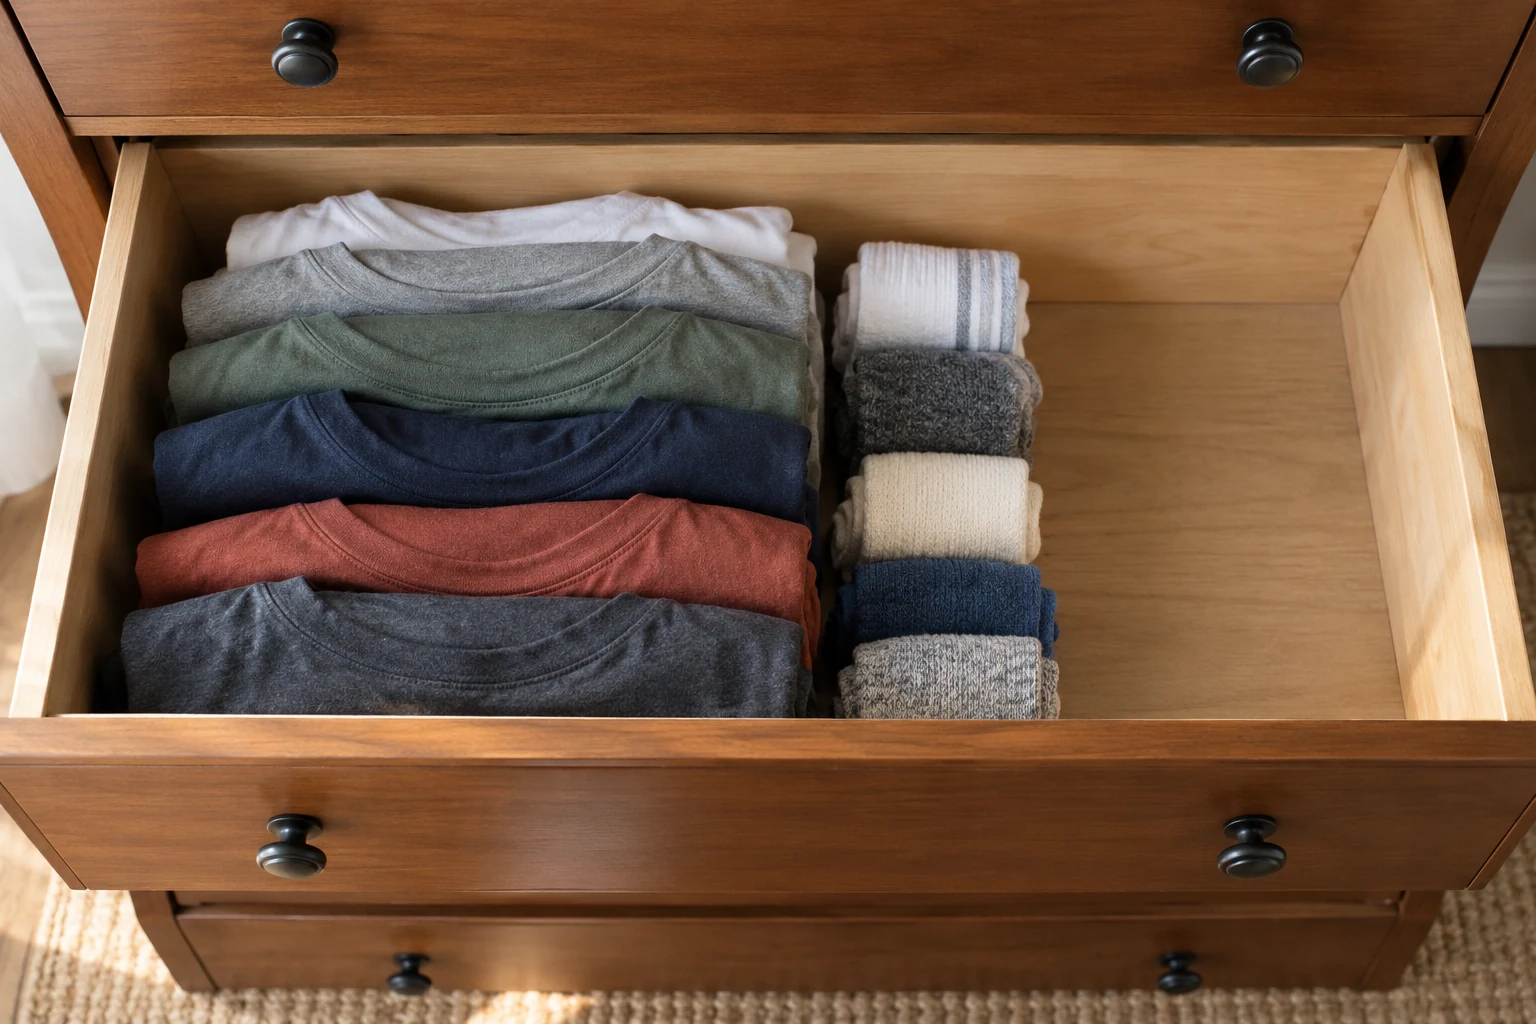
Check the arrangement again when the usual clothes have returned from washing. Include the items currently being worn before deciding the drawer has spare capacity. Leave enough room for a hand to retrieve something without dragging out its neighbors.
Use suitable pieces you already own for this idea.
If clothes fit only while compressed, move a less frequently worn group elsewhere. Keep that temporary location clear and specific, rather than creating another anonymous pile. Review whether the dresser should hold that category at all.
Don’t count on laundry always remaining unfinished to make the space work. A drawer needs to accept its ordinary contents when they’re clean. That practical limit matters more than squeezing another attractive organizer into an already tight corner.
12. Review the spot that keeps coming undone
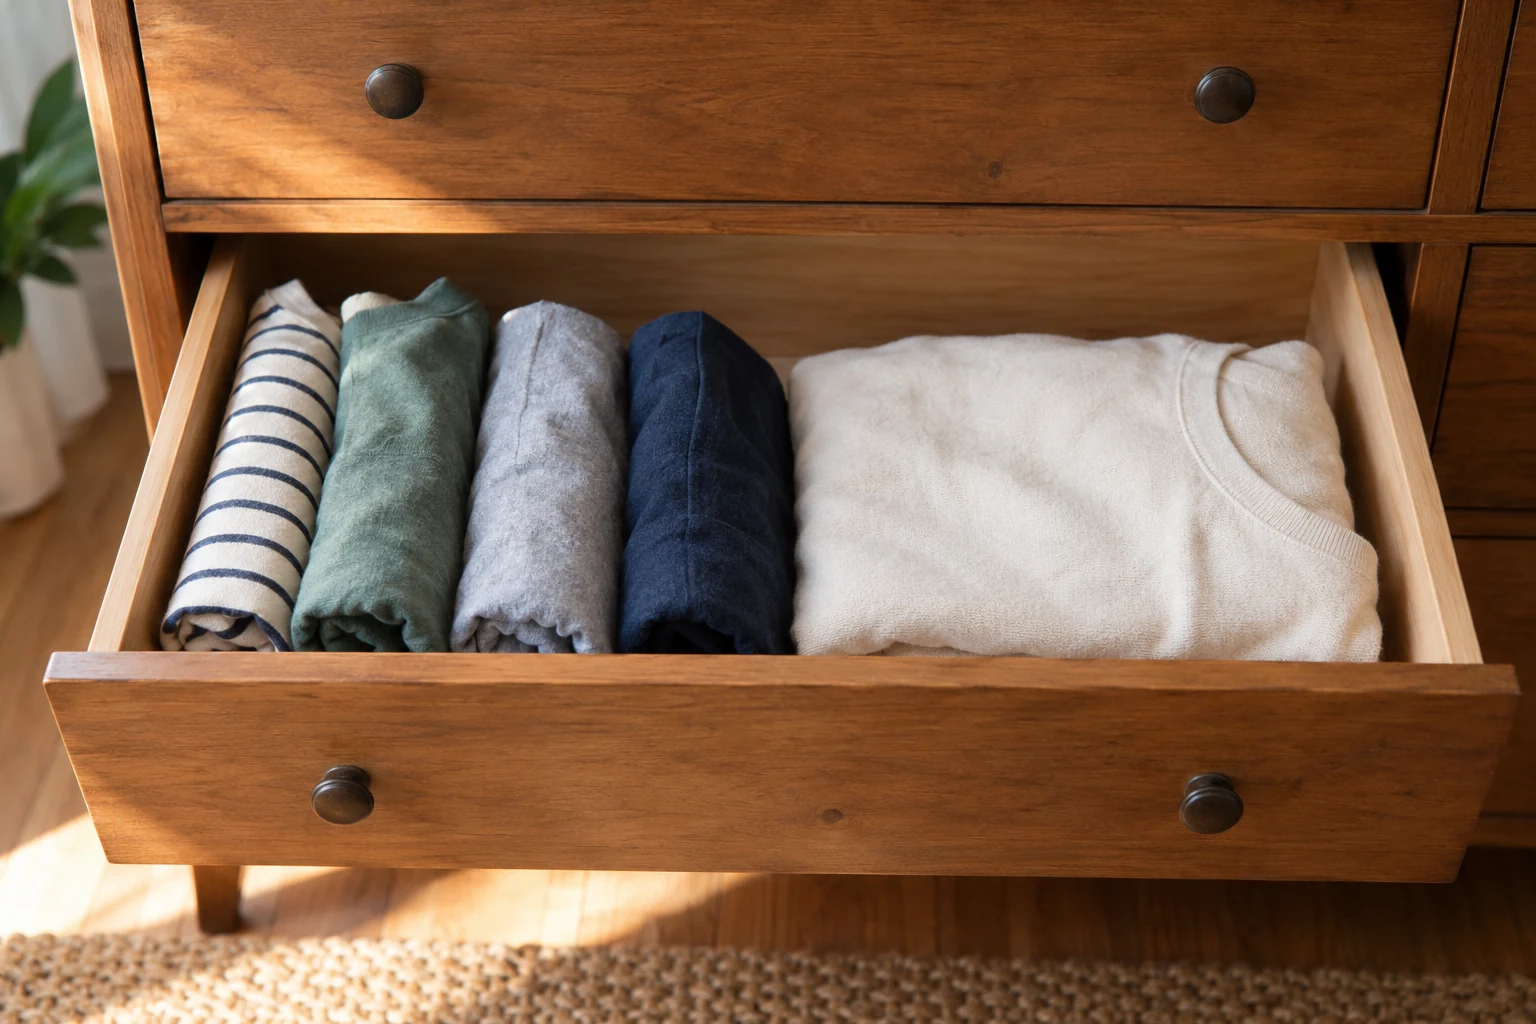
Look for the first place that becomes difficult after several ordinary uses. A collapsing row might need a wider fold or fewer pieces. Mixed categories might need a clearer boundary, while an awkward section might need a different location.
Use suitable pieces you already own for this idea.
Make the smallest useful adjustment before reorganizing the entire dresser again. Keep the parts that already make retrieving and returning clothes easier. A drawer can remain useful with uneven folds and a little open space.
Finish by returning unused organizers to storage or another suitable job. You don’t need to purchase matching pieces for the remaining drawers. Let each arrangement earn its place through the way you actually use it.
Visuals are original AI-generated editorial concepts, not photographs of actual products, tested projects, cooked results or real events.