A Small Fridge Organized Around Your Everyday Food

Explore the guide
- 1. Read the temperature before rearranging
- 2. Measure the space you can really use
- 3. Leave cold-air routes clear
- 4. Contain raw foods on the bottom shelf
- 5. Give covered ready foods a visible place
- 6. Put dated leftovers where you'll notice them
- 7. Keep packaging information with the food
- 8. Leave eggs in their original carton
- 9. Keep milk within the main cabinet
- 10. Use the door for suitable condiments
- 11. Use crisper drawers as your appliance intends
- 12. Make one workable space for tall items
- 13. Keep everyday snacks easy to identify
- 14. Reserve space for the meal you haven't stored yet
- 15. Reset a manageable section at a time
A small fridge needs room for the next meal as well as today’s groceries. Start with safe temperatures, separate raw foods and a clear view of what needs using. Then decide whether an organizer solves a particular problem inside the space you actually have.
You don’t need a matching container on every shelf. A few suitable food containers and an accessible arrangement may serve you better. Retain packaging where its shape and labeling already work, rather than decanting everything for appearance.
These fifteen changes help you arrange ordinary groceries without turning the fridge into a storage showroom. Check your appliance manual before moving shelves or changing drawer settings. The example scenes illustrate arrangements; they don’t prove an actual refrigerator’s temperature or a food’s condition.
1. Read the temperature before rearranging
Keep the refrigerator at 40°F or below, checking with an appliance thermometer. A numbered setting doesn’t necessarily show the actual temperature around the food. Follow the thermometer’s placement instructions and your appliance guidance.
Comparable options, not the exact pictured items. Check the selected variant and current directions.
Fit and buying notes
- Taylor refrigerator/freezer thermometer: Taylor analog refrigerator/freezer thermometer, minus twenty to eighty degrees Fahrenheit. Measures the air around stored food, not the internal cooking temperature. Hand wash only; do not immerse or treat as a food probe.
The selected Taylor appliance thermometer measures surrounding air, not a cooked meal’s internal temperature. It can stand or hang and covers temperatures from minus twenty to eighty degrees Fahrenheit. Don’t immerse this model in water or treat it as a food probe.
Make temperature checks part of using the fridge after organizing it. A tidy arrangement isn’t a substitute for proper chilling. If temperatures aren’t staying appropriate, address the appliance problem instead of adding more containers.
2. Measure the space you can really use
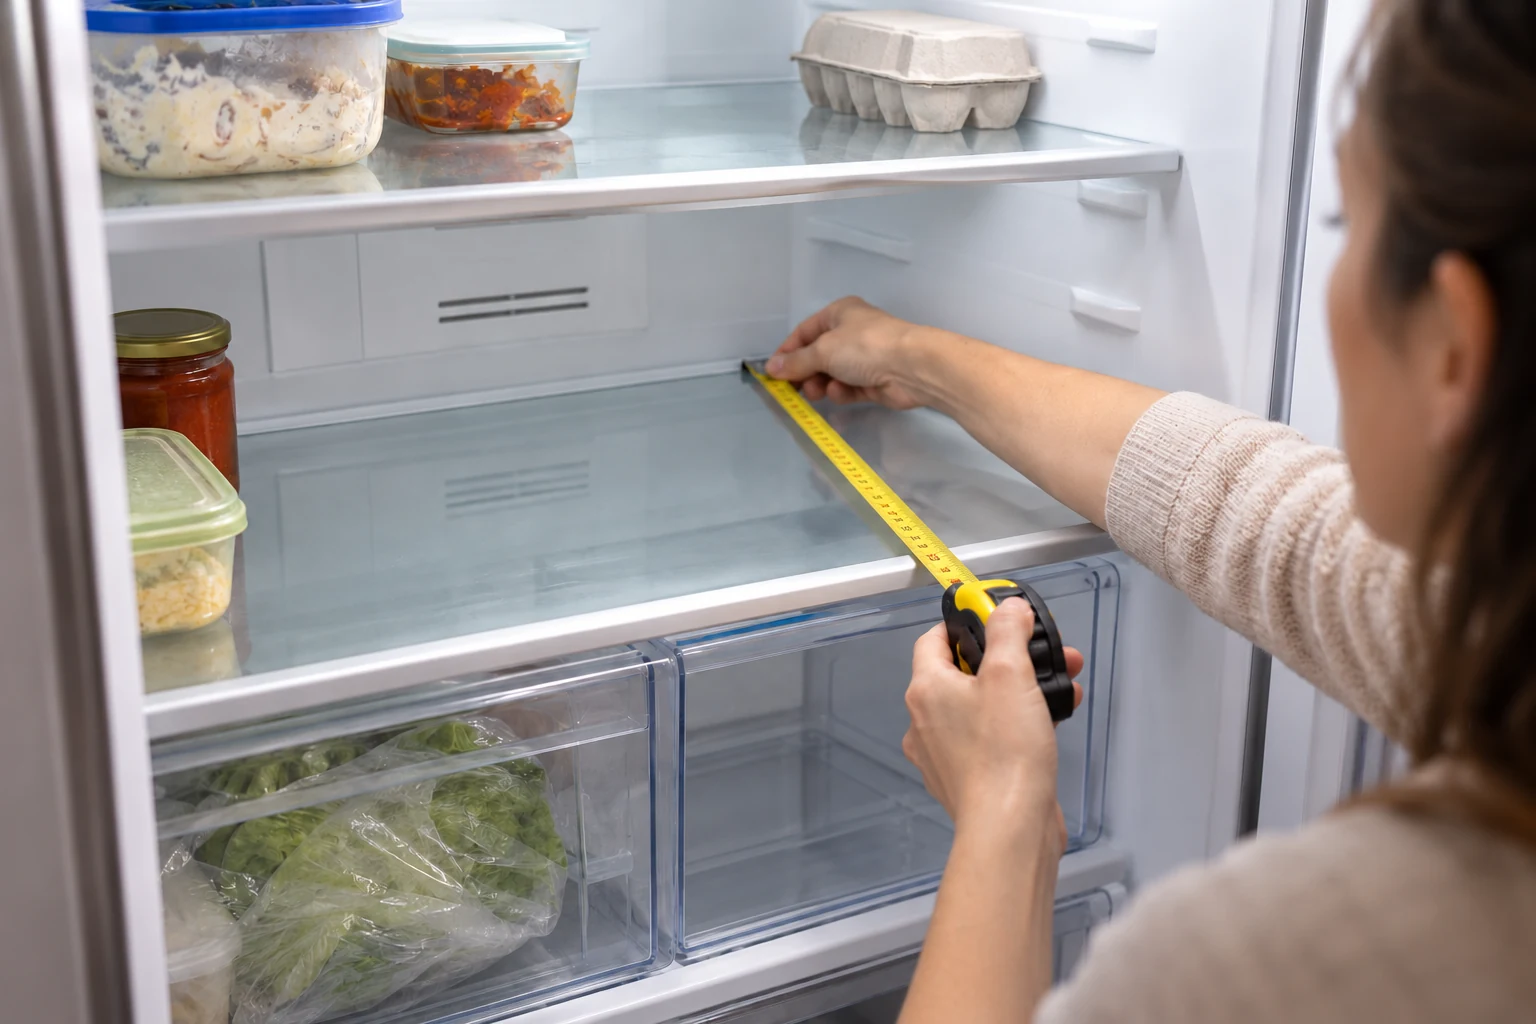
Check shelf depth, vertical clearance and the opening available with the door in its ordinary position. Include space needed to grip and remove a container. An organizer can fit on paper while its handle catches the door or shelf above.
Use suitable pieces you already own for this idea.
Try reaching the back and upper shelf before changing shelf heights. A new arrangement should work for the people who use the fridge. Raising shelves for a tall bin may move everyday food out of comfortable reach.
3. Leave cold-air routes clear
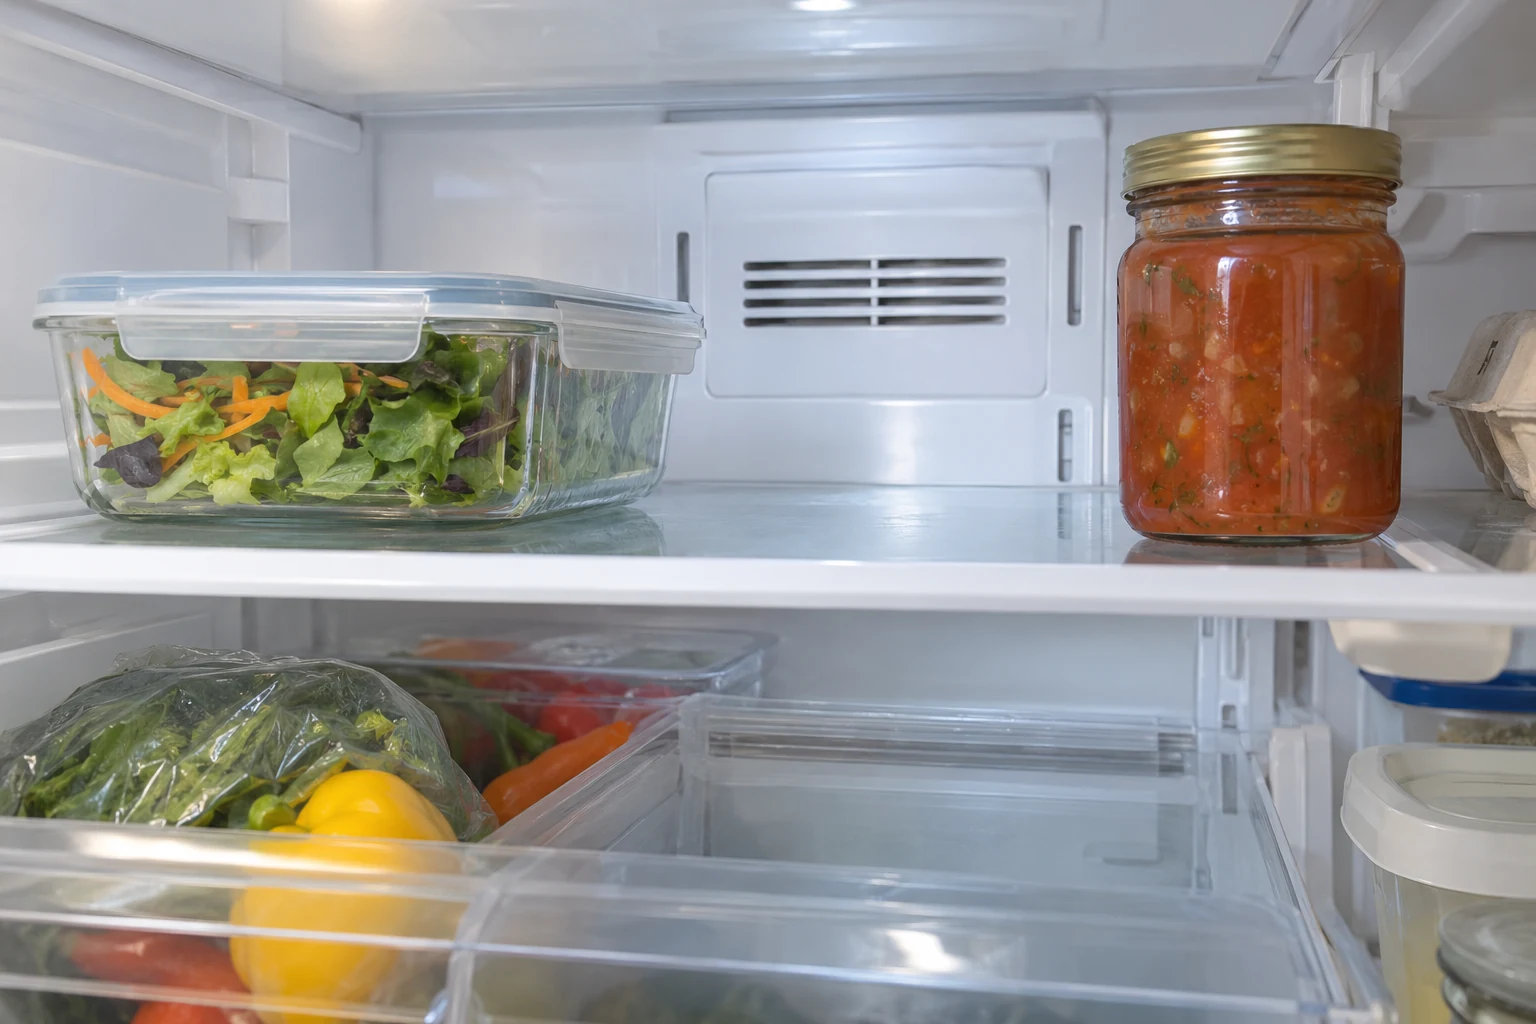
Find the vents and other clearances described in your appliance manual. Keep food and containers from crowding those areas. Cold air needs room to circulate, so filling every visible gap isn’t the aim.
Use suitable pieces you already own for this idea.
Avoid copying a photograph’s tightly packed row without checking your own appliance. Different shelf layouts and vents change what will work. Use actual dimensions and temperature checks instead of an organizing trend’s universal gap measurement.
4. Contain raw foods on the bottom shelf
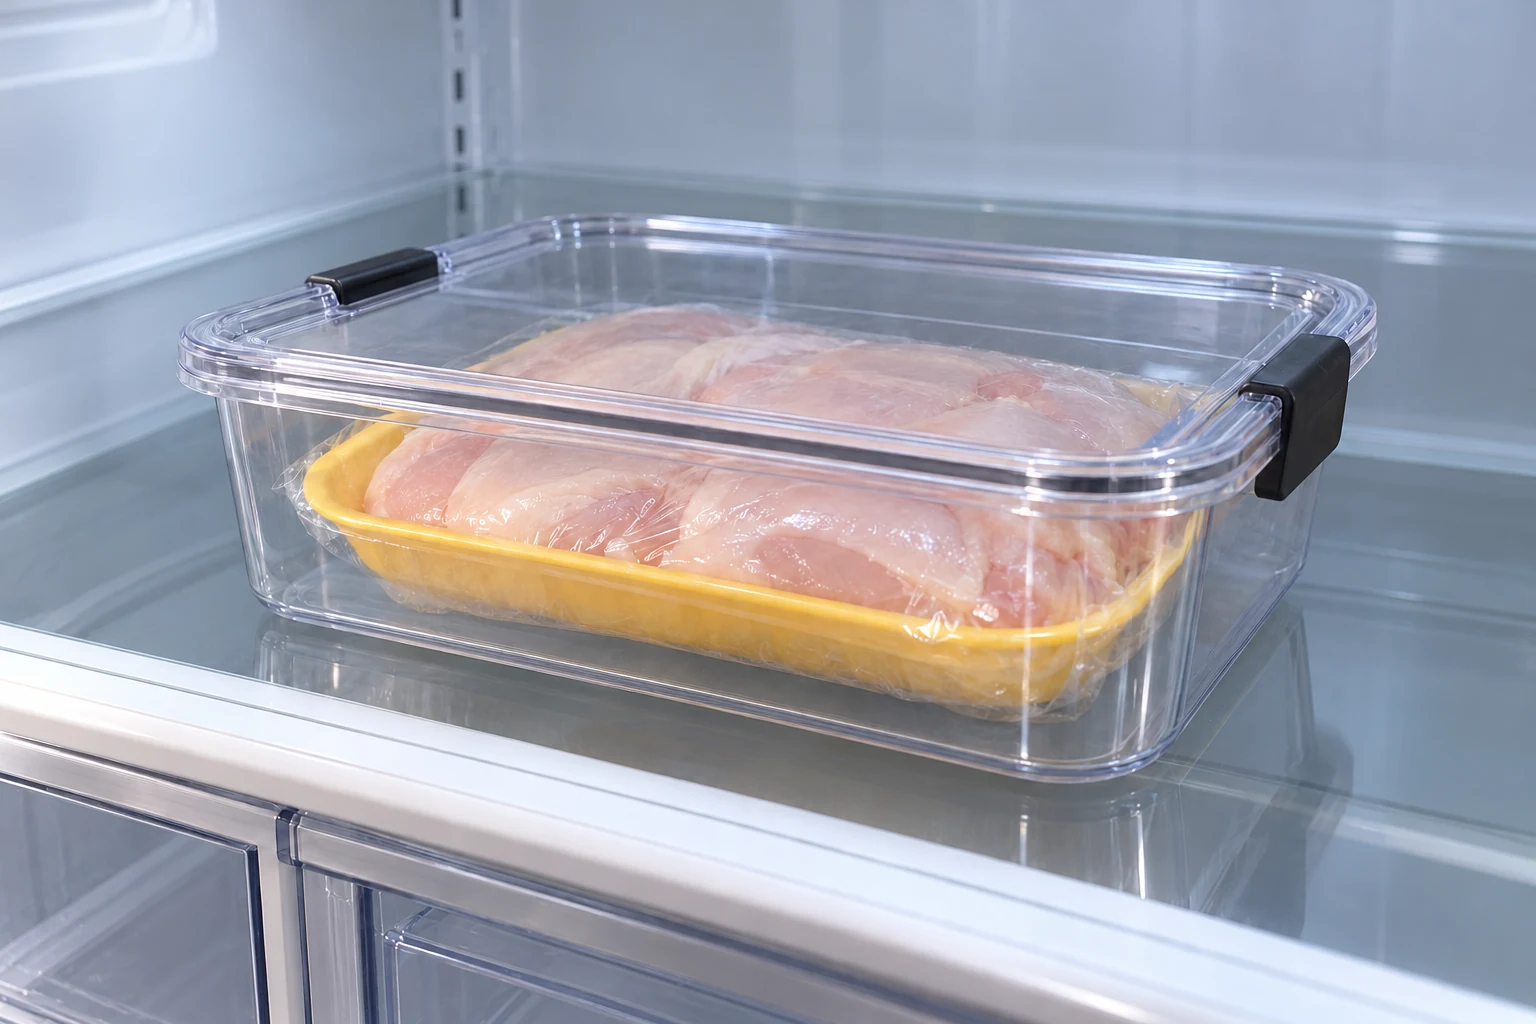
Keep raw meat, poultry and seafood low, separated from foods that are ready to eat. Place wrapped packages inside suitable containment so juices cannot drip onto other items. Check that a package fits completely and the chosen container closes properly.
Comparable options, not the exact pictured items. Check the selected variant and current directions.
Fit and buying notes
- Rubbermaid Brilliance large 9.6-cup food container: One 9.6-cup Tritan food container with lid, not a three-pack. Compare usable interior and shelf clearance; a wrapped raw-food package must fit with lid closed. Inspect the actual lid and latches, following care directions. No universal fit, leakage prevention or food-safety guarantee.
The selected larger Rubbermaid Brilliance option holds 9.6 cups and includes one lid. Compare its interior with your actual package; that capacity doesn’t establish that every meat tray fits. Inspect the lid and latches, and follow the product’s care instructions.
Don’t place ready-to-eat food beneath a raw package while rearranging. Clean spills promptly rather than letting a catchment hide them. A dedicated location makes the separation easier to maintain after someone else puts groceries away.
5. Give covered ready foods a visible place
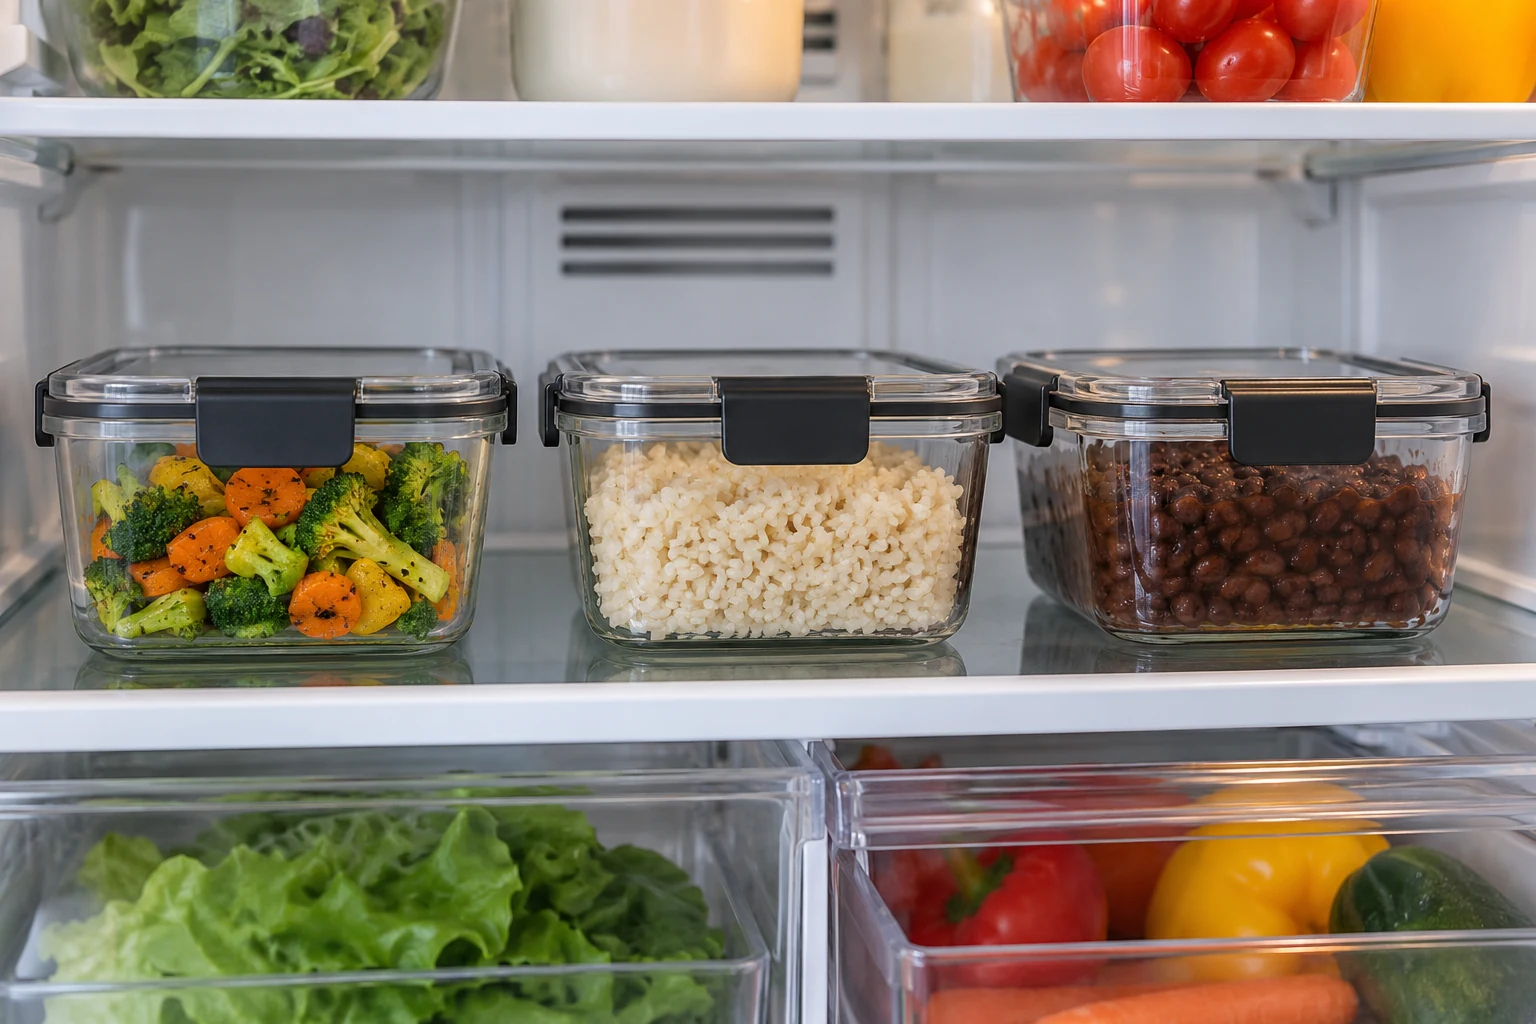
Keep ready-to-eat foods separate from raw foods that still require cooking. Choose a place where you can see the contents without moving several unrelated packages. Use covered food containers or appropriate sealed bags rather than leaving food exposed for the photograph.
Comparable options, not the exact pictured items. Check the selected variant and current directions.
Fit and buying notes
- Rubbermaid Brilliance 3.2-cup containers: Five 3.2-cup Tritan containers with matching lids. Check lid condition, fit and care directions. These are food containers, not an insulated cooler.
The selected 3.2-cup Rubbermaid Brilliance containers are one option for manageable portions. Check that the footprint and lid clearance suit your shelf before buying a set. Stack only in a way that stays stable and leaves your actual air routes clear.
6. Put dated leftovers where you'll notice them
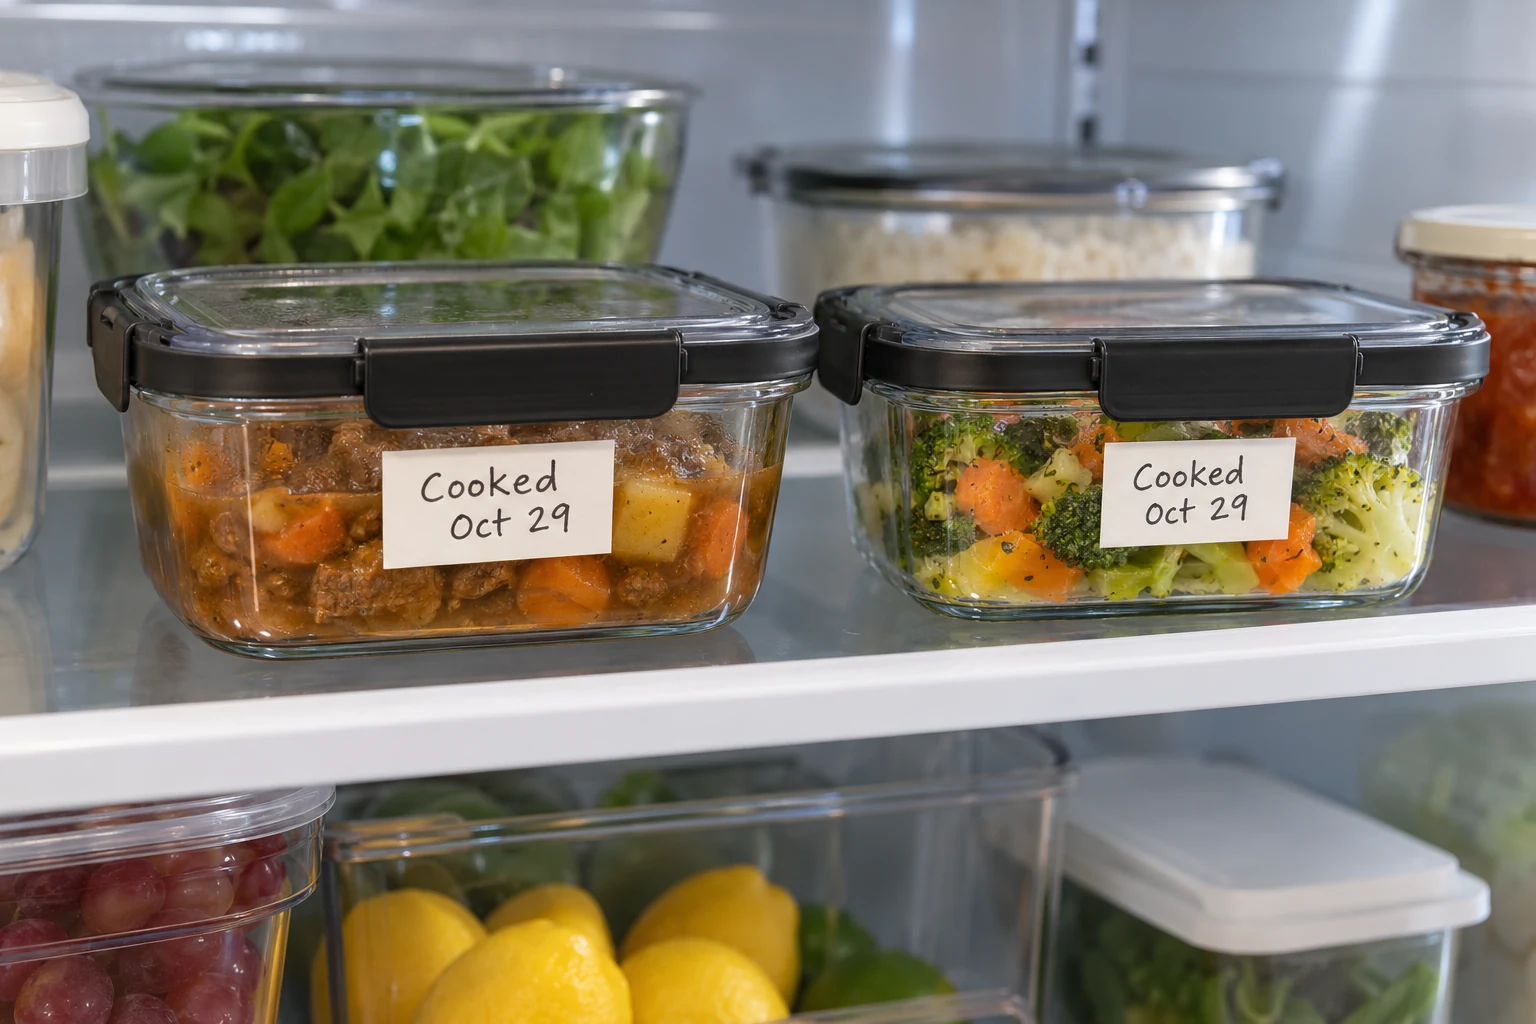
Place covered leftovers in a clearly visible area and record when they were prepared. FoodSafety.gov generally lists three to four refrigerated days for cooked meat, poultry, soups and stews. Check the guidance for the particular food rather than treating every item as interchangeable.
Comparable options, not the exact pictured items. Check the selected variant and current directions.
Fit and buying notes
- Rubbermaid Brilliance 3.2-cup containers: Five 3.2-cup Tritan containers with matching lids. Check lid condition, fit and care directions. These are food containers, not an insulated cooler.
An eat-first location is a reminder, not permission to keep food beyond appropriate storage limits. Moving leftovers into a fresh container doesn’t give them a new preparation date. Keep the date visible when stacking, and plan their use while they remain suitable.
7. Keep packaging information with the food
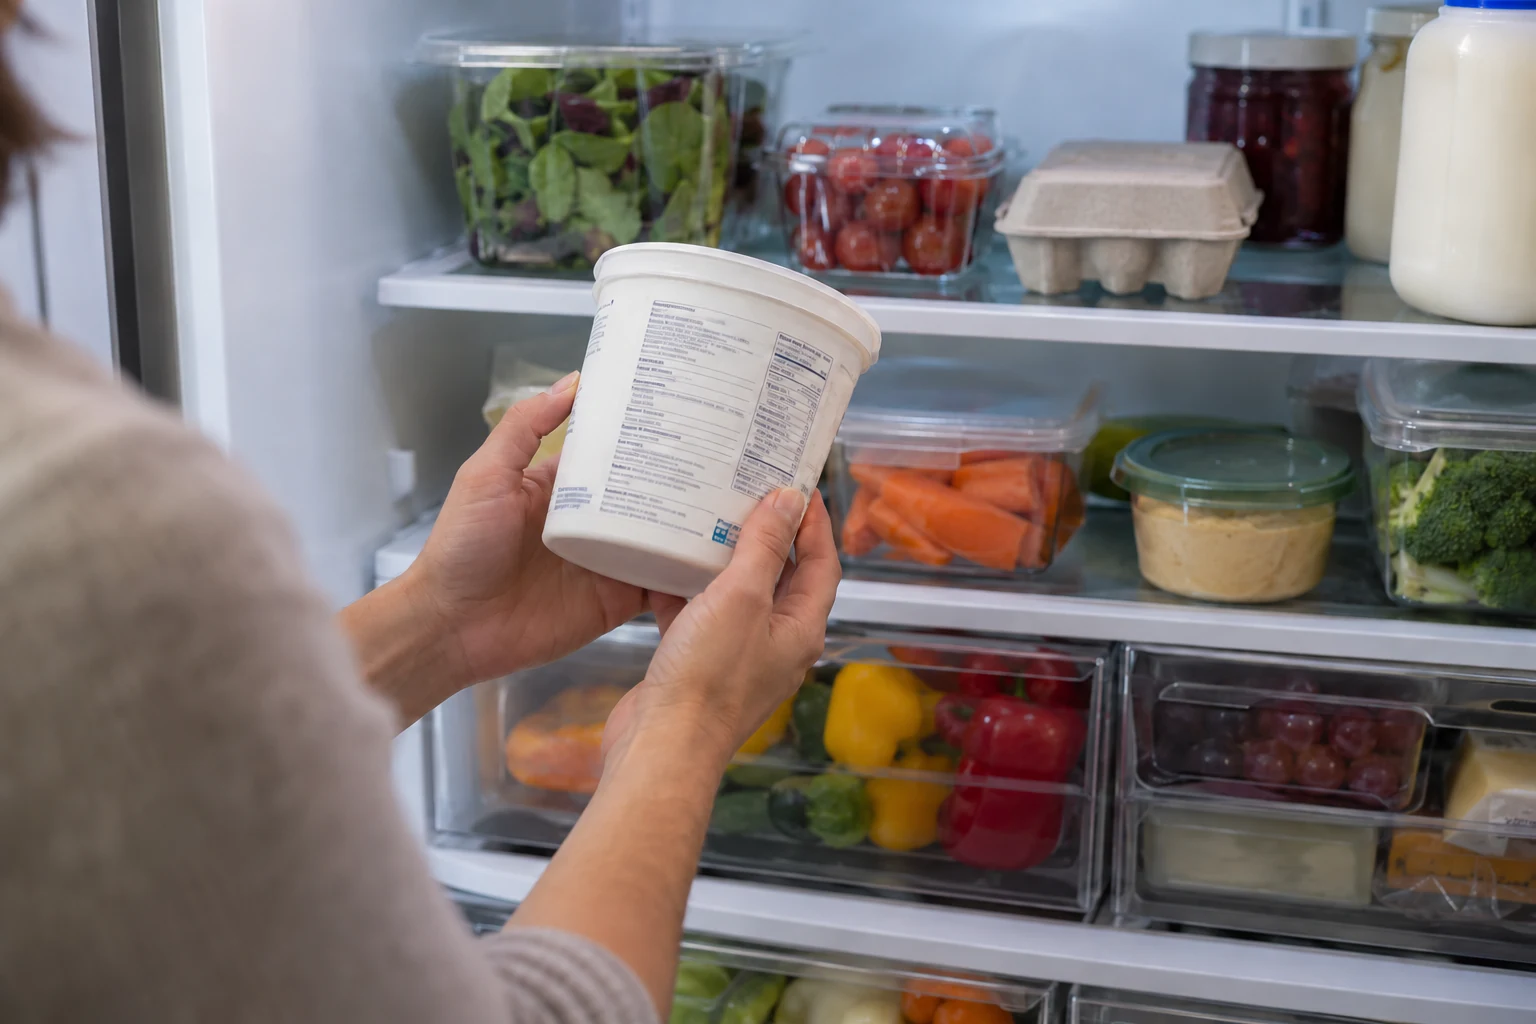
Retain original directions, dates and identification when deciding whether to transfer a food. A clear container may reveal the contents while hiding the information you still need. Keep the relevant details associated with anything you move.
Use suitable pieces you already own for this idea.
Mark an opening or preparation date using an existing method that stays readable outside the container. Don’t overwrite an original date with a more convenient one. A nicer label can’t resolve uncertainty about a food’s identity or storage history.
8. Leave eggs in their original carton
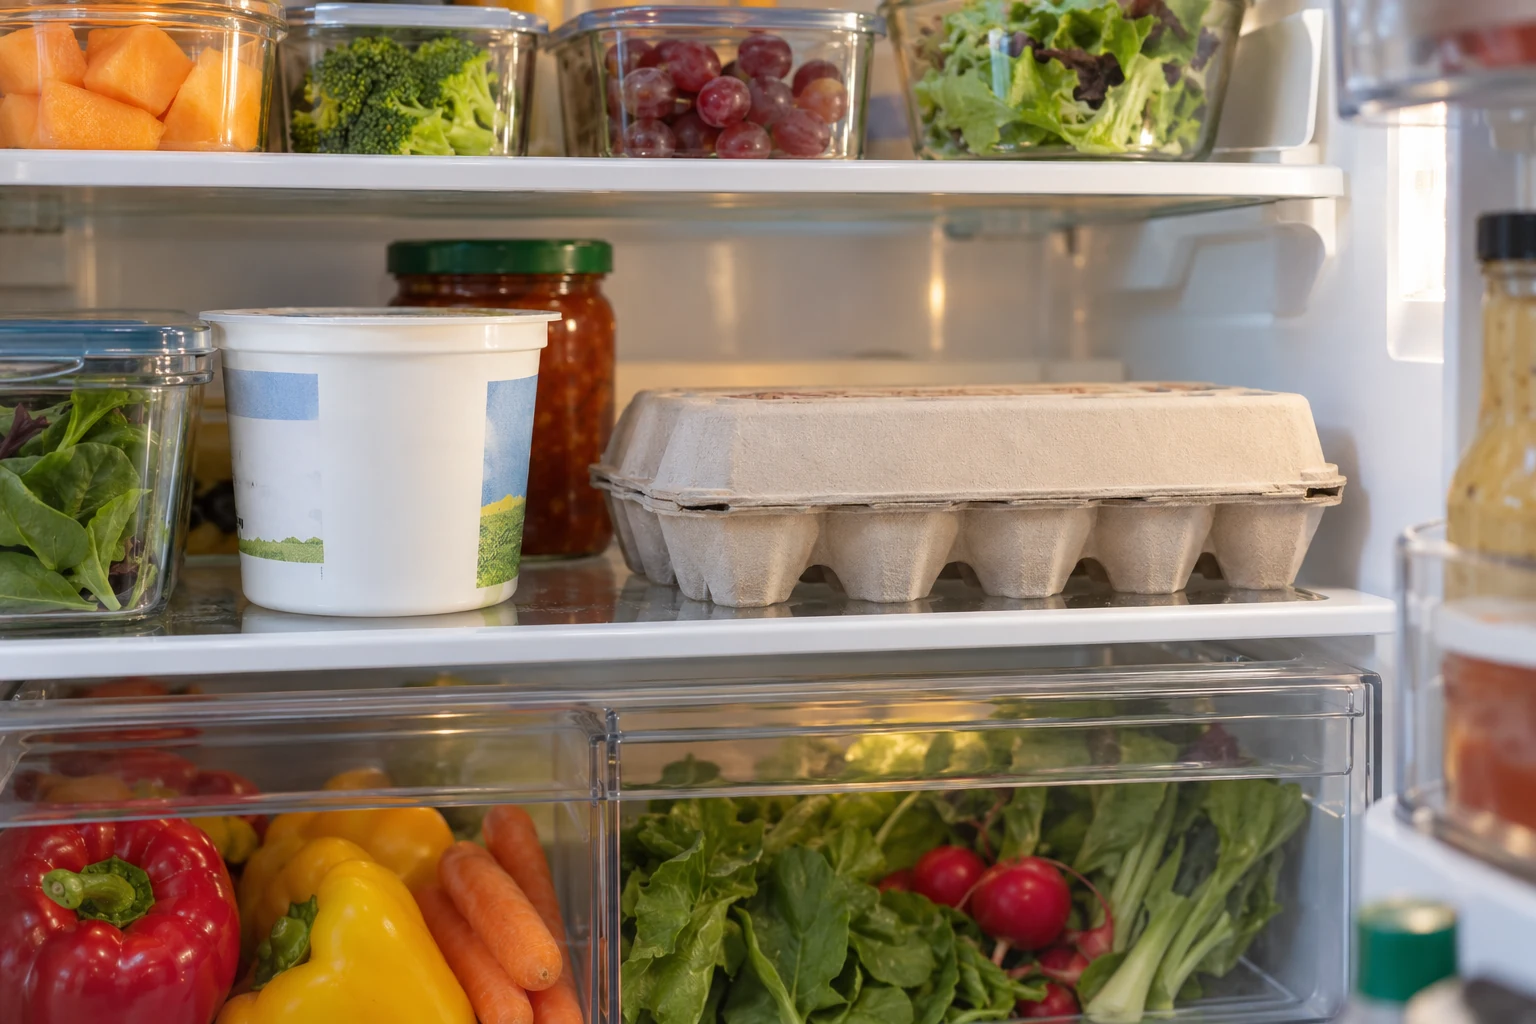
Keep eggs in their carton in the main cabinet, rather than a decorative door tray. The original carton also keeps its identifying information together. Choose a shelf position where it sits securely without raw meat stored above it.
Use suitable pieces you already own for this idea.
Check the space needed to lift and open the carton. You don’t need a separate rolling dispenser to make eggs accessible. Leaving them in their packaging avoids adding another container to clean and store.
9. Keep milk within the main cabinet
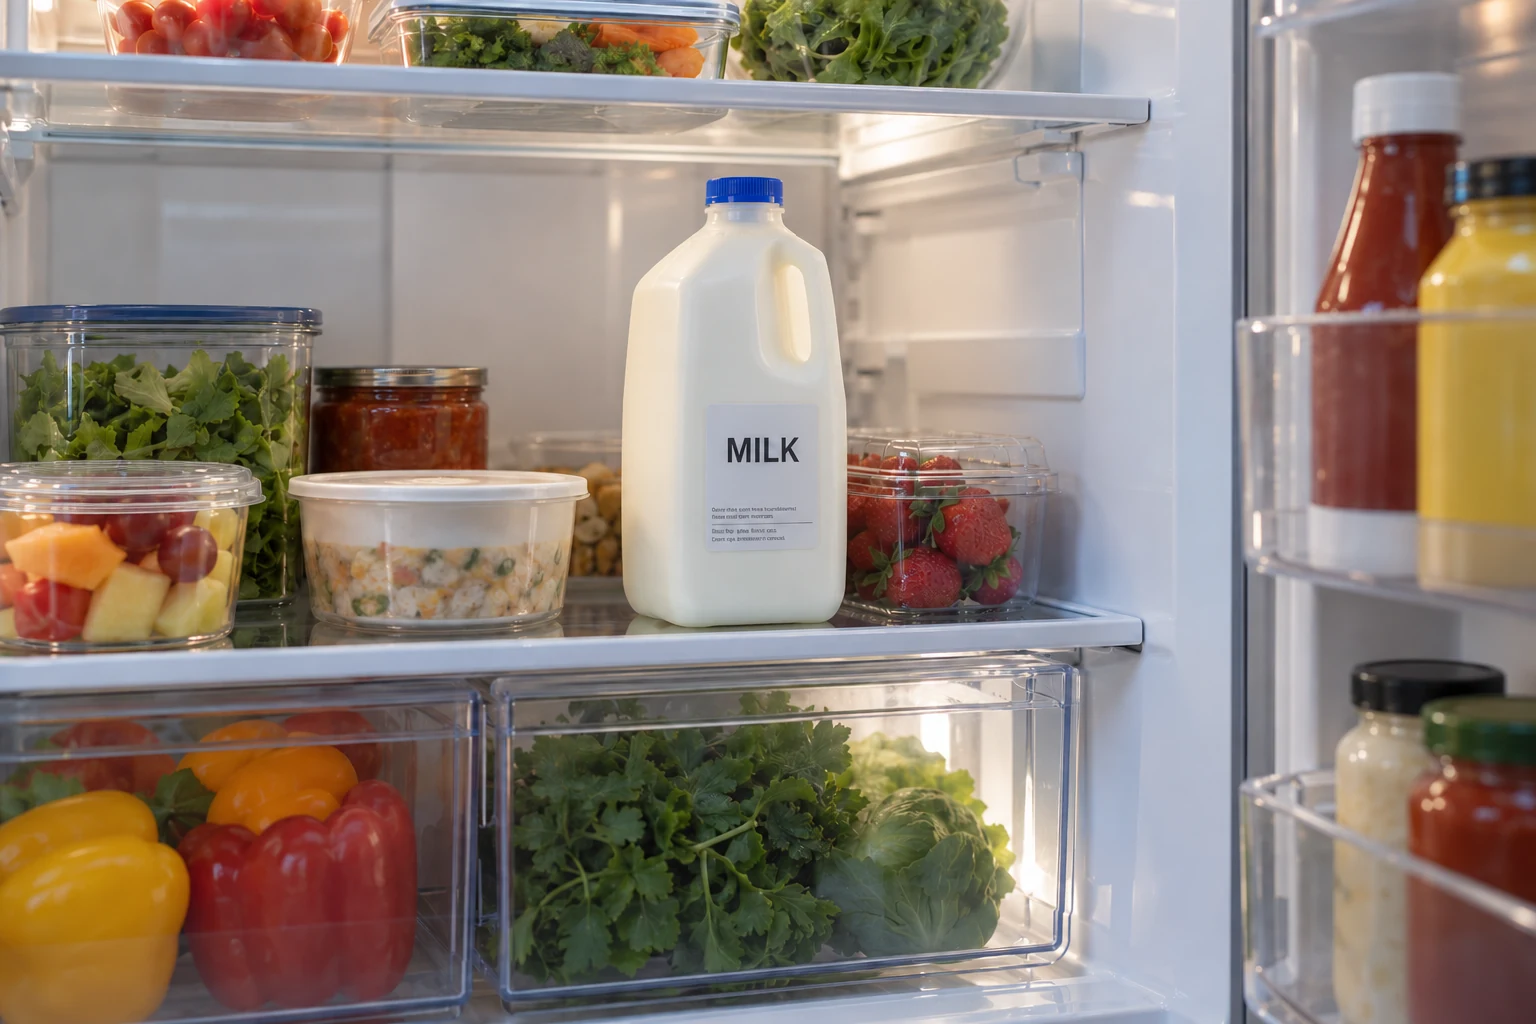
Use an appropriate interior shelf for milk instead of making the door its default home. Door areas are often warmer than the interior. Keep the container’s directions and date visible, and return it promptly after use.
Use suitable pieces you already own for this idea.
Before moving a shelf, compare the bottle’s real height with the available clearance. You may need one taller area rather than raising every shelf. Keep the arrangement stable and within your appliance’s intended shelf positions.
10. Use the door for suitable condiments
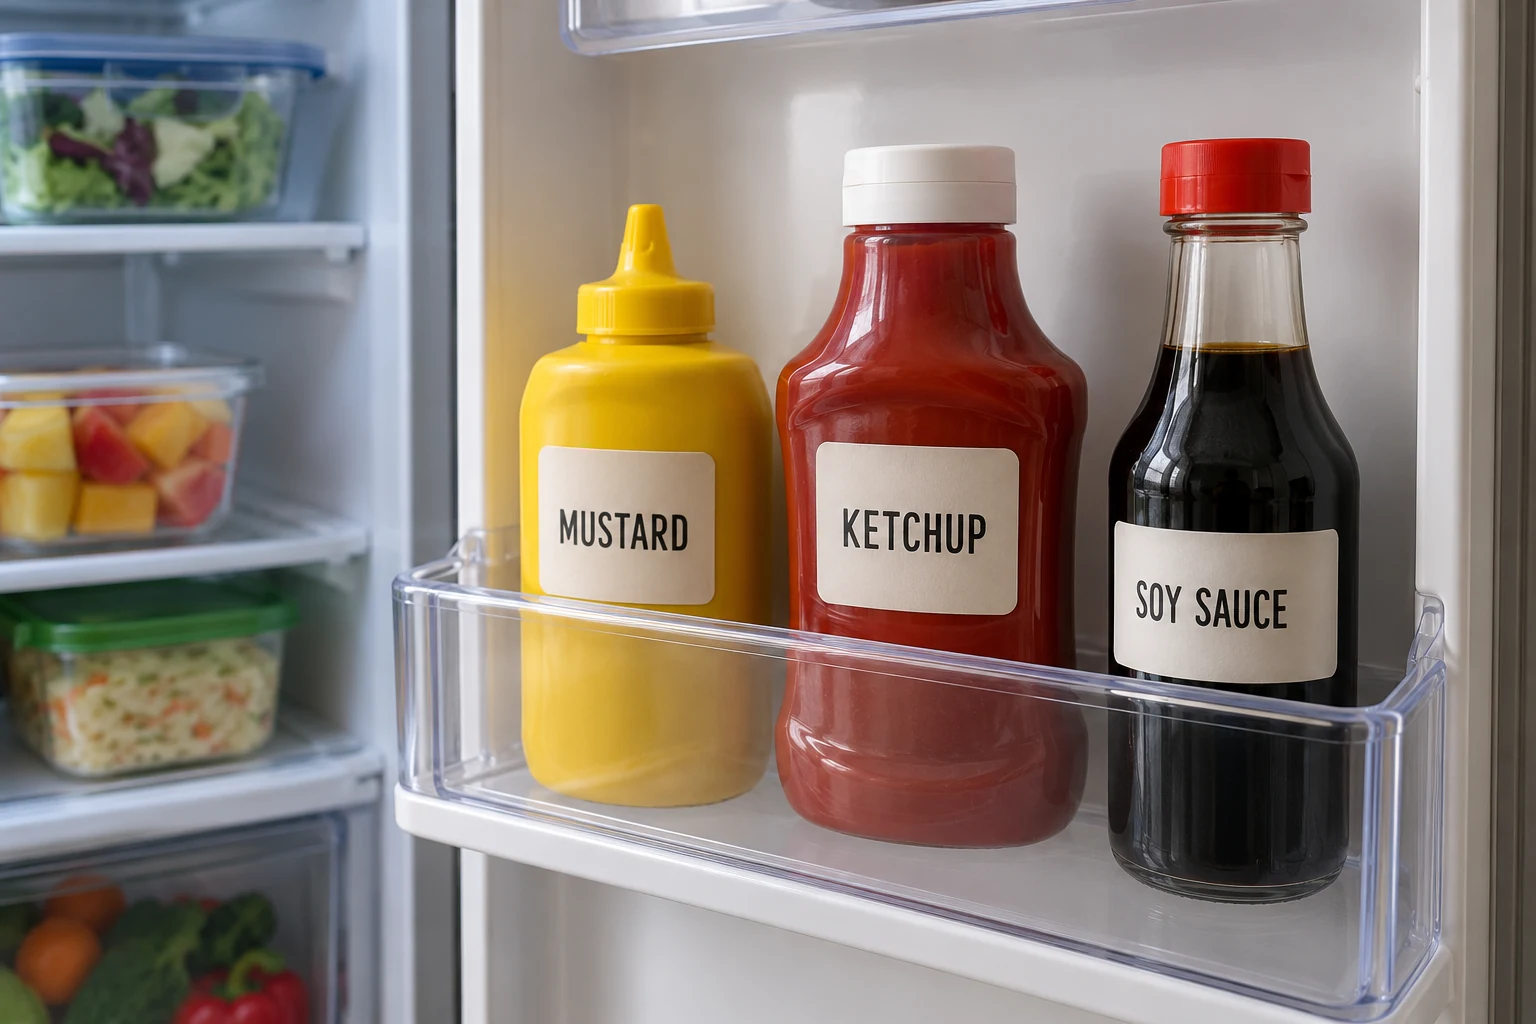
Group suitable less-perishable condiments in the door, following each product’s storage directions. Mustard, ketchup and similar items commonly fit this role better than milk or eggs. Keep bottles upright and their labels easy to identify.
Use suitable pieces you already own for this idea.
Remove duplicate bottles from your mental shopping list before buying another one. A quick check of what’s already open can simplify the next grocery trip. Don’t force an oversized bottle into a door section where it rocks or prevents proper closing.
11. Use crisper drawers as your appliance intends
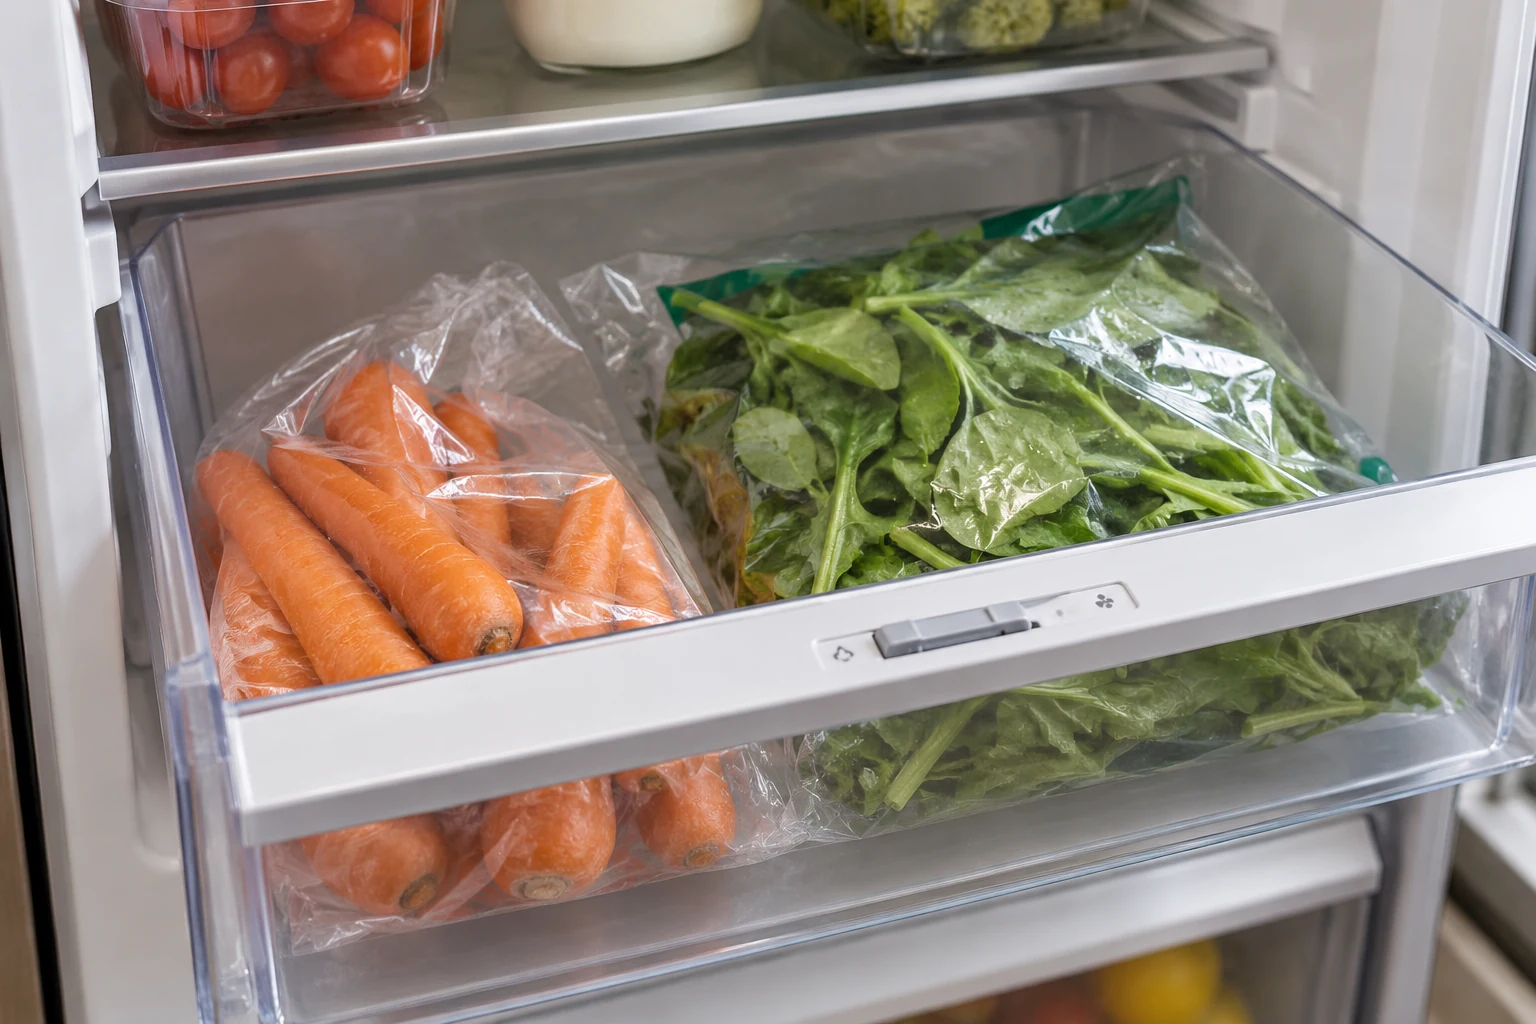
Read the instructions for your particular drawers and their controls. A vegetable illustration or a humidity slider may have a specific intended use. Follow the produce’s appropriate storage needs instead of copying one setting for everything.
Use suitable pieces you already own for this idea.
Keep delicate items visible enough to find before they disappear beneath a new grocery bag. Avoid stuffing the drawer so tightly that closing it crushes food. Original packaging or a suitable food container may already provide the practical separation you need.
12. Make one workable space for tall items
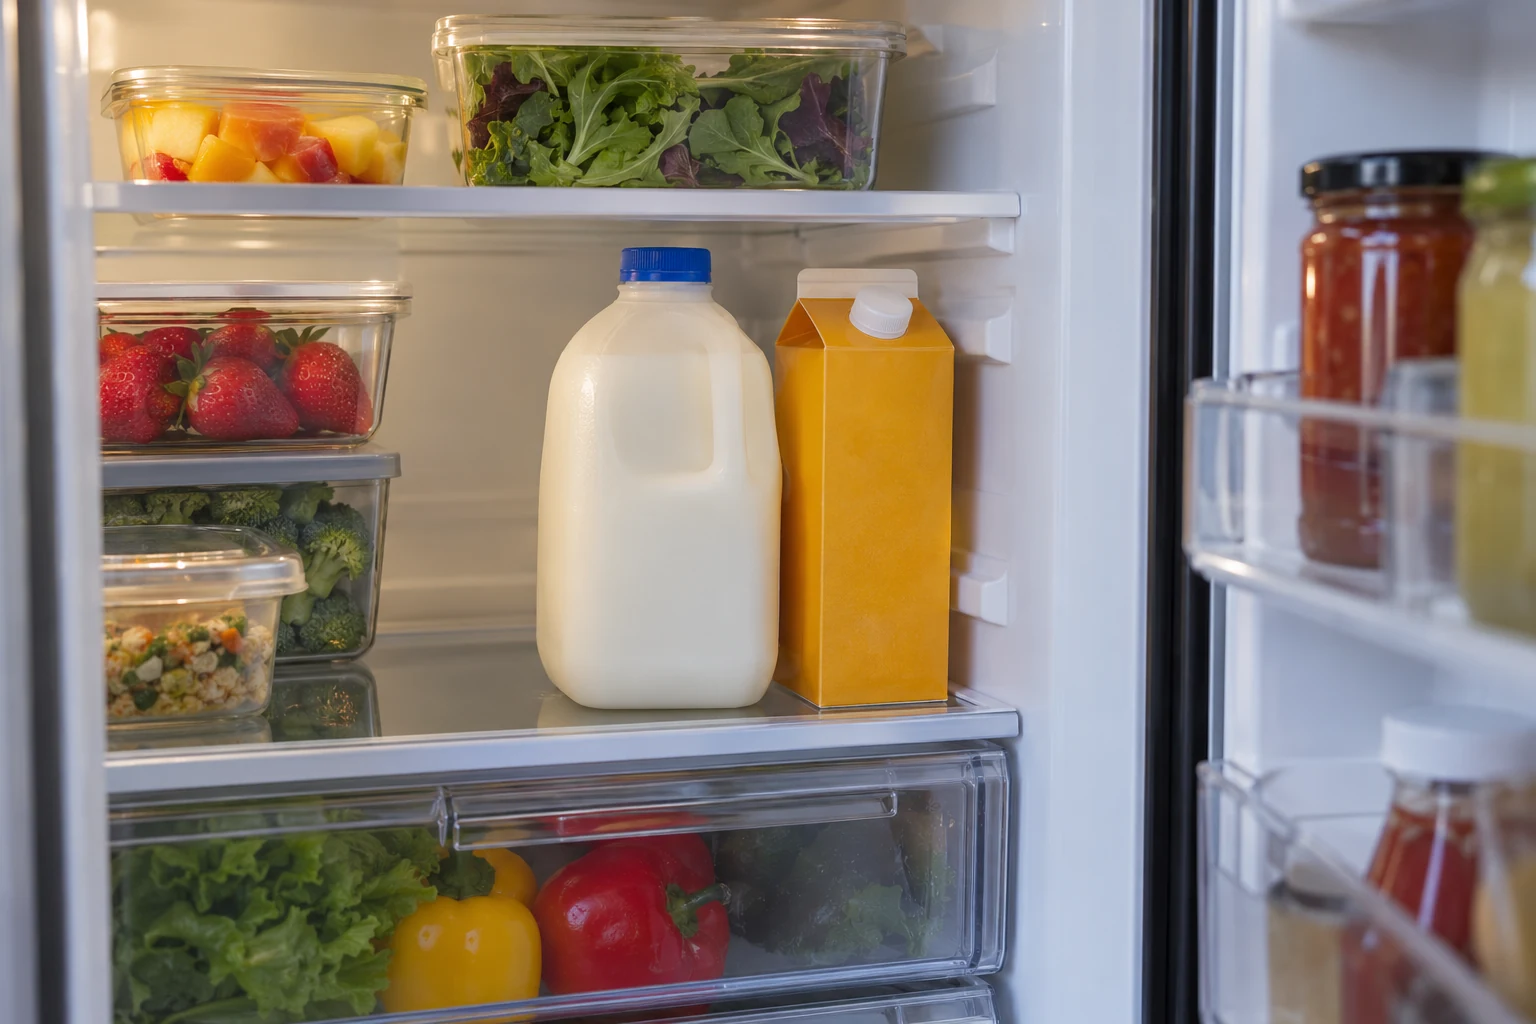
Identify which tall items you regularly store before changing shelf positions. A carton, bottle or covered container may need a different amount of clearance. Arrange a suitable area using the shelf positions your appliance allows.
Use suitable pieces you already own for this idea.
Check the route in and out, including the door shelves that project inward. Don’t assume an empty-fridge arrangement will work after the door holds its usual bottles. Try the ordinary movement before committing the rest of the shelf to organizers.
13. Keep everyday snacks easy to identify
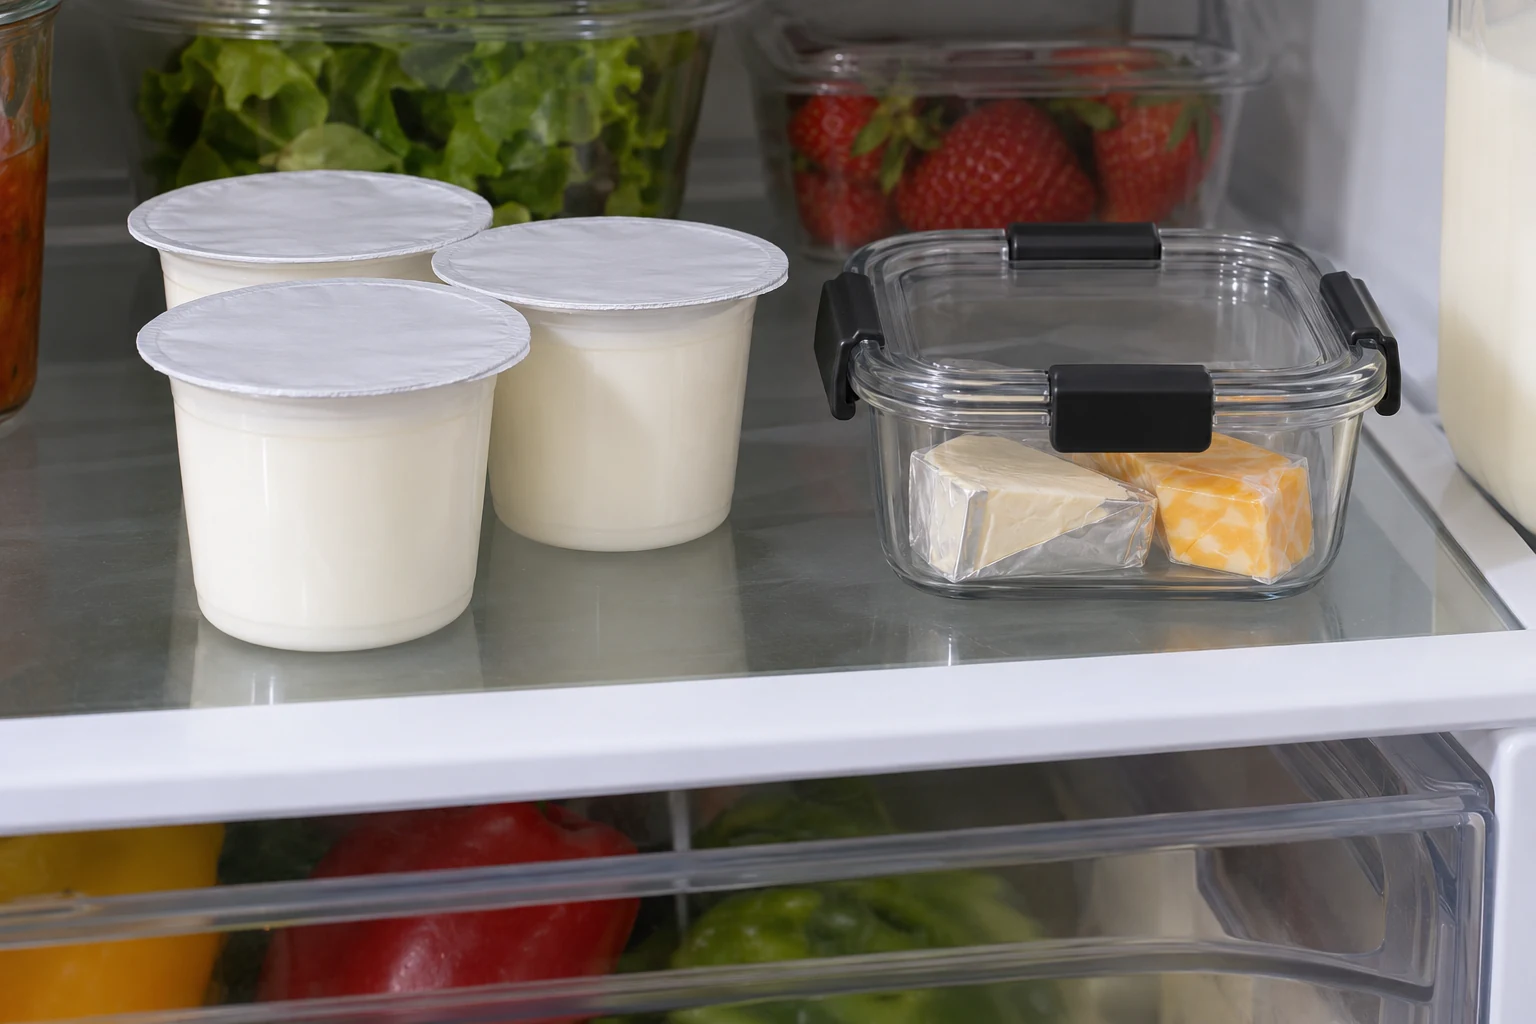
Group the wrapped foods you actually reach for, without buying extras to fill a category. A few yogurt cups or covered portions can sit together on a suitable shelf. Keep this ready-food group separate from raw-food containment.
Comparable options, not the exact pictured items. Check the selected variant and current directions.
Fit and buying notes
- Rubbermaid Brilliance 3.2-cup containers: Five 3.2-cup Tritan containers with matching lids. Check lid condition, fit and care directions. These are food containers, not an insulated cooler.
Use a suitable existing food container where small items keep getting lost. If using the selected 3.2-cup option, check that it holds your particular portions comfortably. Keep any original storage directions and dates with the food rather than discarding them for neatness.
14. Reserve space for the meal you haven't stored yet
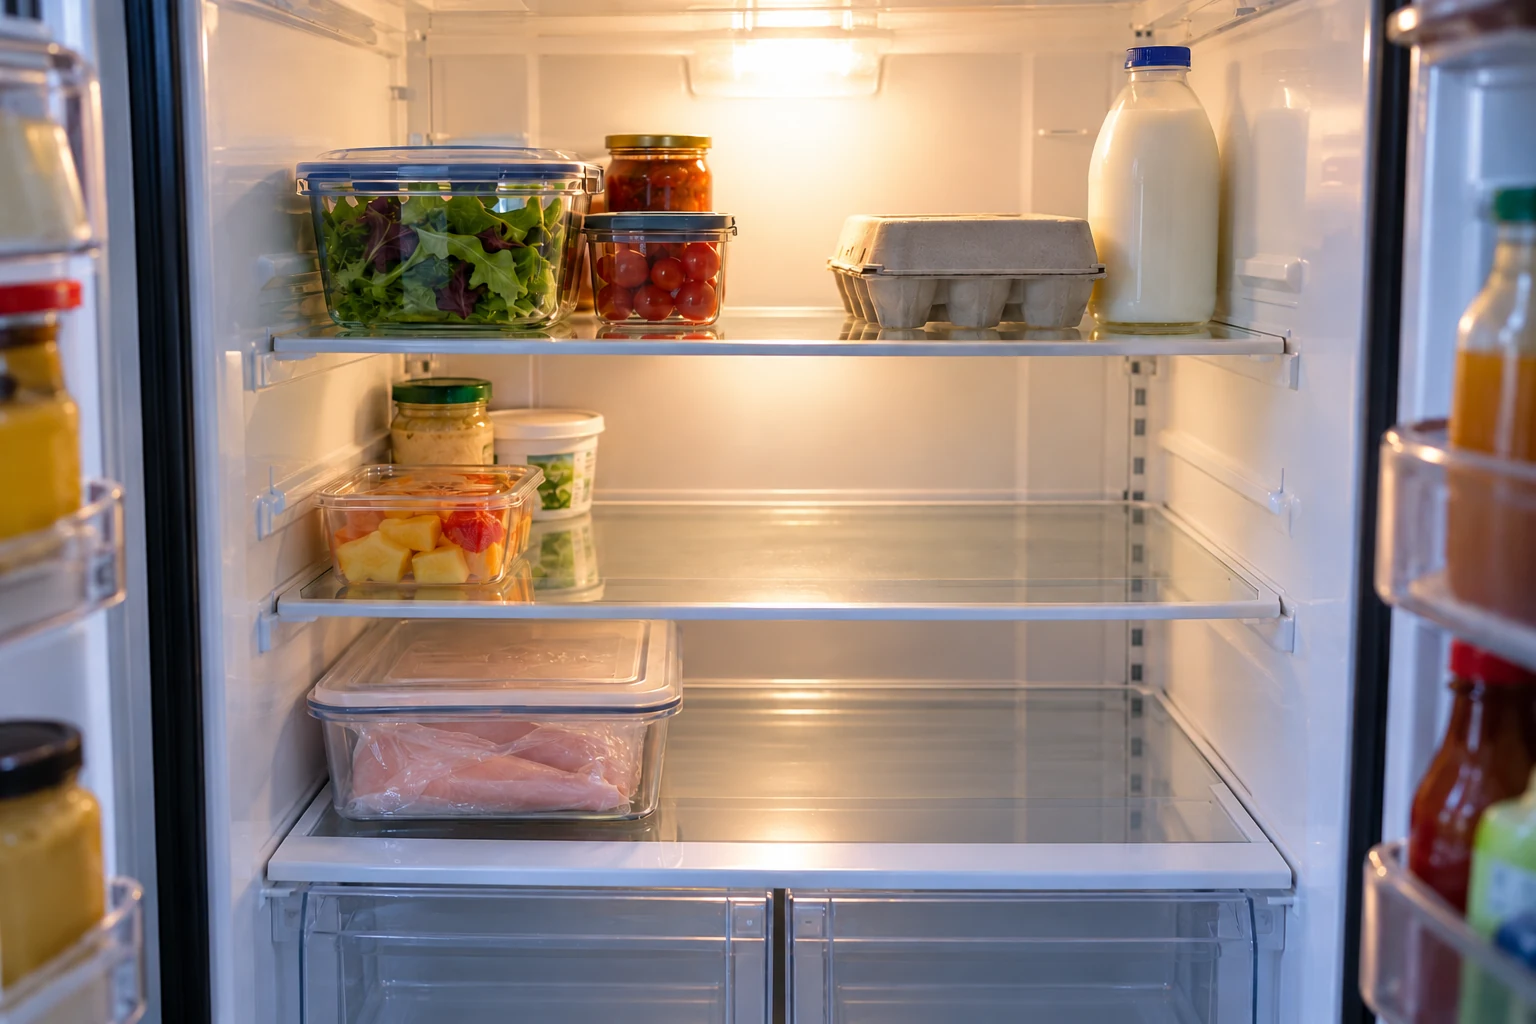
Leave some usable shelf space unassigned after the usual groceries go back. Tonight’s leftovers or tomorrow’s fresh ingredients will need somewhere appropriate to land. That area doesn’t need a permanent bin or a category label.
Use suitable pieces you already own for this idea.
Reconsider a setup that works only when every container is full of precisely matching products. Your groceries change from week to week. Flexible space can be more useful than another organizer with a fixed footprint.
15. Reset a manageable section at a time
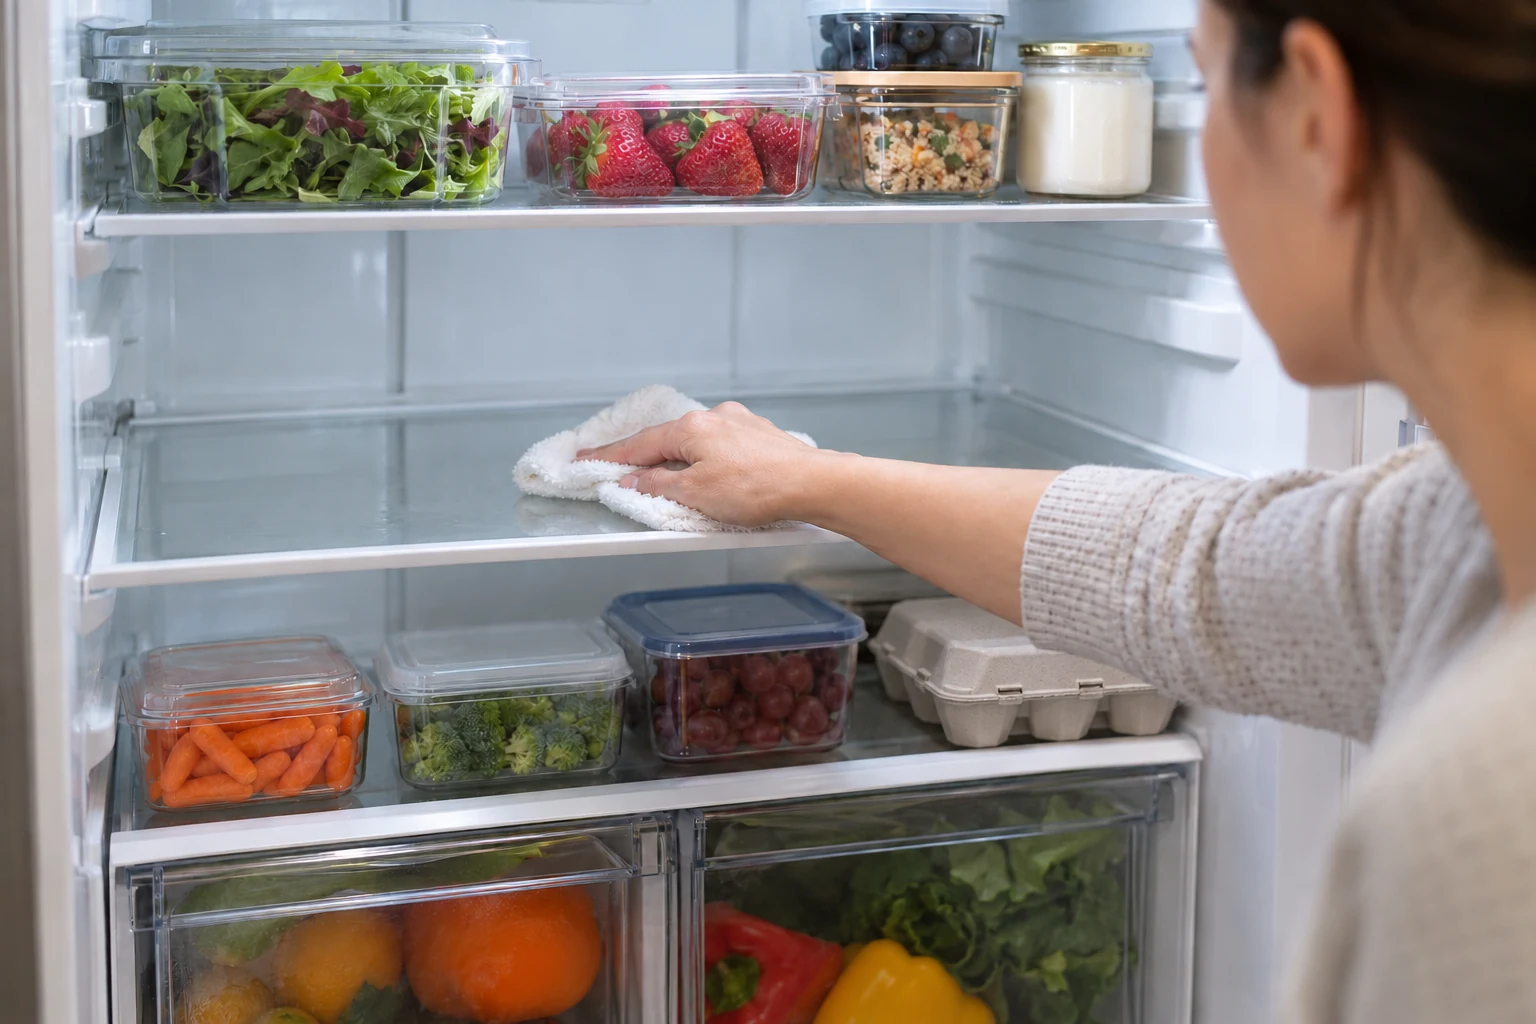
Keep perishable foods cold while cleaning and organizing; work in manageable sections. They shouldn’t remain unrefrigerated beyond two hours, or one hour when temperatures exceed 90°F. Follow the appliance’s cleaning instructions and deal with spills promptly.
Use suitable pieces you already own for this idea.
Divide hot leftovers into smaller suitable containers and refrigerate promptly, without waiting for complete counter cooling. Keep usable containers with their matching lids available for that job. Our food-container lid organization ideas address the cabinet side of that routine.
Before shopping, notice what needs using and which open packages already cover the next few meals. Then return food to an arrangement everyone can understand. Aim for a fridge you can safely use without restyling it after every dinner.
Visuals are original AI-generated editorial concepts, not photographs of actual products, tested projects, cooked results or real events.