How to Tell When Container Plants Need Water
Explore the guide
- 1. Check below the visible surface
- 2. Start with the plant you actually grow
- 3. Compare neighboring pots individually
- 4. Notice changing sun and wind
- 5. Check the pot after rain
- 6. Keep an open drainage route
- 7. Water the root zone slowly
- 8. Watch the first drainage without flushing
- 9. Recognize water bypassing dry mix
- 10. Empty ordinary standing saucer water
- 11. Investigate wilt before pouring again
- 12. Leave a note about conditions, not a fixed schedule
Check a container before watering it, even when another pot beside it needs a drink. The visible surface gives only part of the picture. The plant, potting mix, drainage and weather all affect what you should do next.
For ordinary outdoor vegetables and seasonal container flowers, feel below the surface and inspect the drainage. Add water when the root zone needs it, rather than because a calendar reminder appeared. Special plants and reservoir planters need guidance matched to their particular requirements.
These twelve checks help you decide using the pots and watering equipment you already have. The scenes illustrate checks; they don’t prove a real plant’s condition or a tested watering result. Start with the plant’s care instructions, then adjust your observations as conditions change.
1. Check below the visible surface
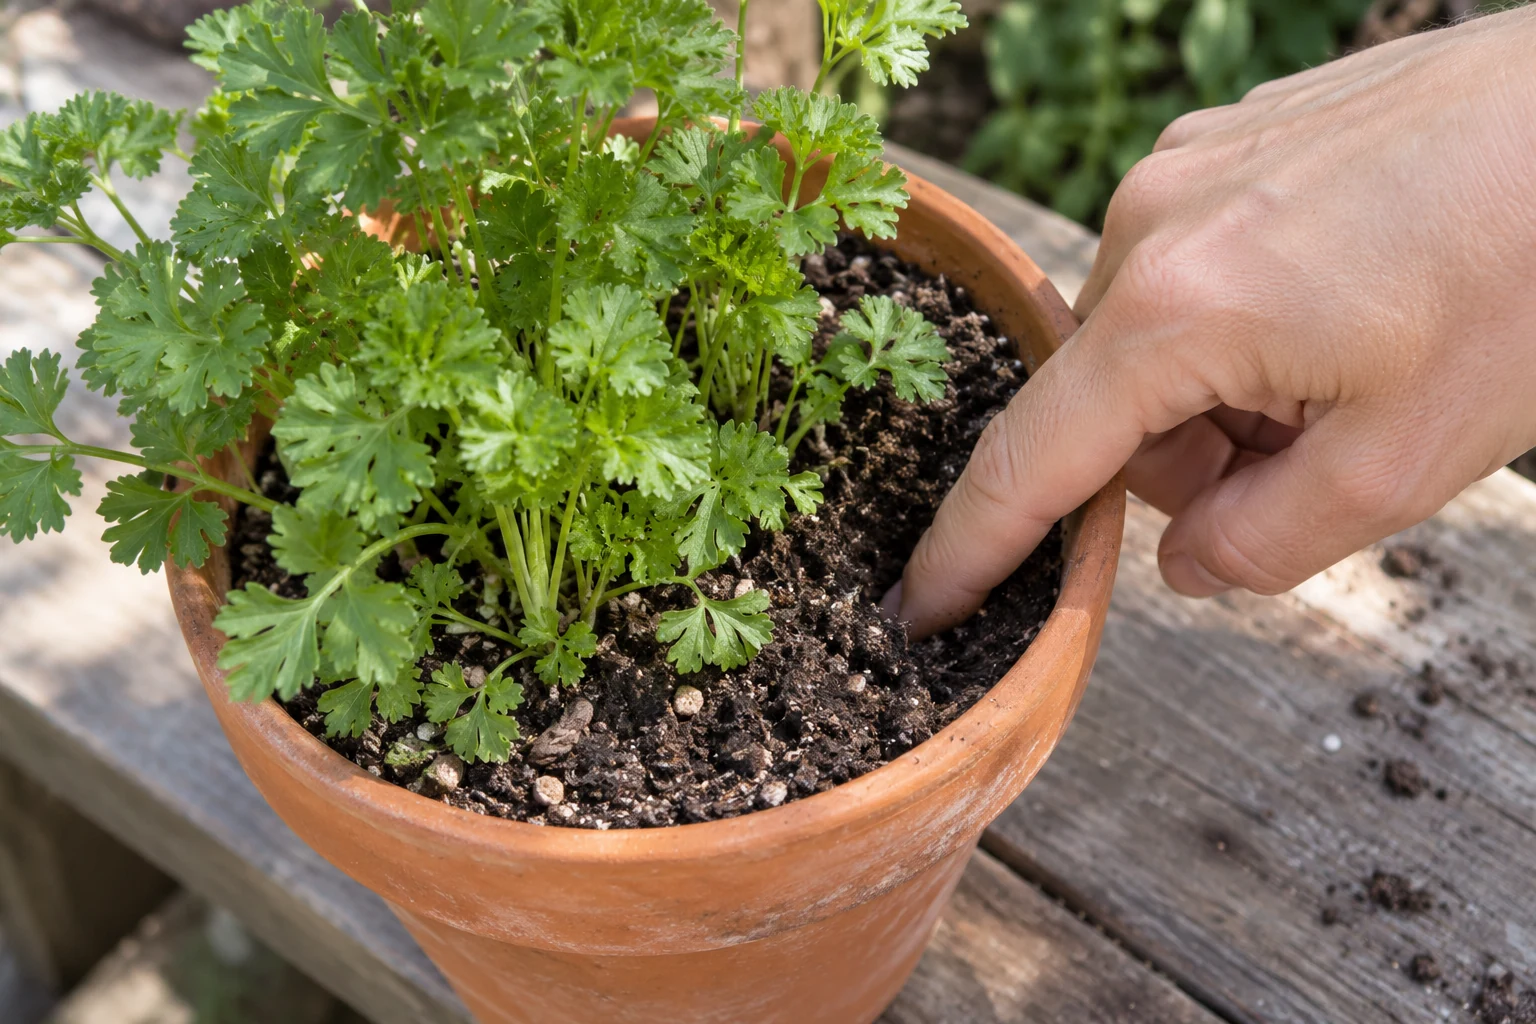
A pale surface doesn’t necessarily mean the mix underneath is dry. Gently feel below it where you can avoid disturbing roots. For many ordinary seasonal containers, checking roughly one or two inches down gives more useful information.
Use suitable pieces you already own for this idea.
Notice the actual moisture rather than relying only on color. If the mix remains moist beneath a dry surface, pause before adding more water. The appropriate drying point depends on the plant, so this observation alone doesn’t determine its needs.
Make the check accessible enough to repeat comfortably. You don’t need to dig a hole or expose the roots each time. When a pot is difficult to reach, change the routine before guessing from across the patio.
2. Start with the plant you actually grow
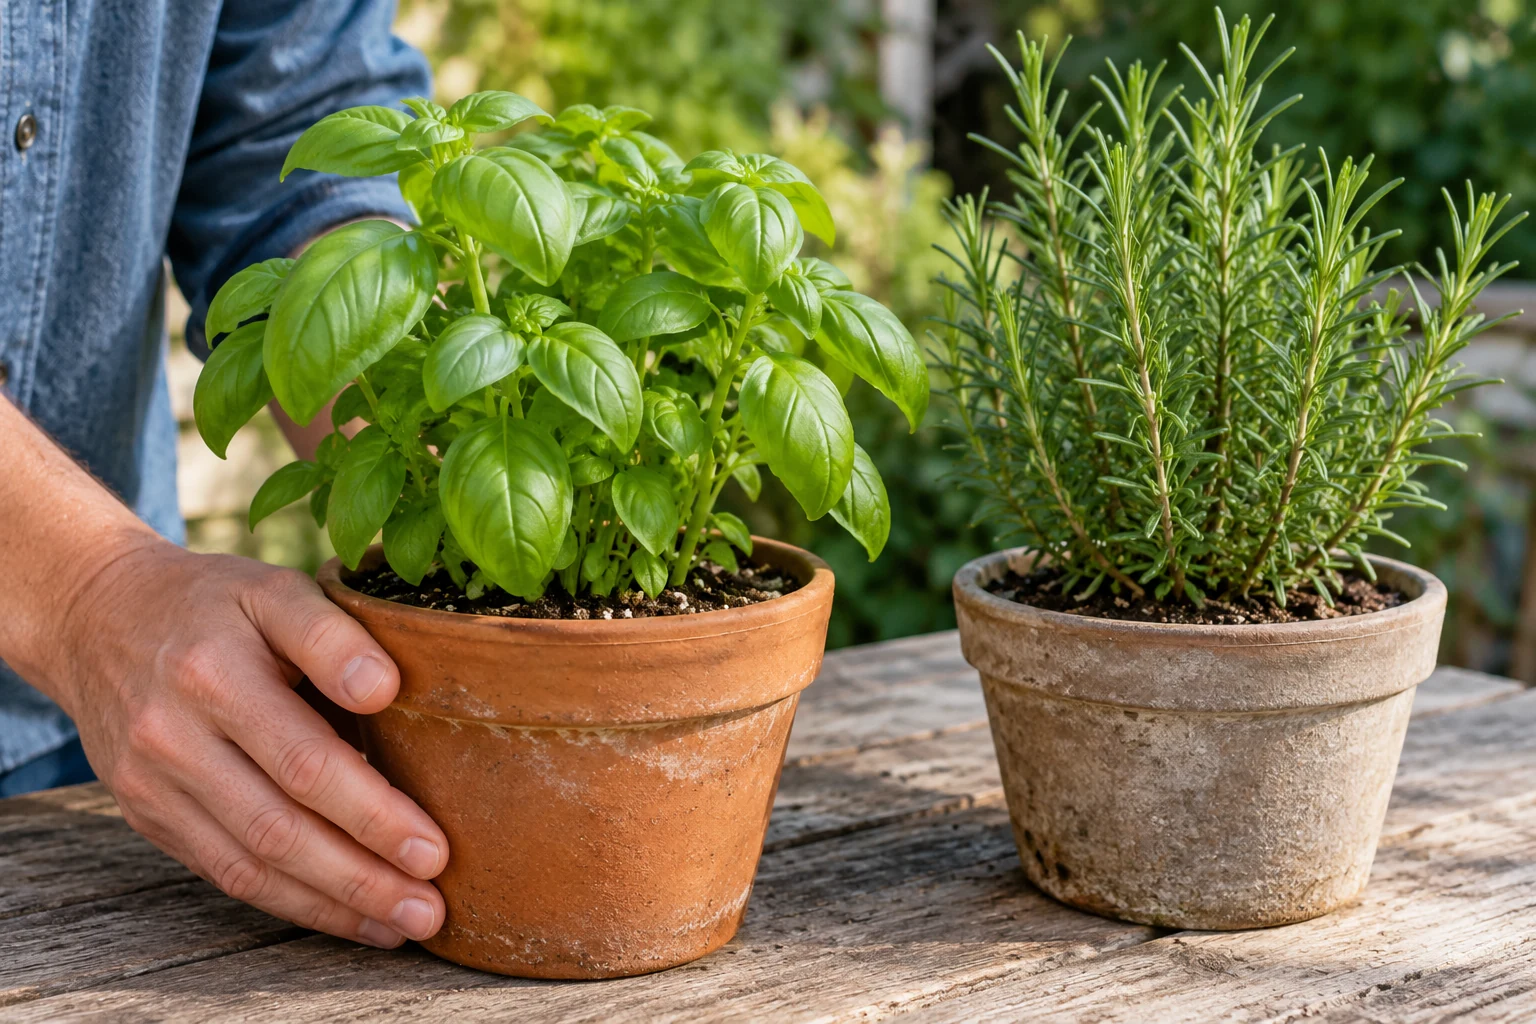
Keep the plant label or reliable care guidance available while learning its needs. A mixed group of herbs shouldn’t automatically receive identical treatment. Our herbs in pots guide explains why the plant selection matters alongside the container.
Use suitable pieces you already own for this idea.
Don’t apply this ordinary seasonal-container routine unchanged to cacti, aquatic plants or other specialist plantings. Their preferred moisture conditions can differ substantially. If two plants share a pot, check whether their care requirements belong together before adjusting watering.
Use the plant’s identity to narrow the question. You’re deciding whether this plant needs water under these conditions. You aren’t trying to discover one perfect interval for every container you might ever grow.
3. Compare neighboring pots individually
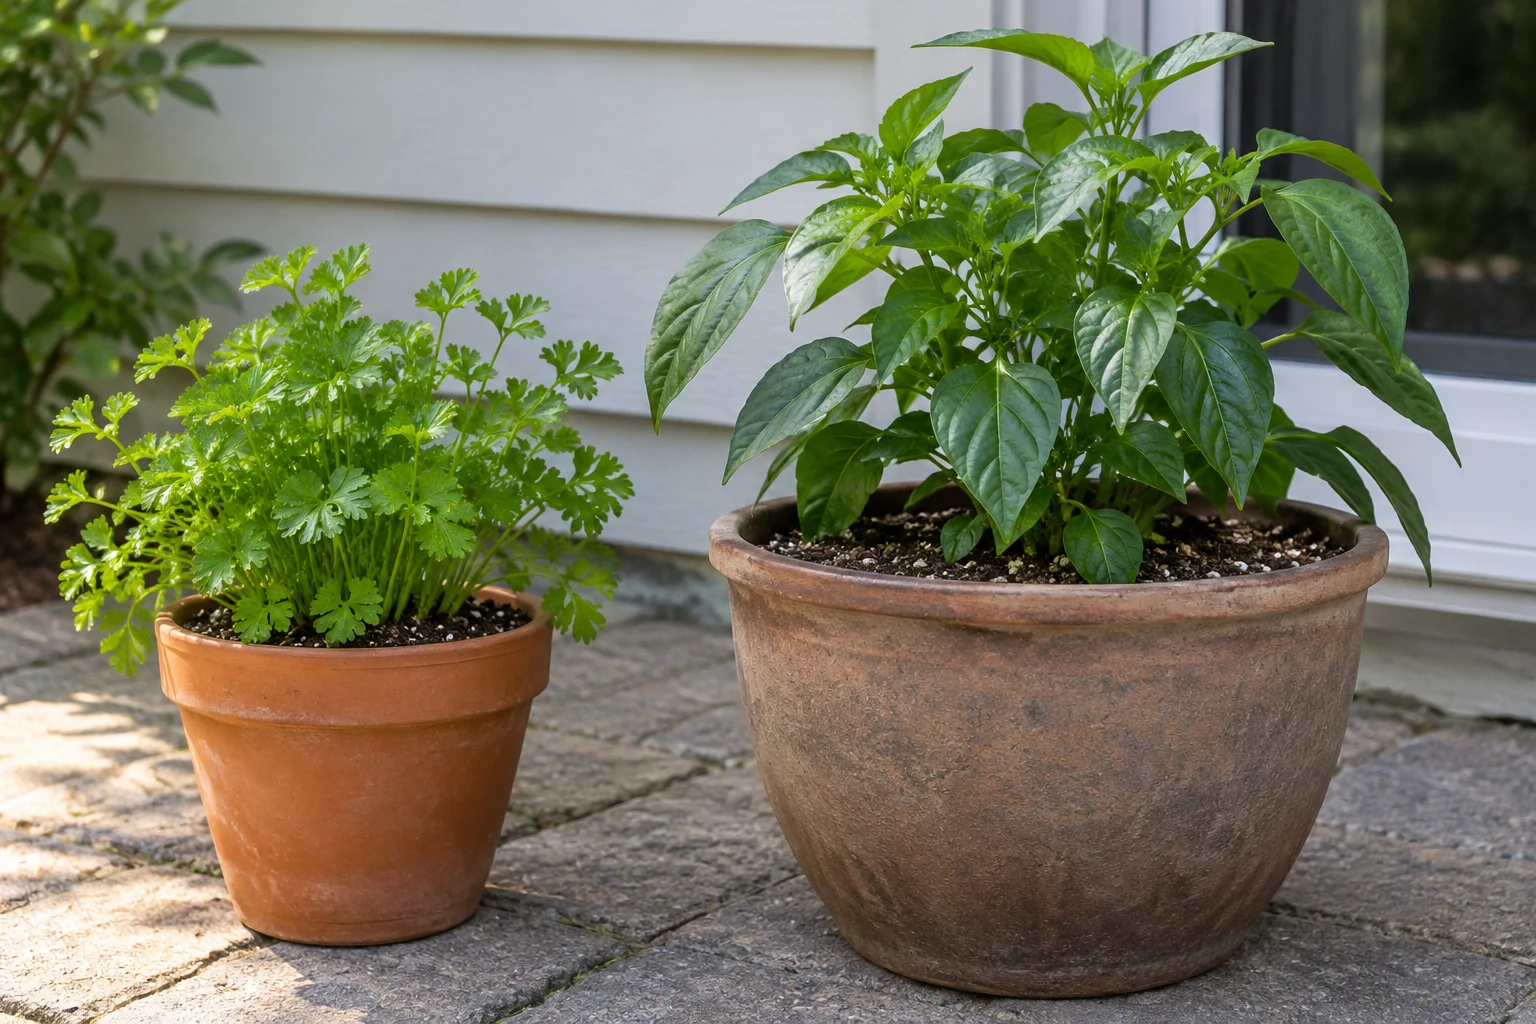
Check each pot rather than copying the decision from its neighbor. A small container and a large tub hold different amounts of growing medium. Their plants may also differ in size, growth and exposure.
Use suitable pieces you already own for this idea.
For example, two hypothetical pots can receive the same morning sun and still dry differently. One contains a small plant with plenty of surrounding mix. The other holds a much larger plant in a crowded root space.
Keep those differences visible in your routine. If you water one pot, check the next before tipping the can again. Similar-looking containers don’t establish identical moisture needs or prove that both need the same volume.
4. Notice changing sun and wind
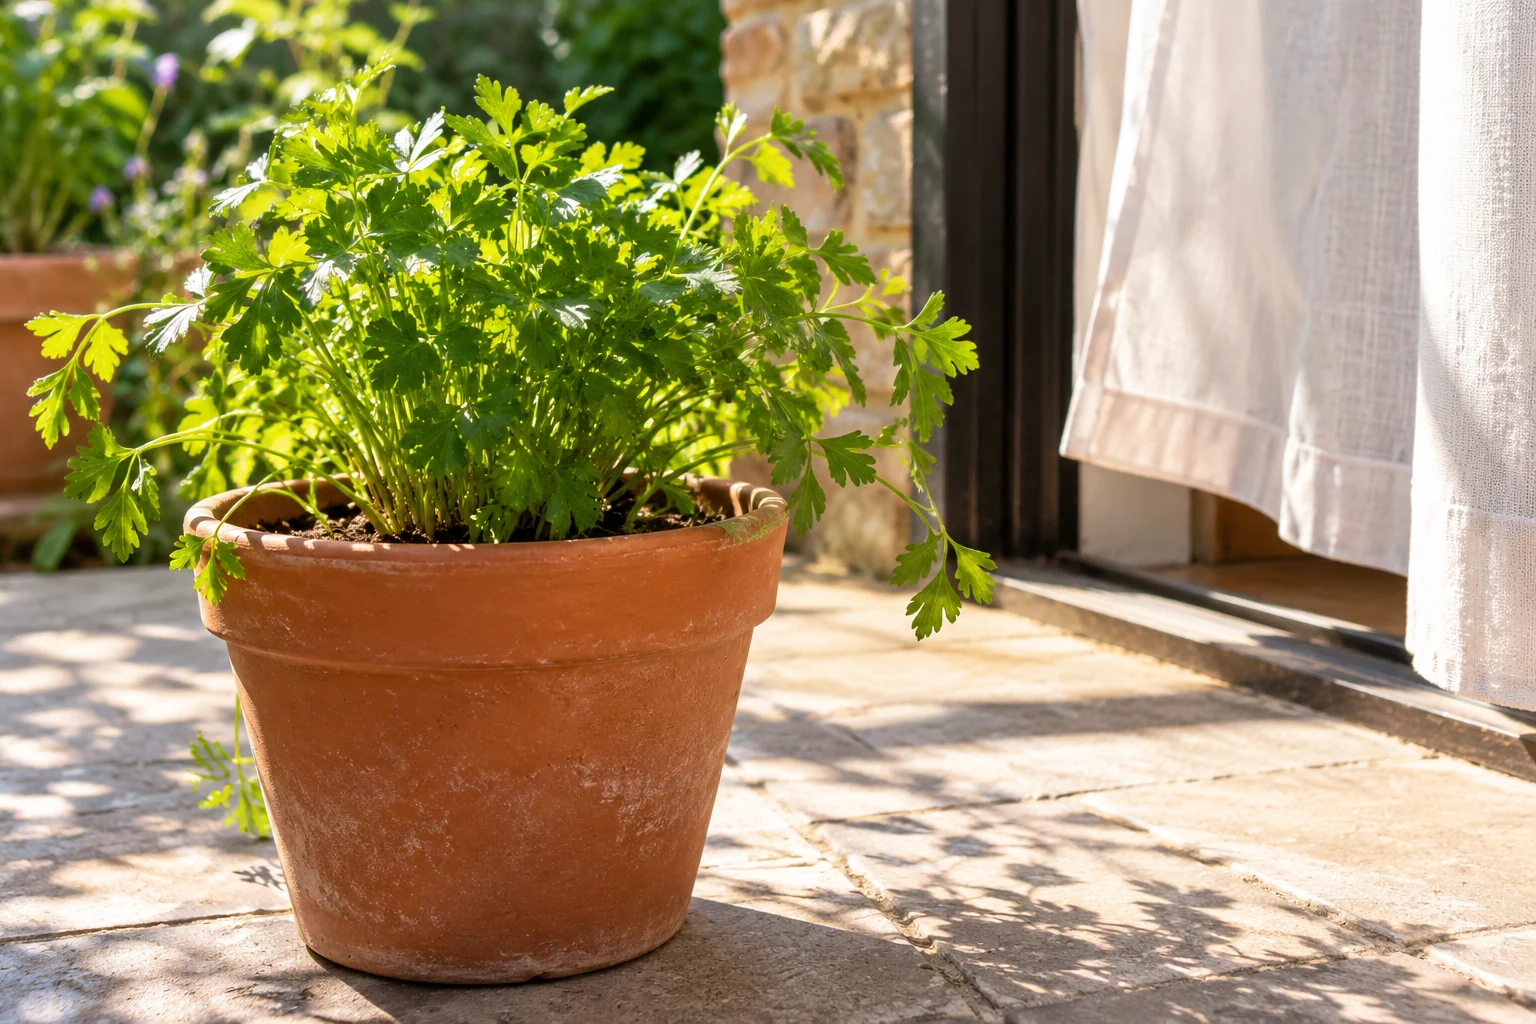
Warm, windy conditions can change how quickly a container loses moisture. Recheck the mix during demanding weather, particularly after a change in conditions. A routine that worked during cool weather may need more frequent observations during a hot spell.
Use suitable pieces you already own for this idea.
That doesn’t mean automatically adding water every time you inspect the pot. Separate checking from watering so you can respond to what’s actually happening. Record the condition you noticed if you’re still learning which containers need closer attention.
Keep the watering task manageable for your own reach and lifting ability. Don’t overfill a vessel simply to reduce trips. Bring water within comfortable reach without placing a heavy container on an unstable surface.
5. Check the pot after rain
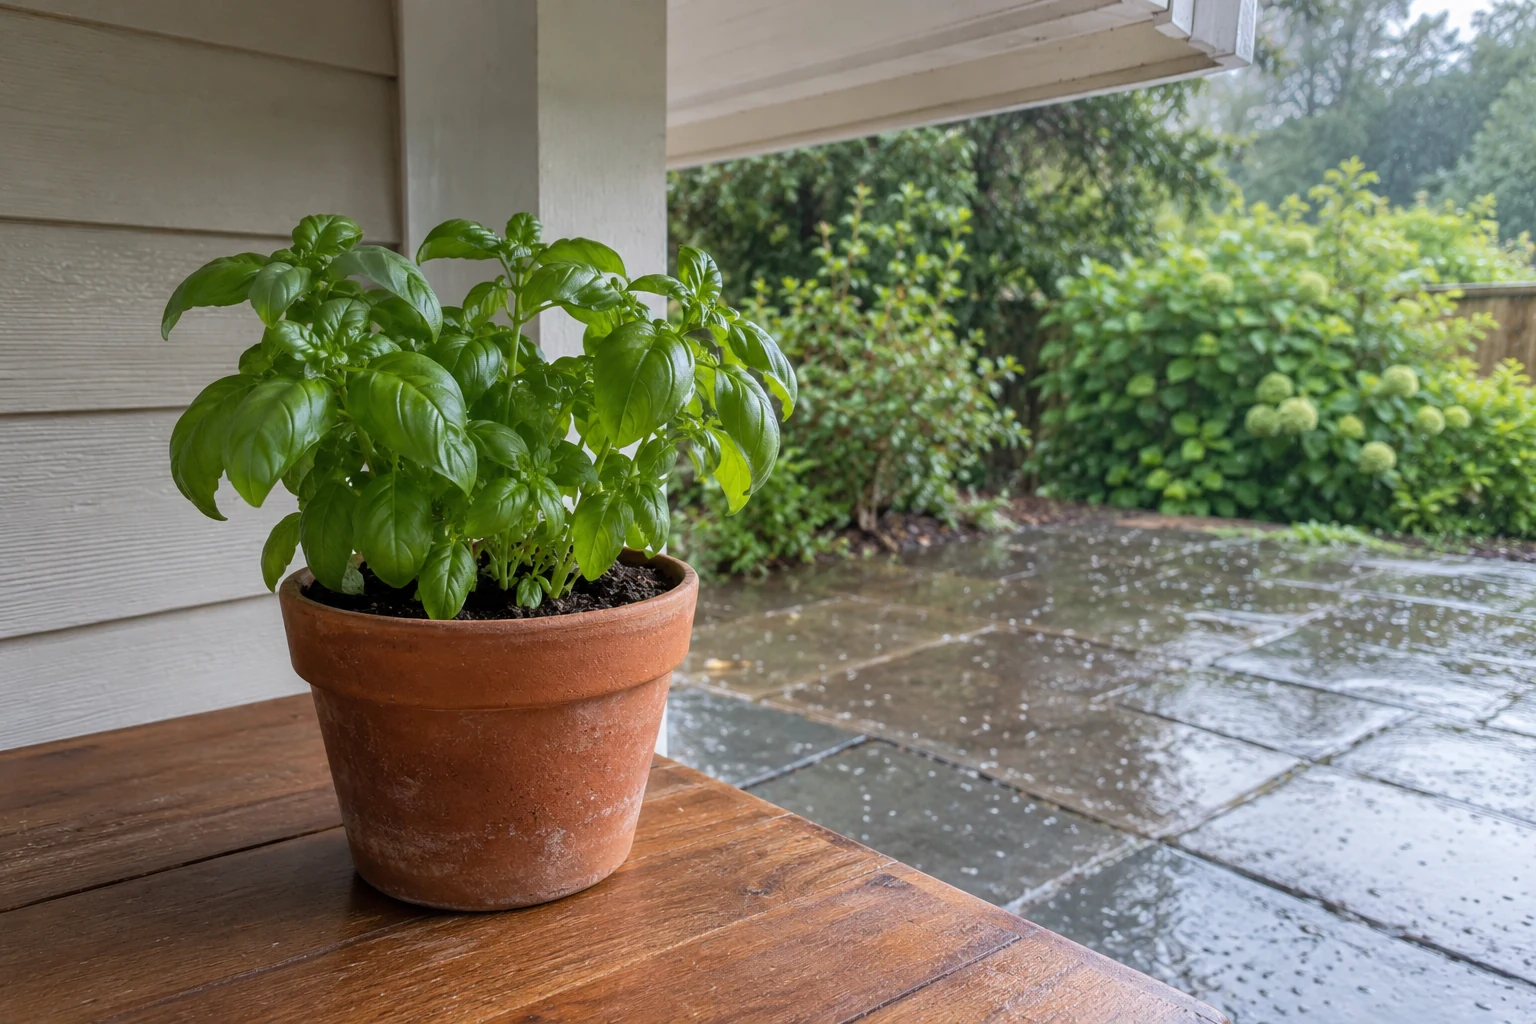
Rain on the patio doesn’t tell you how much reached the potting mix. Eaves, overhanging foliage and the container’s position can intercept it. A brief shower may wet the surface while leaving the root area much drier.
Use suitable pieces you already own for this idea.
Make the same below-surface check after rain instead of automatically skipping the whole group. Notice which containers are sheltered by a roof or balcony above. Those pots may require a different decision from a planter standing in the open.
Avoid judging the result from droplets on leaves. Look at the growing medium where the plant takes up water. Decide from that check, rather than treating the weather report as a measurement inside your pot.
6. Keep an open drainage route
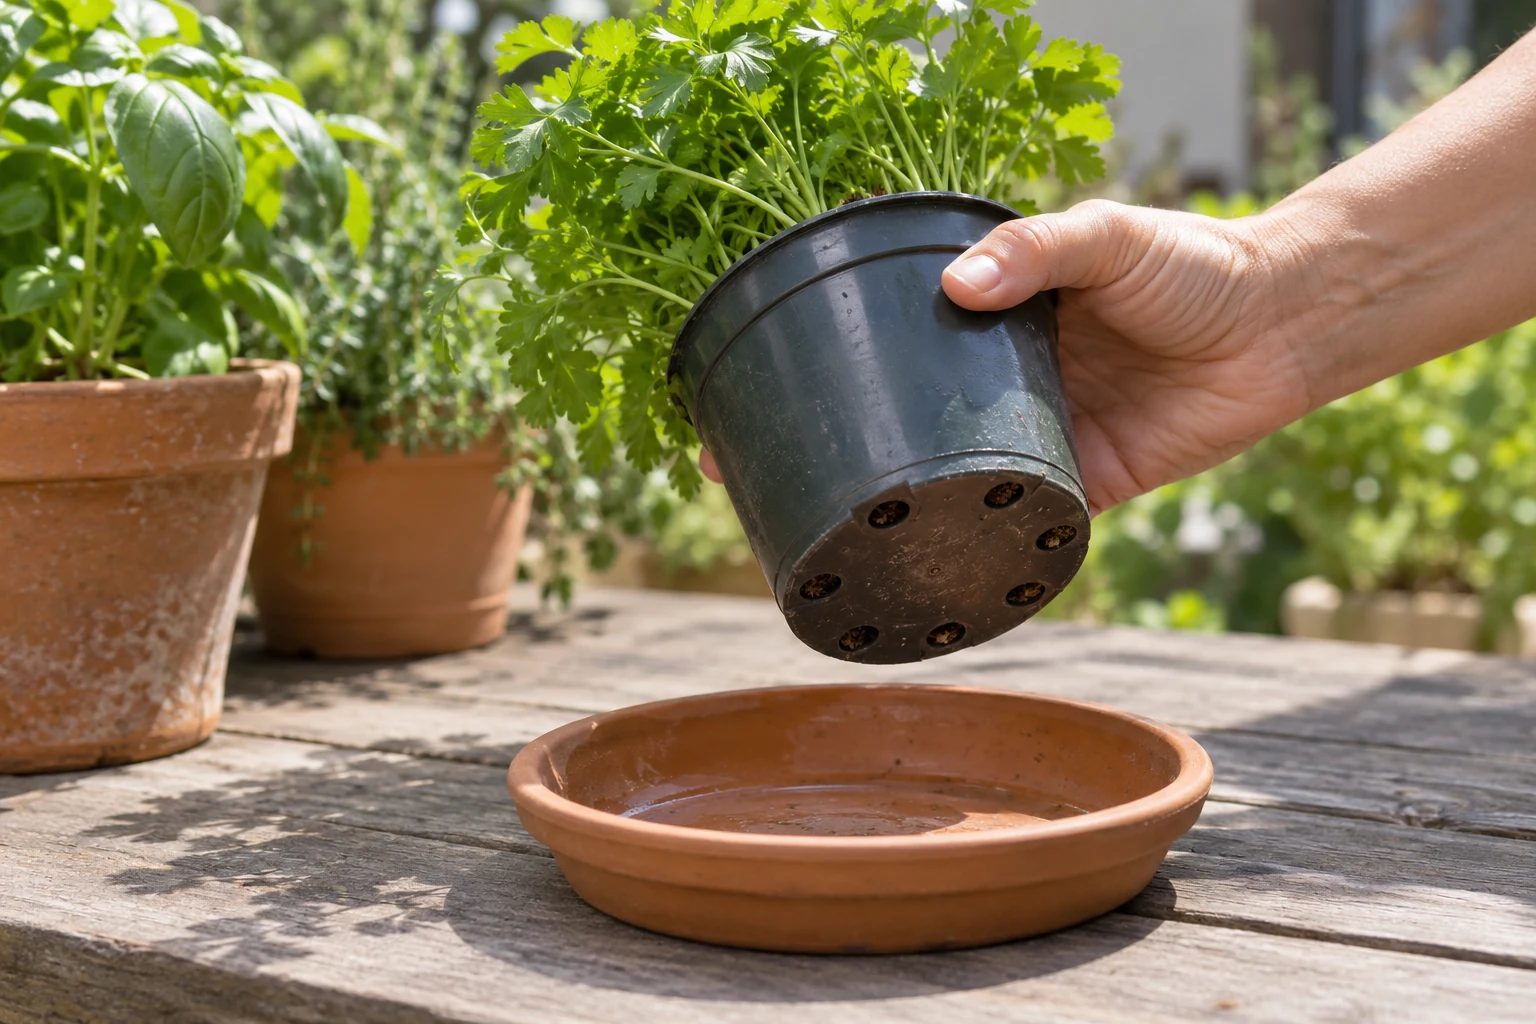
Know where excess water leaves an ordinary draining pot. Check that the opening isn’t obstructed and that the container isn’t sitting in accumulated water. Don’t continue pouring into an arrangement whose drainage you haven’t understood.
Use suitable pieces you already own for this idea.
Follow the directions for a reservoir planter rather than emptying its designed water supply indiscriminately. A decorative outer container can also conceal standing water around an inner pot. Inspect that space without assuming the outside looks tell you what’s happening underneath.
Avoid moving heavy planted containers merely to recreate an illustration. Use a safe position and inspect what you can access. If the container cannot drain appropriately, resolve that setup before increasing the amount of water.
7. Water the root zone slowly
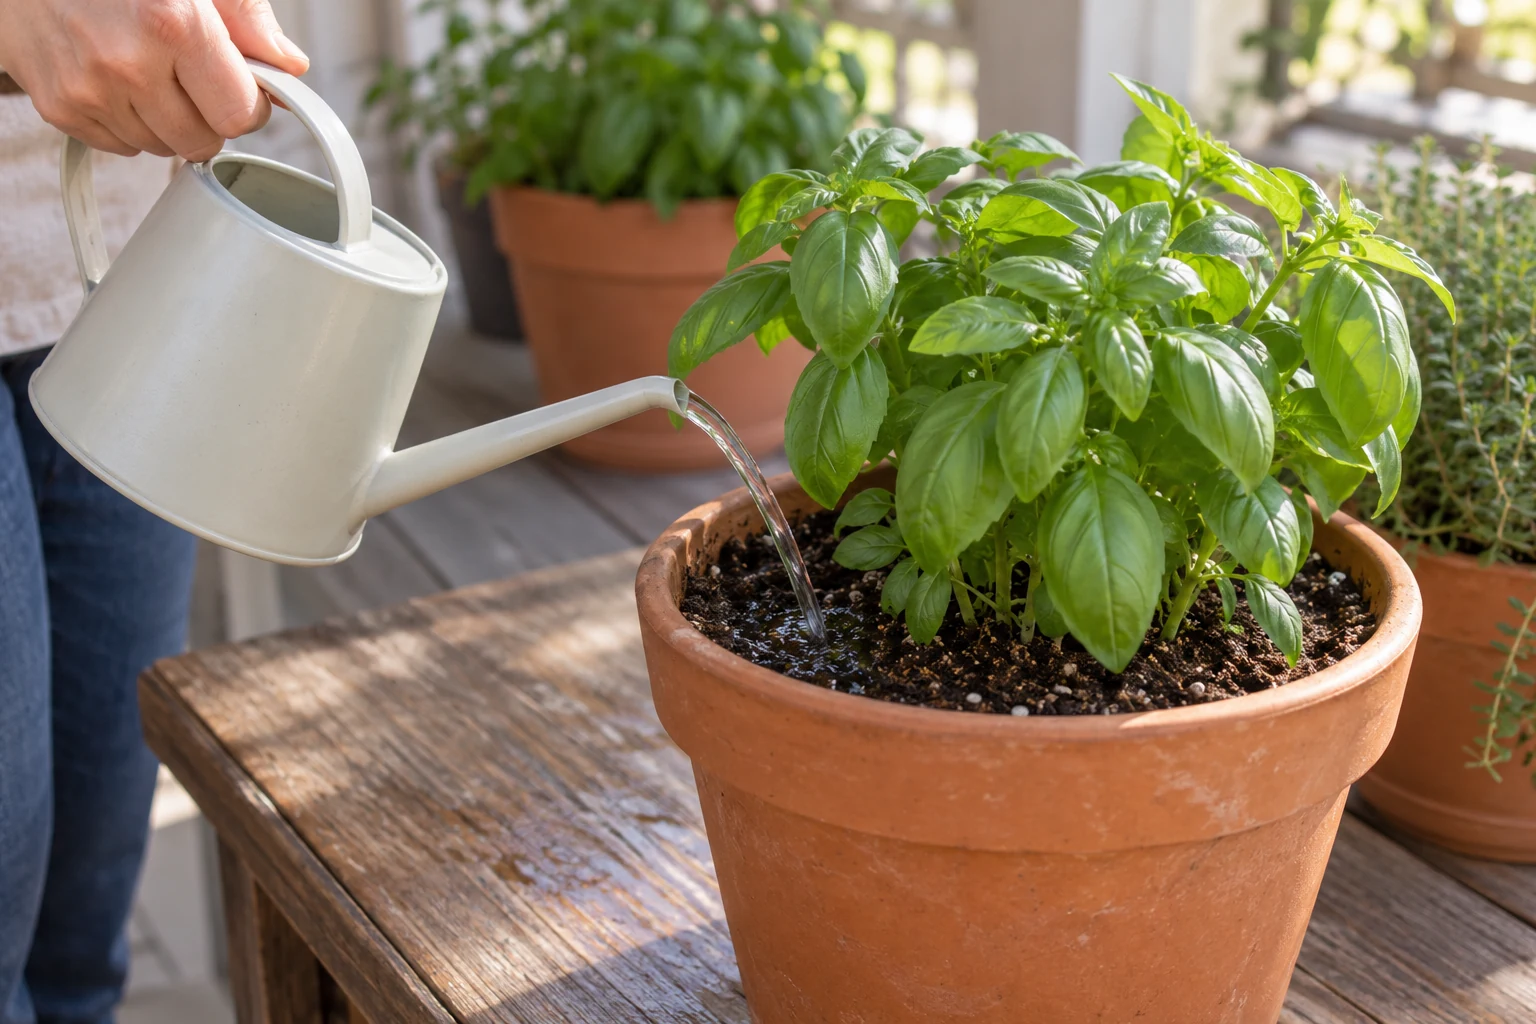
Apply water gently to the mix rather than using leaves as the target. Move the flow across the accessible surface instead of repeatedly wetting one tiny spot. Pause when water collects faster than it can soak in.
Comparable options, not the exact pictured items. Check the selected variant and current directions.
Fit and buying notes
- Fiskars 40-ounce watering can: Fiskars 40-ounce watering can with a narrow spout. Intended as a small indoor can; it can carry water to a sheltered container setup. Check assembly and store indoors instead of implying outdoor weather resistance.
Use a suitable vessel you already own if you can control its flow. The optional Fiskars can holds forty ounces and has a narrow, extended spout. Its small capacity suits modest containers better than a collection of large outdoor tubs.
This is an indoor watering-can model, so store it indoors after carrying it outside. It isn’t a permanently exposed garden installation. The illustrated vessel is a comparable concept, rather than a photograph proving the selected product’s performance.
8. Watch the first drainage without flushing

Water slowly enough for the mix to accept it rather than immediately spilling over the rim. For ordinary draining containers, watch for the first water leaving the bottom. Don’t keep pouring simply to create a larger stream underneath.
Comparable options, not the exact pictured items. Check the selected variant and current directions.
Fit and buying notes
- Fiskars 40-ounce watering can: Fiskars 40-ounce watering can with a narrow spout. Intended as a small indoor can; it can carry water to a sheltered container setup. Check assembly and store indoors instead of implying outdoor weather resistance.
Drainage is a checkpoint, rather than proof that the whole root zone became evenly moist. Notice whether the water soaked into the mix first. If it rushed straight through a gap, investigate that route before assuming the plant received enough.
There isn’t one fixed number of canfuls for every pot. Container volume, current moisture and planting all change the task. A small can may need refilling, but its stated capacity isn’t the plant’s prescribed dose.
9. Recognize water bypassing dry mix
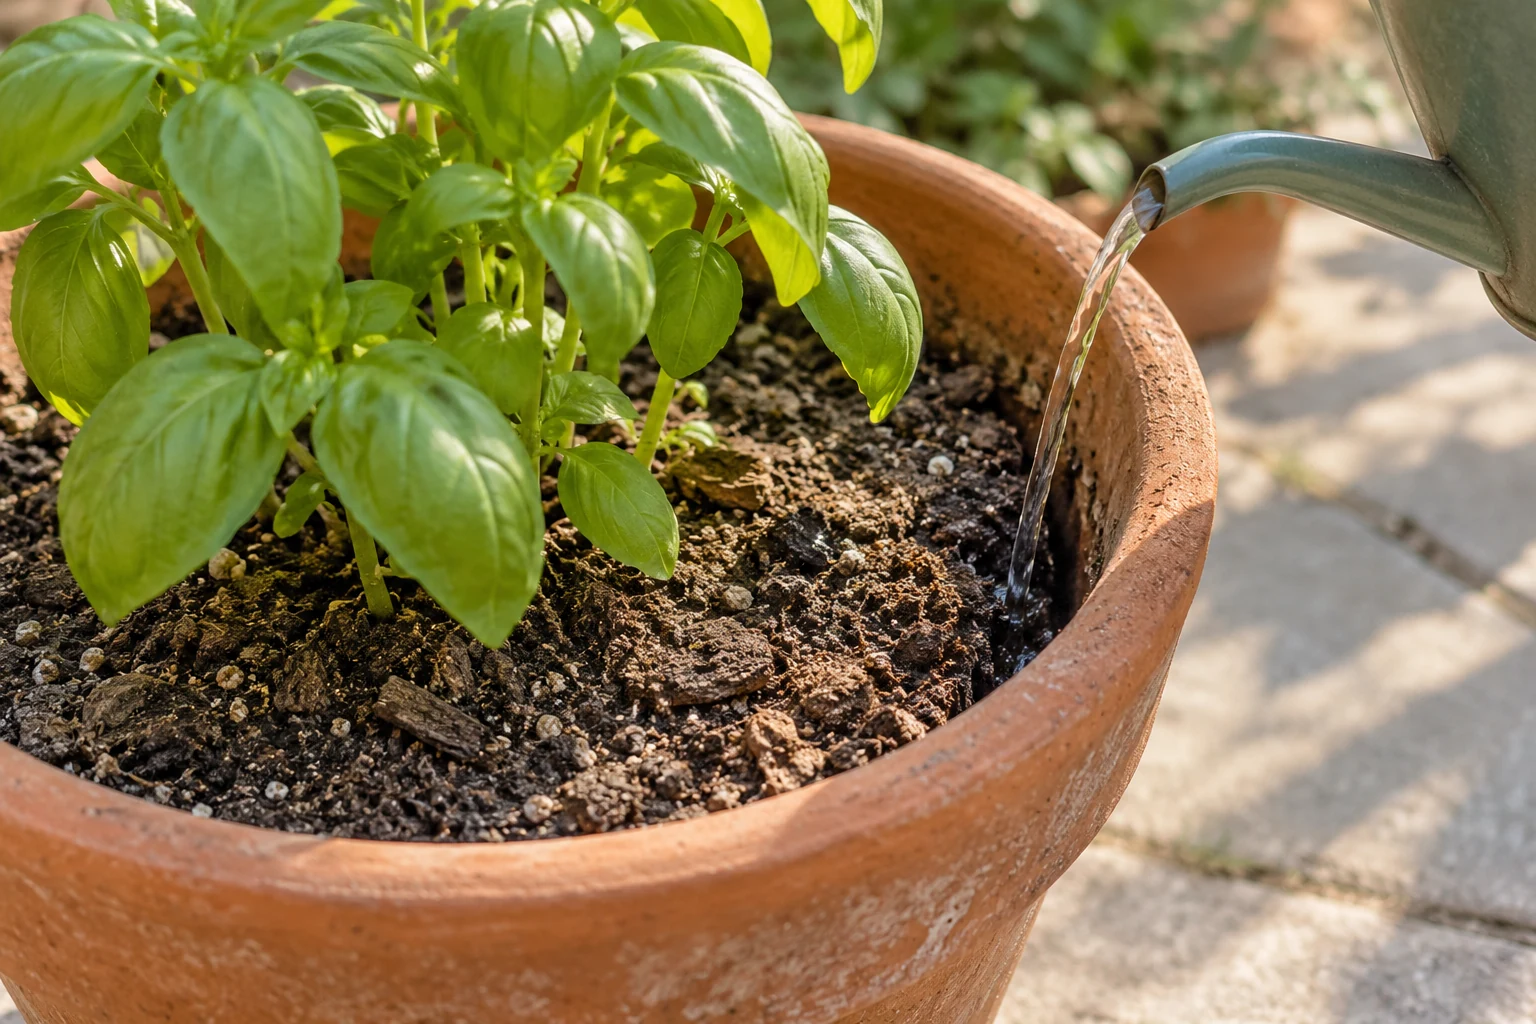
Very dry potting mix can shrink away from the container wall. Water may escape down that gap while the main mass remains dry. The resulting drainage can look reassuring even though the growing medium hasn’t accepted much moisture.
Comparable options, not the exact pictured items. Check the selected variant and current directions.
Fit and buying notes
- Fiskars 40-ounce watering can: Fiskars 40-ounce watering can with a narrow spout. Intended as a small indoor can; it can carry water to a sheltered container setup. Check assembly and store indoors instead of implying outdoor weather resistance.
Try gentle repeated applications, allowing time for water to enter rather than immediately adding another flood. Check whether the mix actually becomes moist. Don’t keep increasing the flow when the same obvious channel carries it straight out again.
Some manageable containers can be carefully rehydrated by soaking, with guidance appropriate to that planting. Avoid prescribing one soaking time for every plant and pot. Let an ordinary draining pot drain afterward instead of leaving it indefinitely in water.
10. Empty ordinary standing saucer water
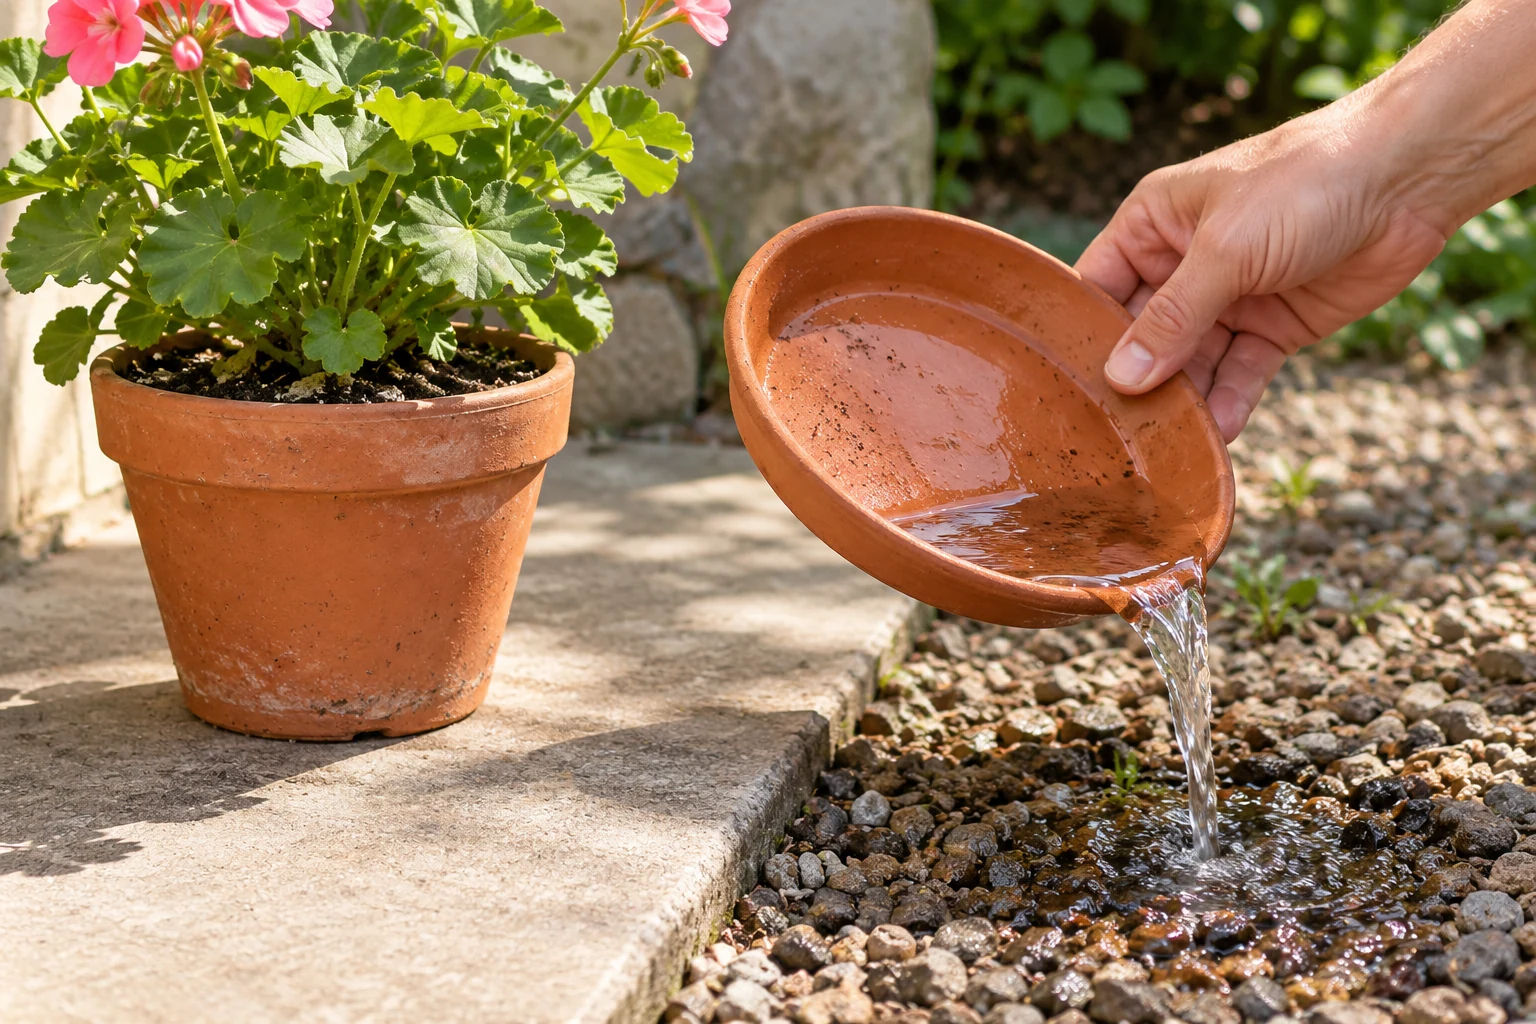
Inspect ordinary saucers after watering and rainfall. Empty accumulated excess rather than leaving the pot standing in it. Follow a reservoir system’s own instructions when deciding how its water supply should work.
Use suitable pieces you already own for this idea.
Check decorative outer pots too, especially where the inner container sits below the rim. Water can remain hidden beneath an apparently dry surface. Return the pot to a suitable draining arrangement after checking it safely.
This step doesn’t require a matching new saucer or another storage accessory. Use the existing setup where it works appropriately. Replace or change a component only when you’ve identified the actual drainage or handling problem.
11. Investigate wilt before pouring again
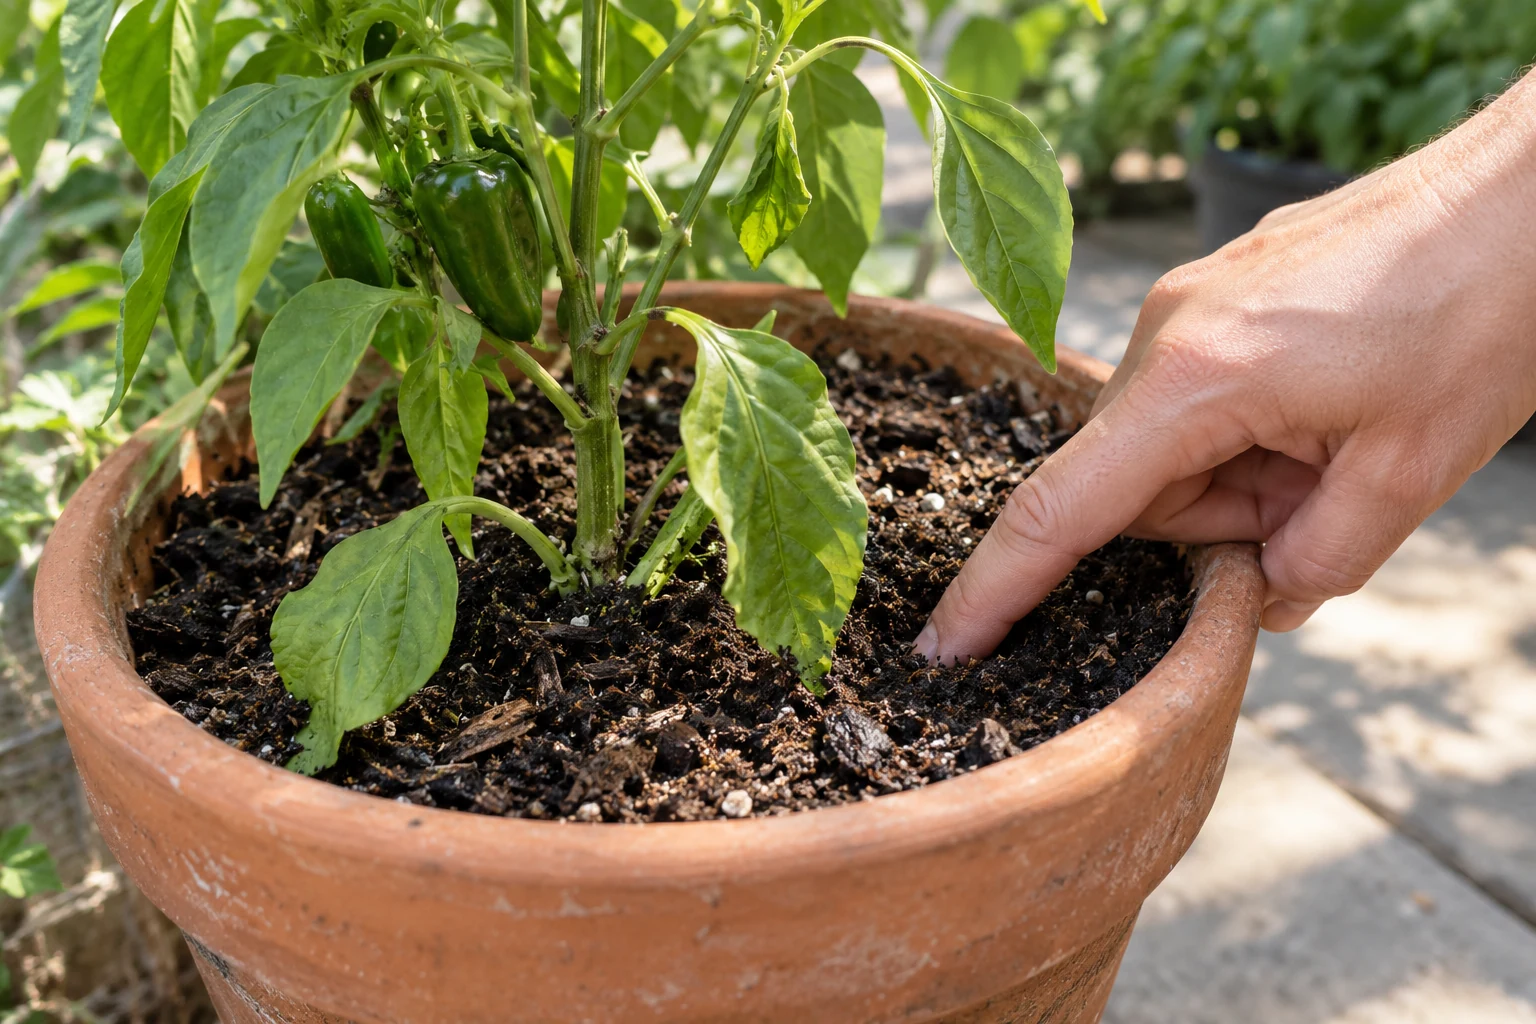
Drooping leaves should prompt a check rather than an automatic refill. Feel the mix and consider the plant’s recent conditions. If it is already wet, more water isn’t the next conclusion to draw from its appearance.
Use suitable pieces you already own for this idea.
Look for other visible problems and consult guidance for the particular plant. Note whether the container drains and whether its position recently changed. Persistent decline deserves more investigation than repeating the same watering response.
Don’t describe a photograph alone as proof of underwatering or root disease. Several problems can produce a similar appearance. An illustrative wilt scene can show where to check, but it cannot establish the diagnosis.
12. Leave a note about conditions, not a fixed schedule
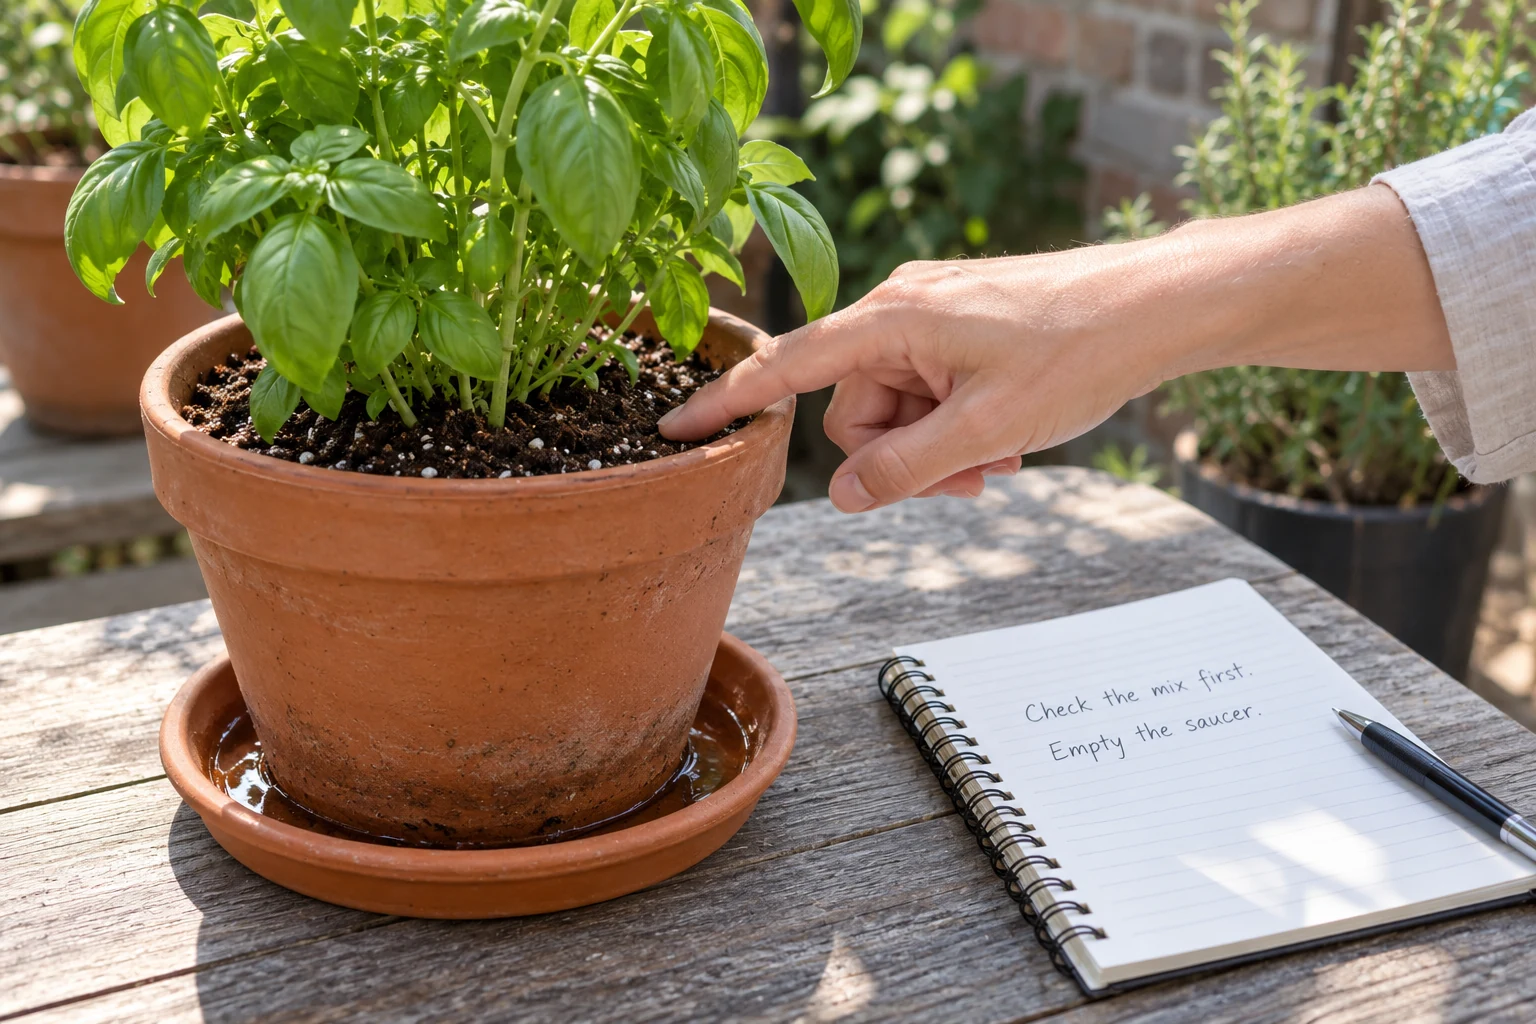
For someone helping with your plants, identify each pot and explain what to inspect. Include where drainage collects and how its existing container works. A short practical note is more useful than telling them to water everything equally every morning.
Use suitable pieces you already own for this idea.
For example, a hypothetical note could identify a sheltered herb pot and its separate moisture check. Another could explain that a reservoir planter follows its own instructions. Write from the actual setup, using ordinary paper or a note method you already have.
Review the routine when weather, plant growth or container placement changes. Keep checking and watering as separate decisions. The useful habit is noticing what each container needs before you pour.
Visuals are original AI-generated editorial concepts, not photographs of actual products, tested projects, cooked results or real events.